

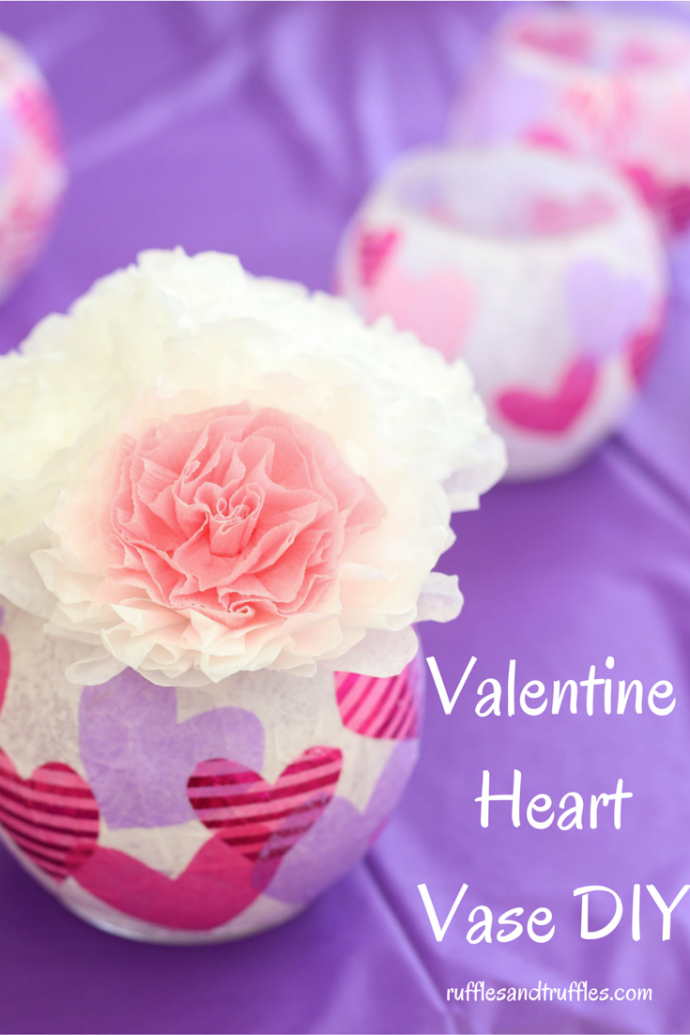
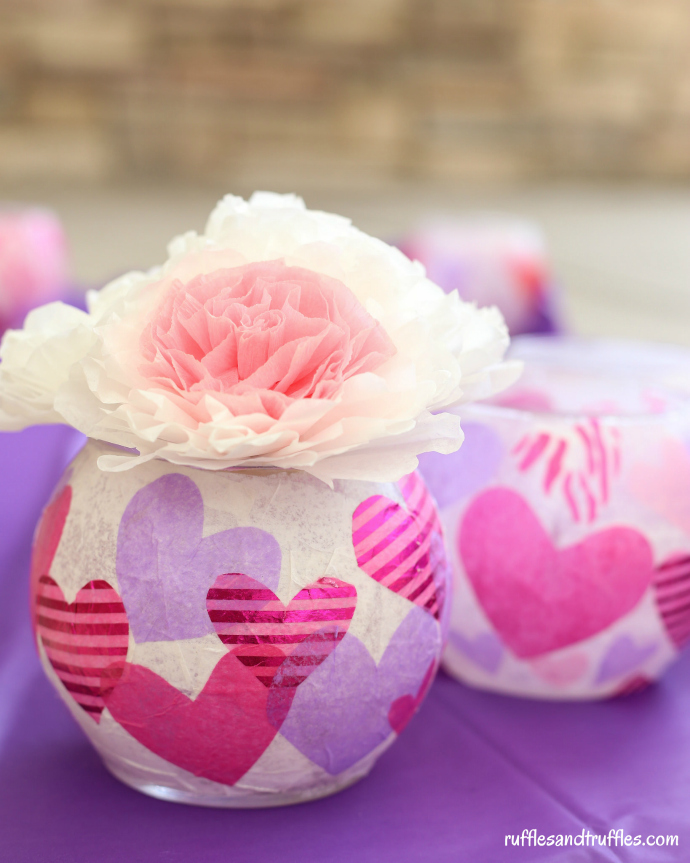
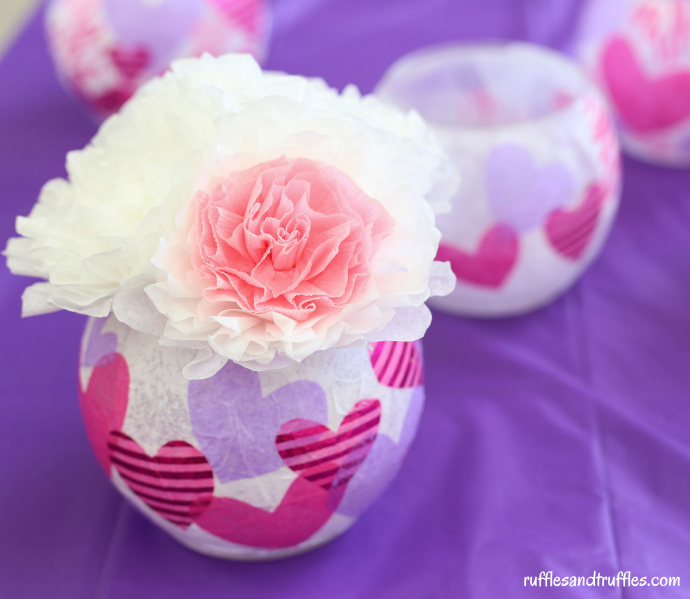
So…are you ready for Valentine’s Day at the end of the week? I’m gearing up with a few fun heart inspired crafts, like these Valentine Heart Vases!
I don’t know about you, but having some time to sit down and be crafty is something I really enjoy. I am not the most complicated of crafters out there: I prefer simple, easy, and fun! Perhaps some day I will take up a more complicated skill set, but I’m perfectly happy with my dollar store creations as of now.
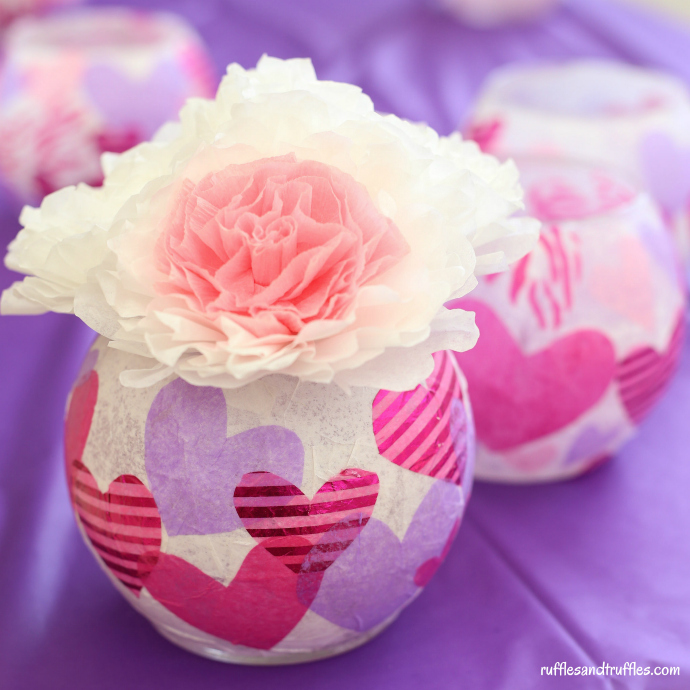
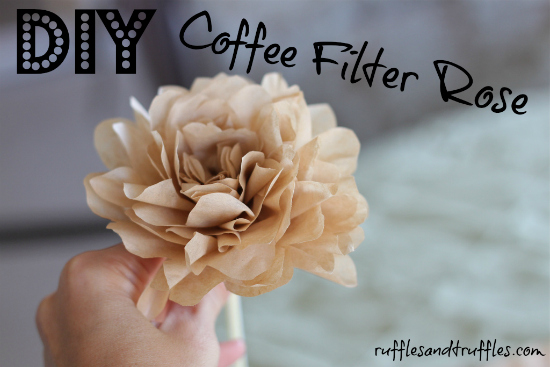
These vases are just what I needed for a brain break recently. I was able to sit down with a pair of scissors, ModPodge, and my dollar store vase, and I got to work. Before I knew it, these colorful little beauties were complete and ready to be on display! The vases were inspired by this lovely version on One Artsy Mama! These pretty containers can be a great item to display flowers, but you can use your creativity to use them for other purposes as well. I popped some crepe paper and coffee filter flowers in mine to start (you can get the tutorials HERE, HERE and HERE), but I also plan on filling others with Valentine’s Day candy – since it isn’t Valentine’s Day without some chocolate, right?
You don’t even need to buy a brand new vase to make these pretty little creations: you could always spruce up an old vase or glass container to restore it to a new and improved beauty!
These vases feature heart shapes, but you could definitely use the same technique and create a vase for another holiday or occasion with different colors and shapes. I am thinking there may be some more coming in the future for another celebration. What should be next? Hmmmm….
- Glass vase or container
- ModPodge
- Sponge brush
- White tissue paper
- Colored/patterned tissue paper
- Scissors
- To start, use your scissors to cut the tissue paper. Cut the white tissue paper into squares about 1 inch in size. They do not need to be even/perfect! Then, cut the colored/patterned tissue paper into heart shapes of various sizes.
- Dip the sponge brush into the ModPodge and paint a small area of the glass vase/container. Carefully place a white tissue square over the ModPodge. You can paint an additional layer of ModPodge on top to keep the tissue paper in place. Repeat this process until you have covered the entire outside of the vase with the white tissue paper squares. I recommend adding two layers of tissue paper to create a solid look on the vase. Allow the vase to dry for 10-15 minutes before starting the next step.
- When the vase has had time to dry, it is time to add the heart shaped tissue. Using the same technique as you did with the white squares, attach the hearts in a pattern you desire. Allow this layer to dry for 10 minutes.
- Finally, paint a final layer of ModPodge on top of the completed vase to seal the entire piece. Allow the vase to dry overnight before displaying. Fill with flowers, candy, or whatever you desire - enjoy it!


Add Comment