

Spring has sprung! Is anyone else astonished at how quickly the year is passing already?
I seriously can’t believe it.
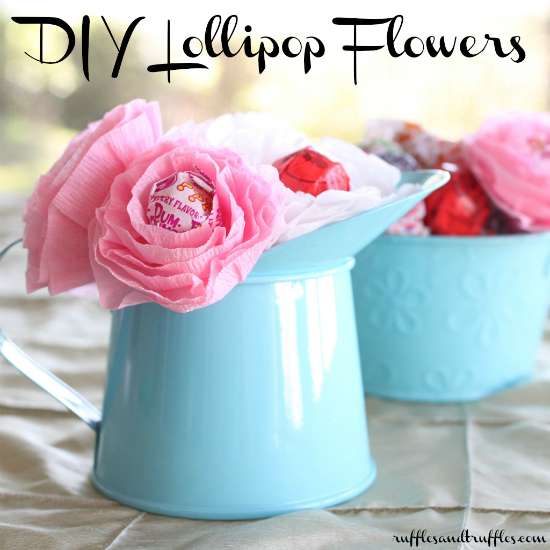
Flowers are always a sign of spring for me, so it should come as no surprise that I’m embellishing things around the house with pretty petals. Today, I wanted to share a really quick and easy tutorial for creating some cute little lollipop flowers. I’d give them out as a favor at a party…give them as a little treat for a teacher…or simply set them out on a table/desk for people to take and enjoy at will!
Another great part – you can buy all the supplies to create these lollipop flowers at (you guessed it) the dollar store! Pick a crepe paper streamer color to your liking (or mix and match) and get wrapping!
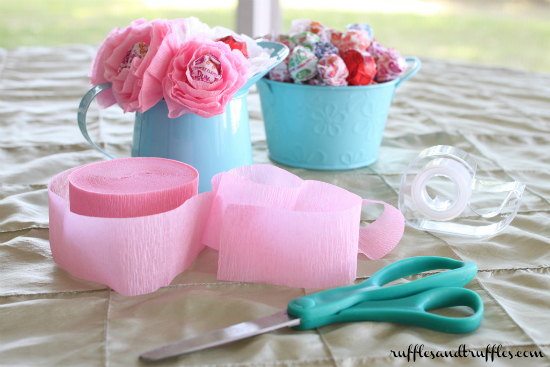
You’ll need: lollipops (I used Dum-Dums), clear tape, crepe paper streamers, and scissors. That’s it!
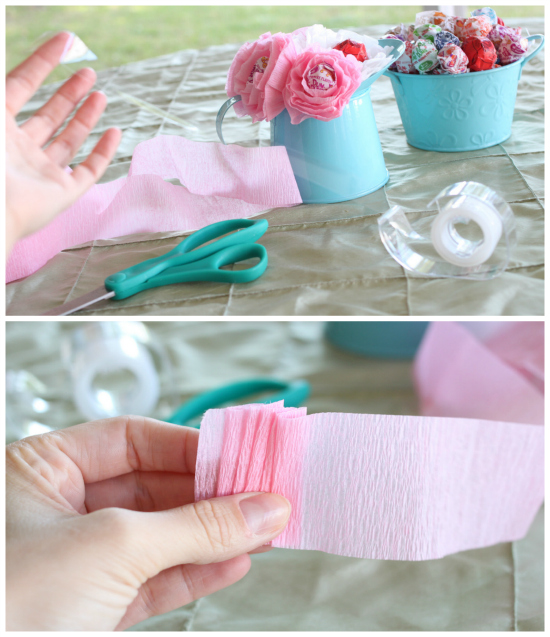
To start, tear a piece of clear tape about one foot long and place it sticky side up on your work surface. Starting with the end of your crepe paper streamer roll, begin finger pleating the streamer in small folds. Stick the pleated paper to the tape as you go (leaving half of the tape’s width exposed; you’ll need it for wrapping the lollipop), pressing down to secure it.
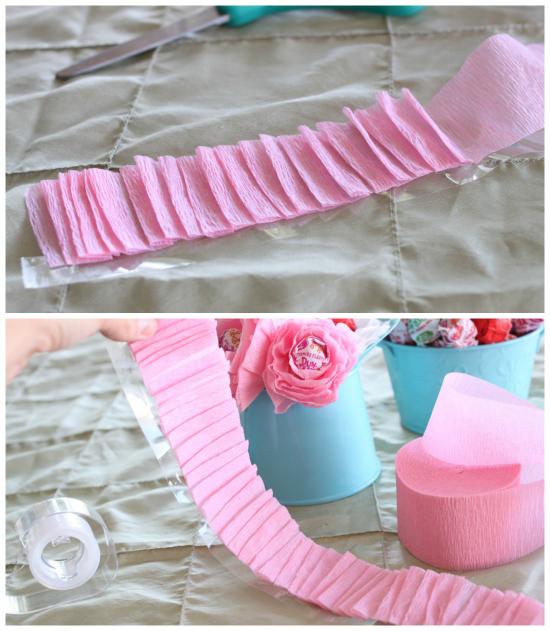
When you’ve completed pleating the length of the tape, snip the crepe paper from the roll. You’ll be left with a long strip of pleated streamer, ready to be affixed to the lollipop!
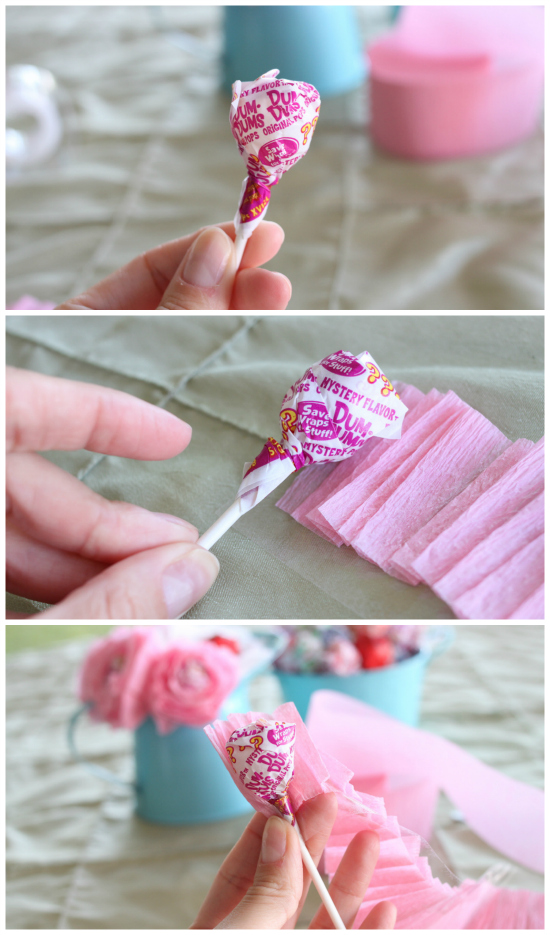
Take a lollipop and place it at one end of the tape/paper strip. Make sure part of the tape is touching the stick of the lollipop a bit so the flower bud will stay put. Begin wrapping and pinching the pleated streamer tape around the base of the lollipop.
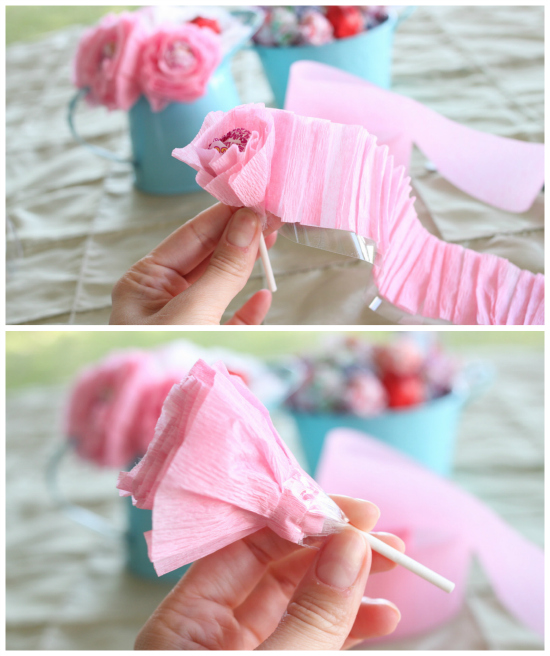
Continue pinching and twisting until the length of the streamer tape is used. Press firmly to secure the bud around the lollipop. I also tear an additional piece of tape 1-2 inches long and wrap it around the base for extra security.
Now it is time to fluff the flower! Gently slide your finger between the rolls of the streamer, unfolding the petals. As you work through the flower, the “petals” will flop downward: that’s ok!
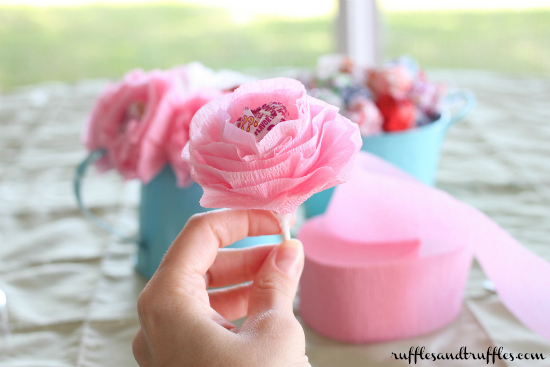
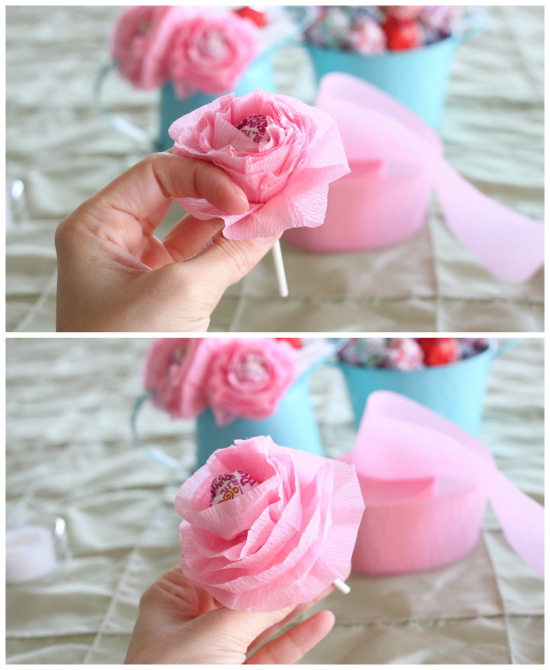
Once the petals are fluffed, gently place your hand below them and pop them back upward – you’ll be left with a fluffy lollipop flower! Adjust the petals as needed to make it look perfect.
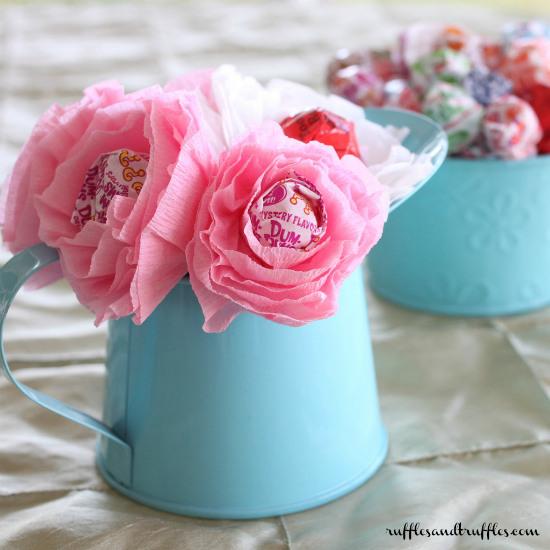
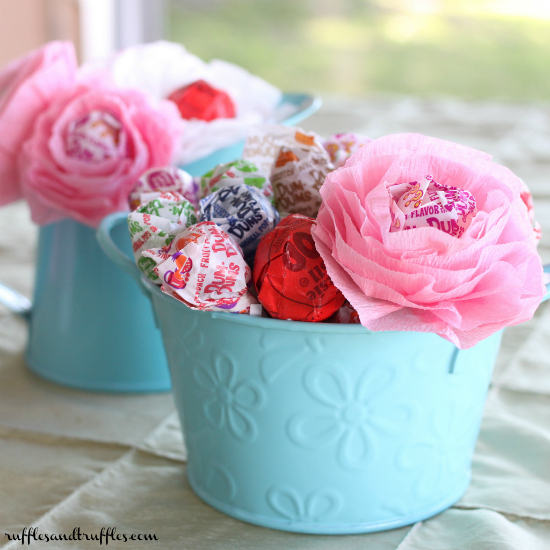
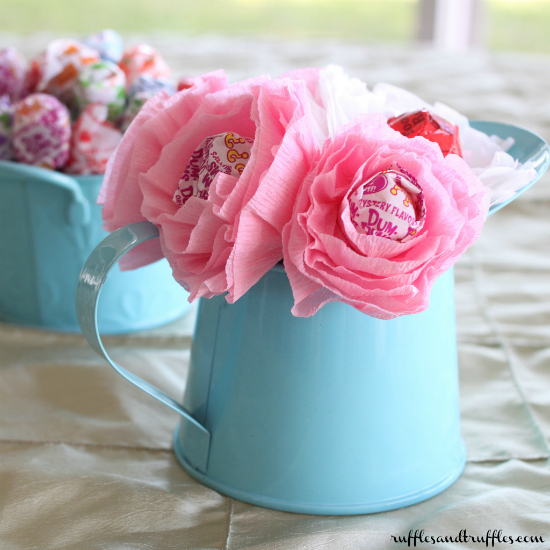
You can place the completed lollipops in a container for a pretty display at that point! Pretty little things, aren’t they?
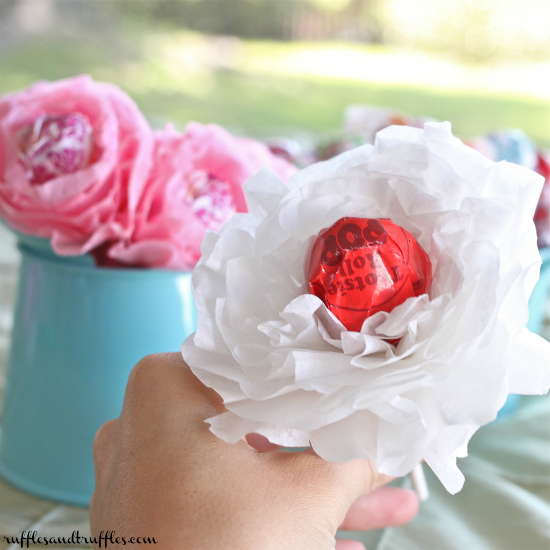
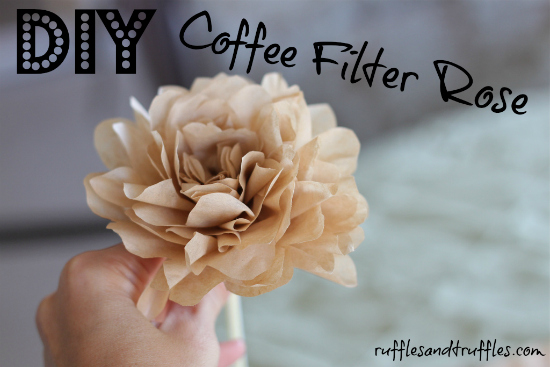
And if you feel like having a bit of variety in size with your flowers, you can always pick up some different sizes of lollipops at the store! I used some Tootsie Roll pops and coffee filters to create this one! I used the same method as my Coffee Filter Roses, but with the lollipop in the center! Easy peasy.
So – do you think you will be crafting up some lollipop flowers in the future?


So cute and I could totally do that! Great DIY!
Ginny
mynewfavoriteoutfit.blogspot.com
I hope you get the chance to try them out! Perfect for a little spring treat…
So adorable . Will make these for loved ones, teachers, friends for valentine’s day or birthdays .
Will be making these for sure.
Just curious — how long would you say it takes to do each one?
The first few I made probably took me a little under 5 minutes…as I figured out the technique and all! After I got the hang of it, it only takes 2-3 minutes to whip one up!
Very Cute idea !! Thank you for sharing!!
I am making them for Galentine/ Birthday party for all the ladies !!
Katie, how did you do the pleating? I am having trouble with that. Can you do a video please?
I’m so glad i found this. I just made 25 pink and 25 purple with blow pops. These will be favors at my sisters baby shower. Thank you for the great tutorial! I love them!
I’m thinking this will make the perfect Easter centerpiece for the kids’ table.
Perfect! Simple materials. So pretty. I will make these for our teachers at school.
Thank you for sharing.
I love this idea! I’m going to have my Webelos scouts make these for their families for Valentine’s Day. Thank you so much!
I’m totally making these for May Day this year. :3
This is an absolutely adorable idea and looks easy enough to do….thank you so much for sharing 🙂 Hugs…Janie
How can I get the coffee filter rose pattern and instructionsplease provide the coffee filter rose pattern and instruction