This shop has been compensated by Collective Bias, Inc. and its advertiser. All opinions are mine alone. #CarpetProtect #CollectiveBias
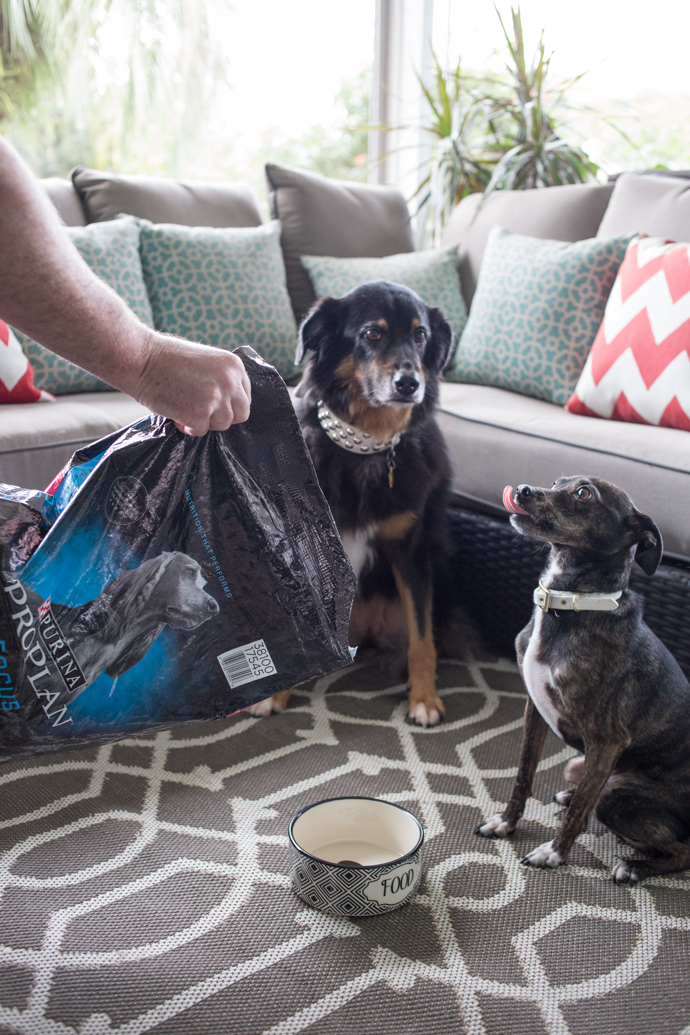
If you know anything about me, you know that I am sliiiiiightly obsessed with my fur babies. Sherman and Lucia are such a huge part of our family, and not a day goes by that I am not shamelessly posting one or both of them across my social media outlets. Although Lucia and Sherman are part of the same family, their personalities could not be more different. Lucia (our 8 year old Australian Shepherd) is the beauty of the pack, and Sherman (our 3 year old rescue pup…we think he’s Italian Greyhound and Chihuahua) is the beast.
Where Lucia is regal, pretty, and generally a laid back dog, Sherman will never fail to make you laugh with his boisterous demeanor and his crazy teeth. There is one detail about Sherman that is extremely important to note: he doesn’t start his day without a bow tie! He has accumulated quite a collection over the past few years, but I decided it was high time for me to DIY some at home. Today’s post is here to show you how to replicate my creation! So, if you’re looking to make a no-sew dog bow tie collar slide like Sherman’s, let me lay it all out for you!
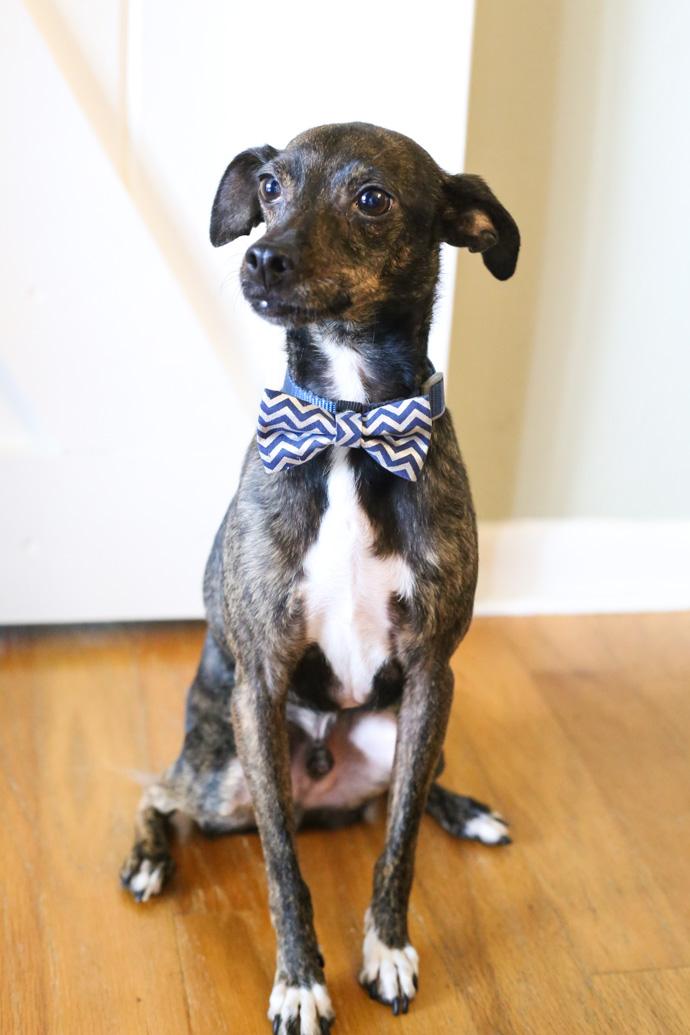
Sherman is on the small side of the dog world. He weighs in at 11 pounds, so his bow ties have to be petite! You can always adjust the size of the No-Sew Dog Bow Tie Collar Slide to suit your furry friend!
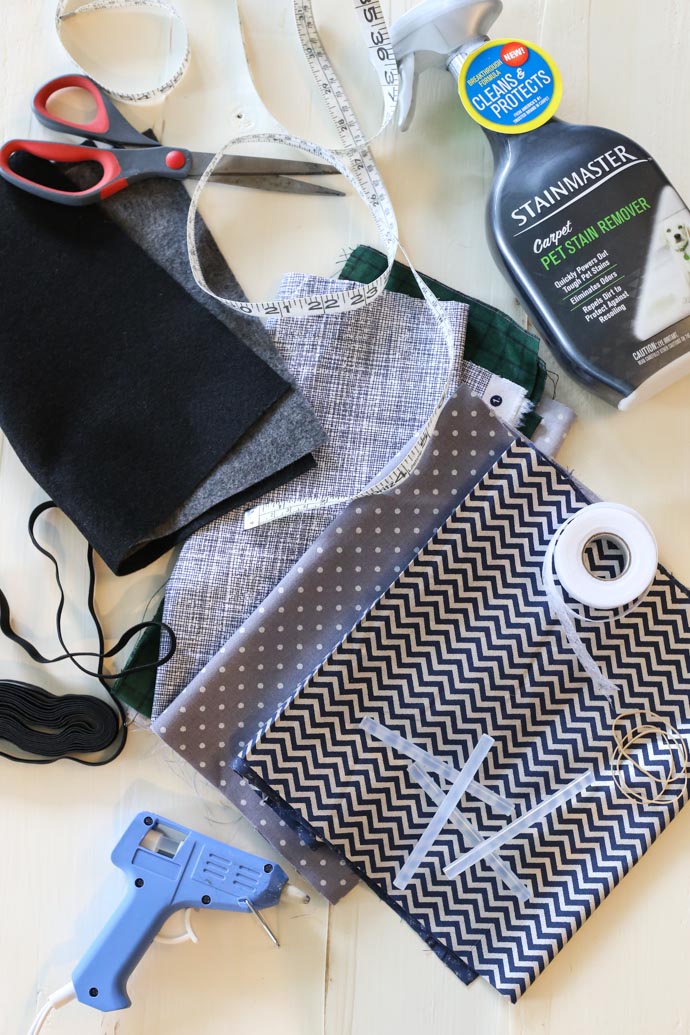
You need the following materials to create a 3.25″ wide No-Sew Dog Bow Tie Collar Slide!
- 4″ x 7″ piece of fabric for the main bow tie
- 4″ x 1.25″ piece of fabric for the center (you will trim about 1″ off eventually)
- Fabric tape
- Thin rubber band
- Hot glue
- .25″ thick elastic ribbon (or thinner) – cut to a 2.25″ length
- Felt (optional)
- You will also need an iron and a hot glue gun!
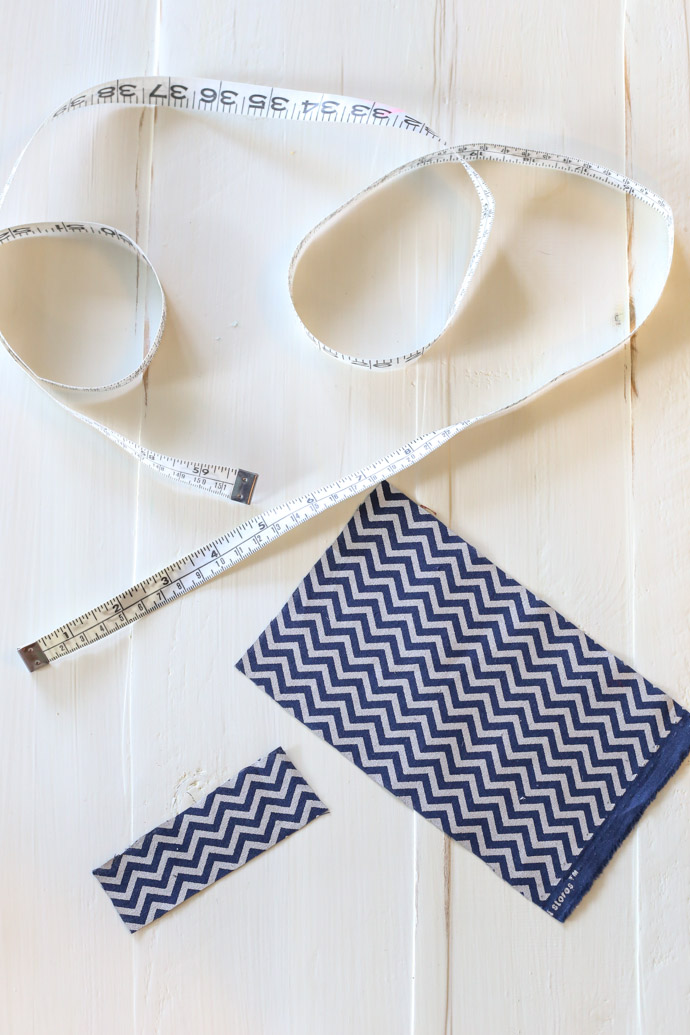
First, cut the fabric of your choice into the dimensions listed above. Next, take the larger piece and fold it into a tri-fold (it won’t completely overlap – this will create the width of the bow tie, so you can adjust accordingly).
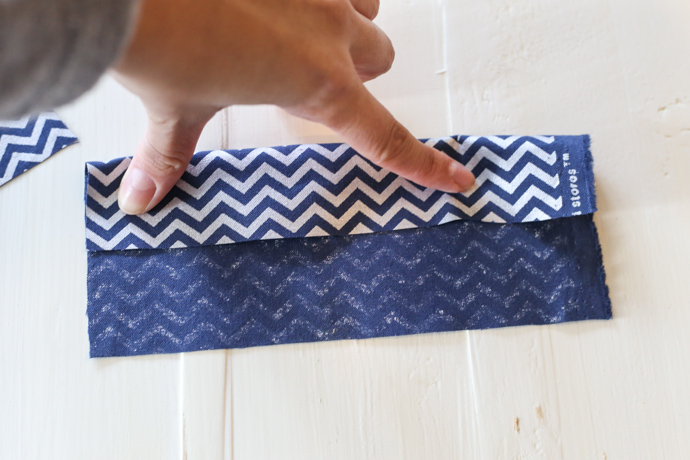
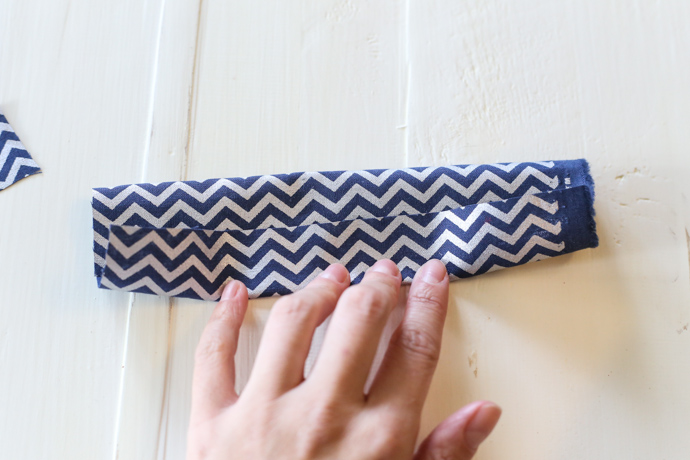
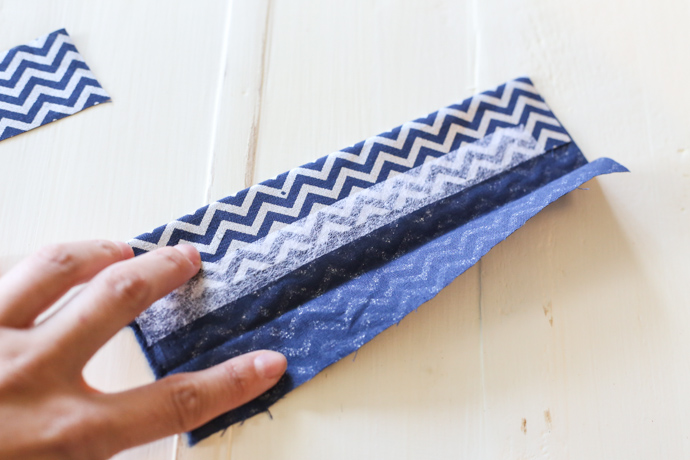
Place a strip of fabric tape on the inside fold of the fabric flap, then iron to fuse the piece together.
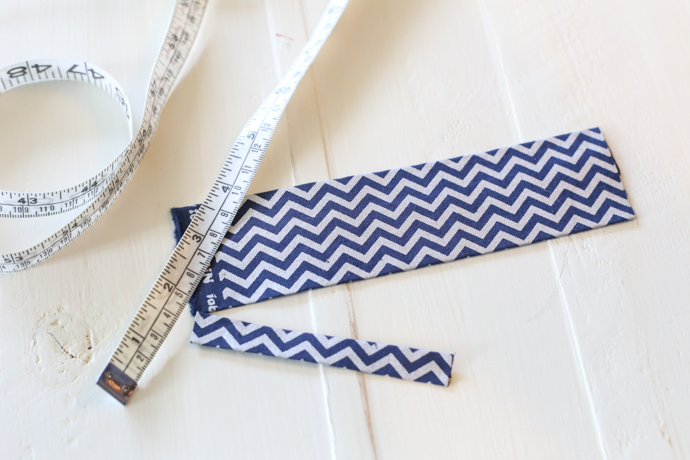
Repeat the same process with the smaller piece of fabric to create the wrap for the center of the bow tie.
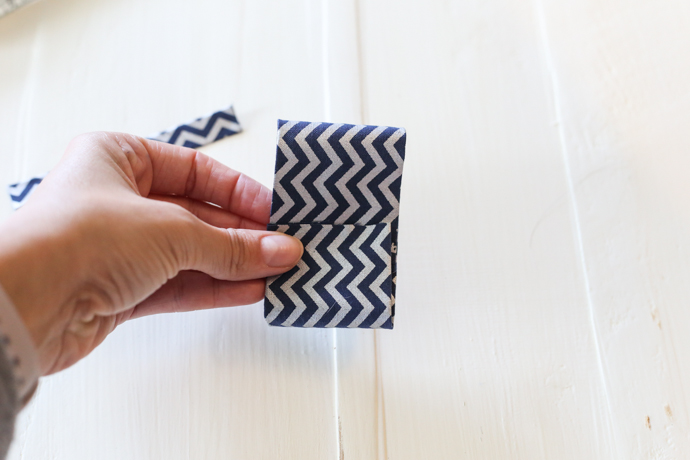
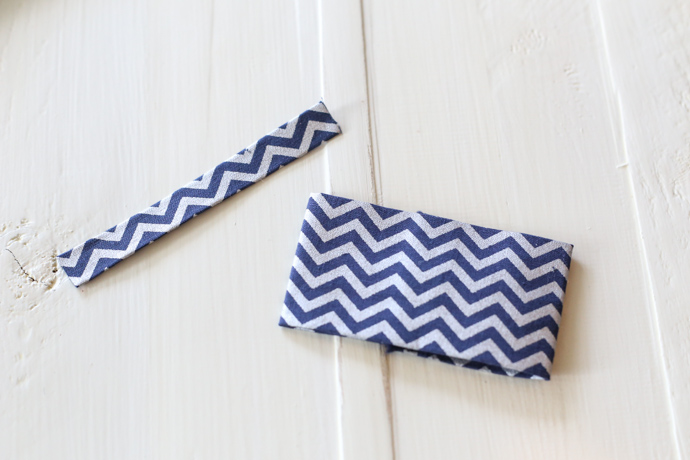
Back to the main fabric piece for the bow tie! Slightly overlap the ends of the larger piece of fabric together and fuse them with a piece of fabric tape. When you iron this piece, make sure the ends fall in the center. The press of the iron will create a small rectangle and will be the body of your bow tie!
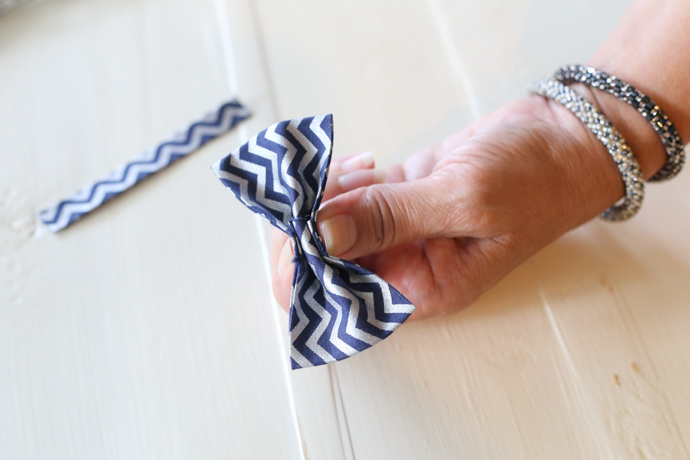
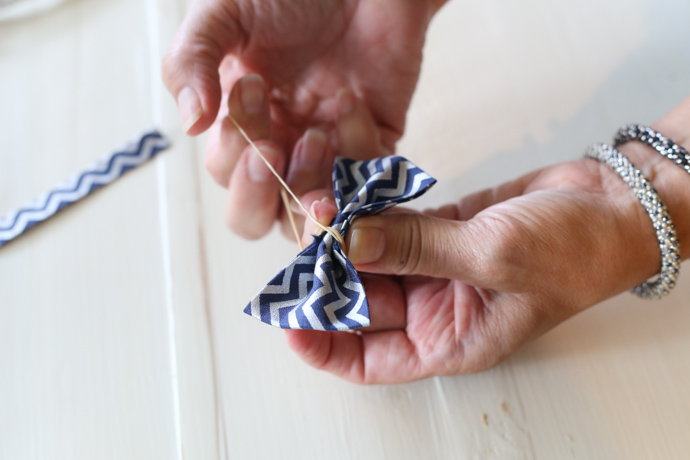
Next, create the bow. Carefully pinch the center of the large fabric piece together to create a bow shape. When it is in the desired shape, secure the center tightly with a rubber band.
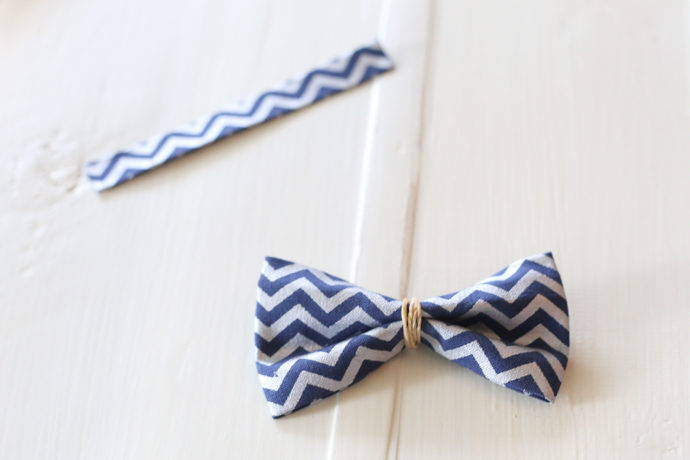
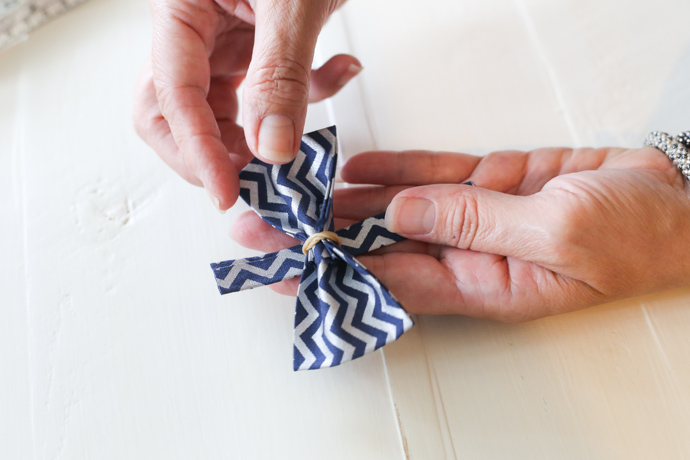
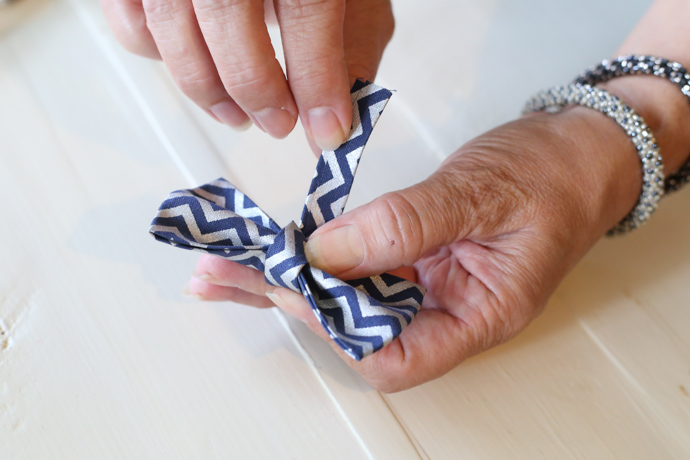
Now, you will use the smaller fabric piece to wrap the center of the bow! You will have extra fabric, so start with one end – attach it to the back of the bow tie with a small dot of hot glue. Wrap the fabric around the center of the bow tie: cut it to fit so the ends just meet at the back of the bow tie. Secure with another dot of hot glue.
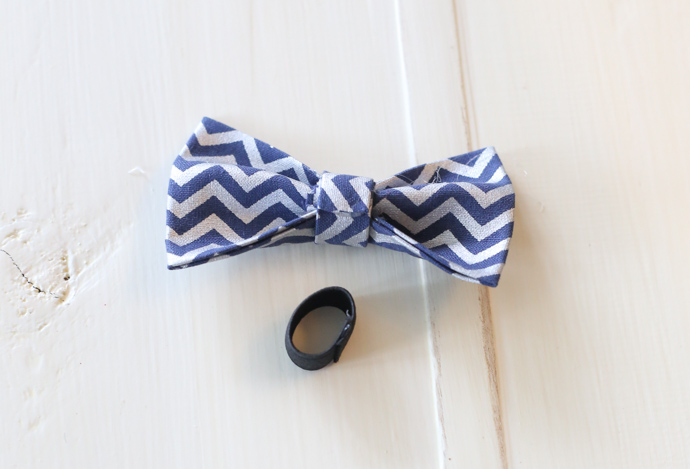
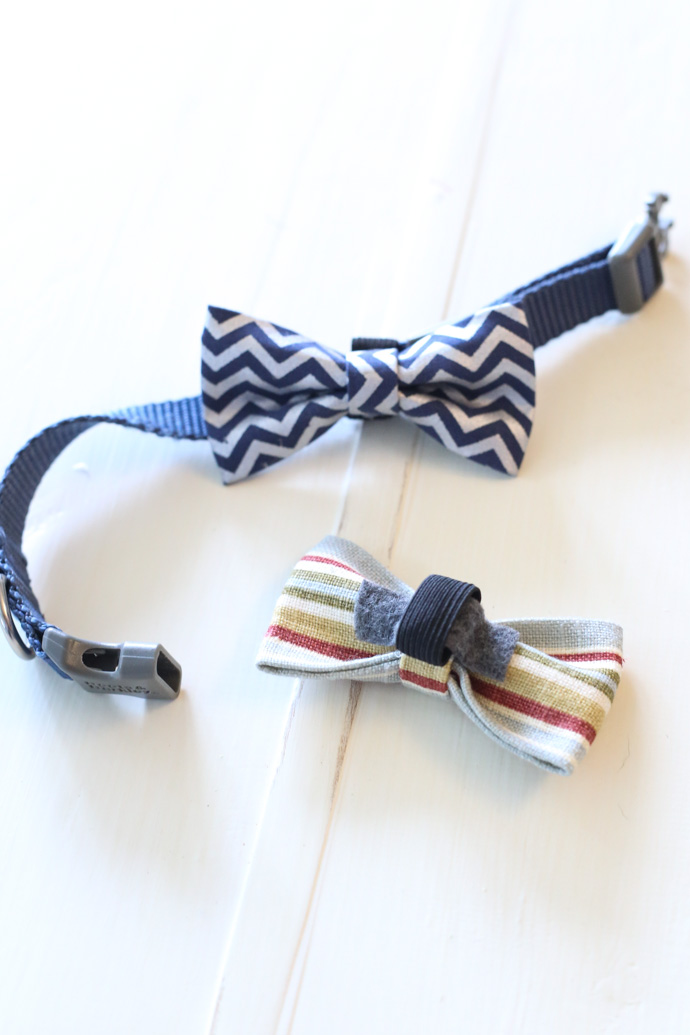
To finish the bow tie, take the piece of elastic ribbon and secure the ends together with hot glue to make a loop. Then, glue the seam side down to the back of the bow tie. Allow it to dry and cool. If desired, you can cut a small rectangle of felt and glue it over the seam of the elastic afterward. I like how it creates a more finished look on the back of the striped bow tie, but it is completely optional!
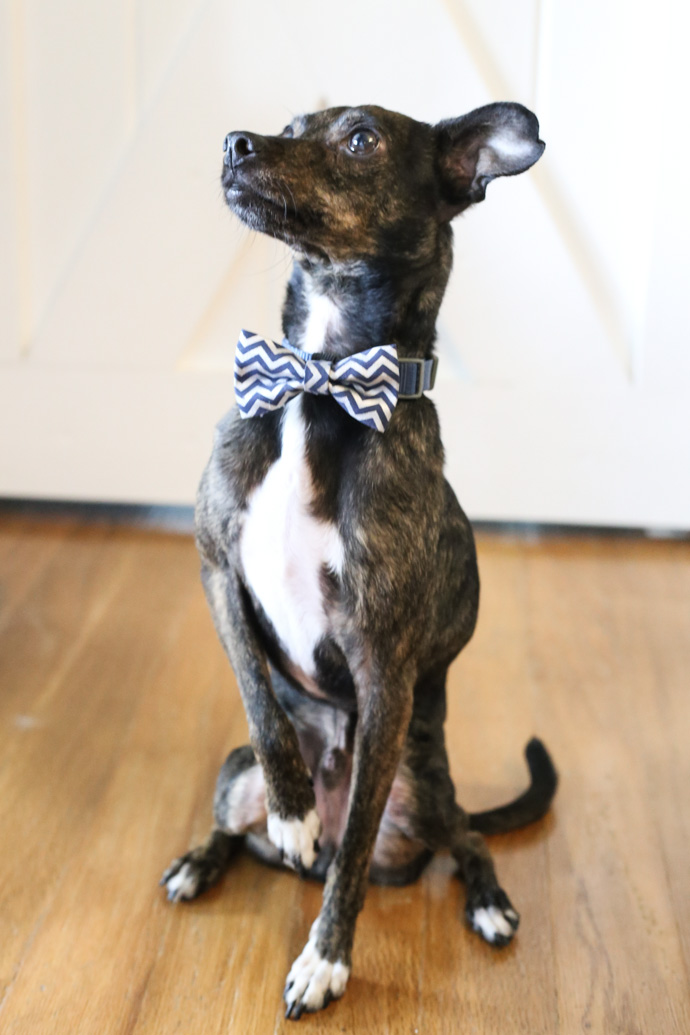
The final step – slide the bow tie onto your dog’s collar and enjoy your handiwork! I kid you not, making a No-Sew Dog Bow Tie Collar Slide only took about 5-10 minutes to complete once I figured out the process, and now I’m basically trying to suppress my desire to create a new bow tie for Sherman for every single day of the year. Because you only need a minimal amount of fabric, you can pick up remnants at a fabric store for pennies! Pretty great, right???
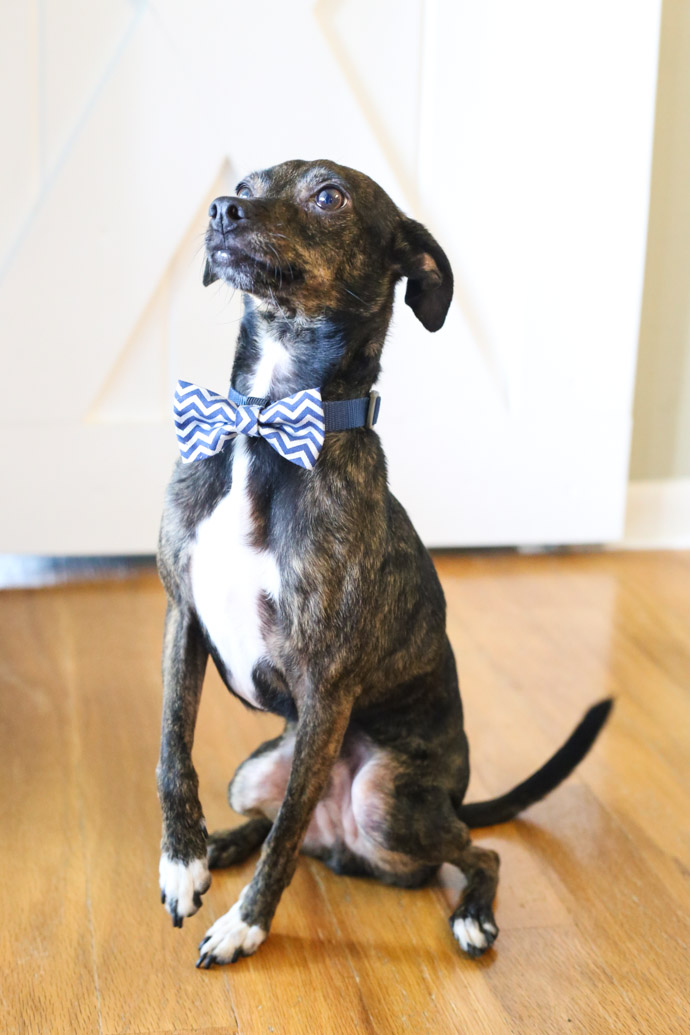
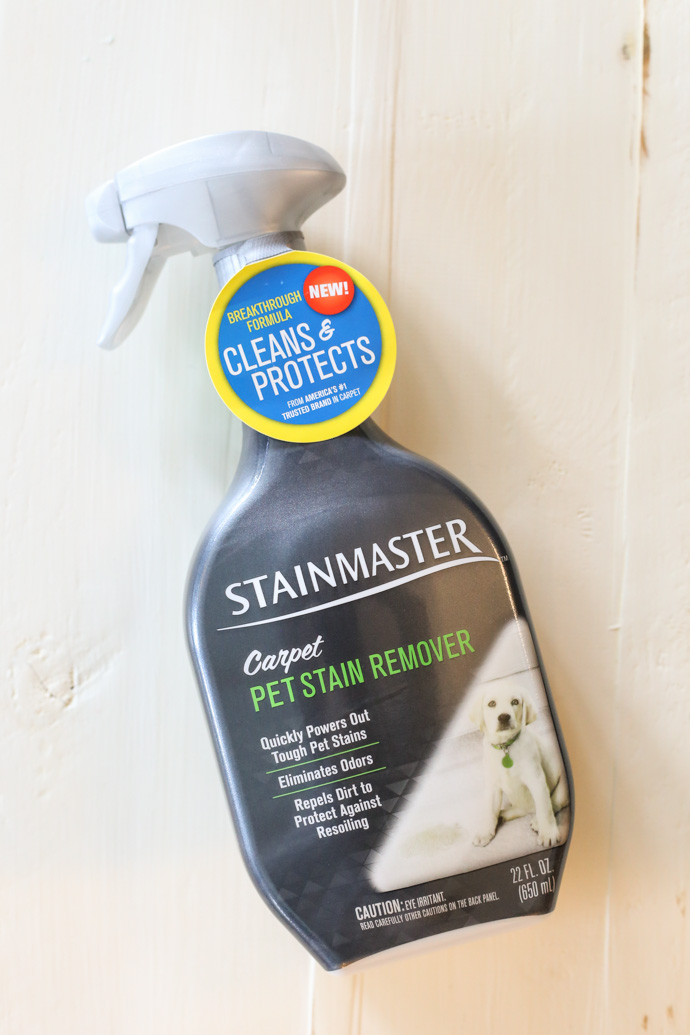
Of course, being mom to my furbabies isn’t all about making them look dapper each day – there is a lot of care involved! Even the most well behaved, well trained dog will have an accident here and there. It simply comes with the territory! Over the years I’ve hunted for ways to make sure any unexpected messes get cleaned out of the carpet, and STAINMASTER® Carpet Pet Stain Remover is basically a new essential item for me to have on hand! This product removes pet stains, eliminates odors, and repels dirt: talk about a triple whammy of greatness. it leaves behind an invisible shield that helps to repel dirt and makes it easier to clean the following time.
I am especially fond of the powerful ODOR REMOVE™ technology – it starts to eliminate odors within minutes. It’s funny how nowadays I don’t get squeamish about cleaning up a mess: it’s always the smell that gets to me! No more!!! Another great thing about the STAINMASTER Carpet Pet Stain Remover is that it can be used on stains other than the ones left by pets. Coffee, jelly, chocolate, soil: it will take care of those too! I love a multi-use product!
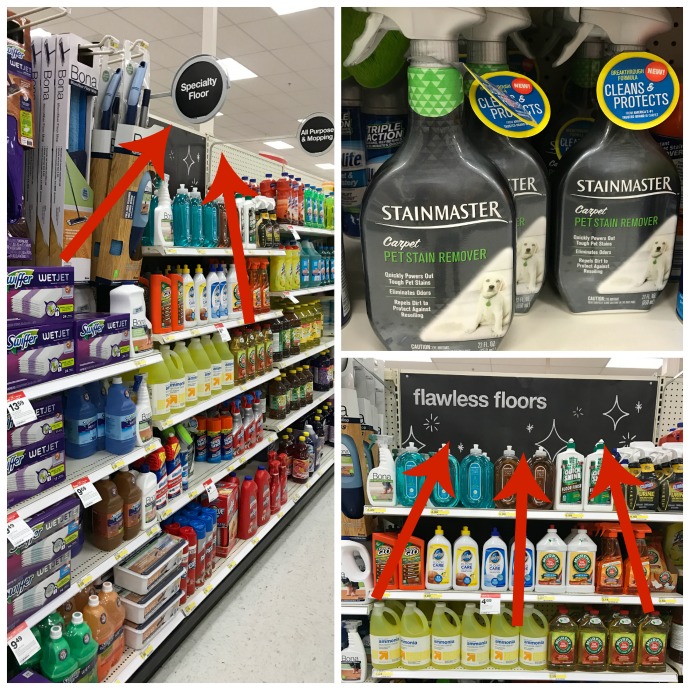
STAINMASTER® Carpet Pet Stain Remover is available in the cleaning aisle at Target. I located it next to other products to clean floors and carpets! There is currently a Cartwheel offer for 25% off available to use! I shopped for it at the Tampa West location. STAINMASTER Carpet Pet Stain Remover is not available at all Target locations, but is also available online. Click here to find STAINMASTER Carpet Pet Stain Remover, or have it shipped for free to your local Target store.
Do you ever create accessories for your pets? Would you try your hand at a No-Sew Dog Bow Tie Collar Slide for your furbaby too?










Love the bow ties!!! The dog is pretty cute too.
This bow tie is so adorable on your pup! What a handsome fellow. 🙂 Thanks so much for a very easy to follow tutorial. Love it. {client}
Thanks for the bow tutorial really cute
[…] day is the perfect occasion for a no-sew dog bowtie but wouldn’t this be so cute on a wedding or graduation day? Even the dog should get […]
[…] how big your scraps are and how many colors coordinate. When my dog Owen was a puppy, I made him a bow tie (which he soon tore off but it was […]
[…] Hey there friends! Welcome back to Doggo Bloggo. This week Lily and I are making a bow tie for her friend Mia. This is an easy no-sew way to make a bow tie that slips right onto any collar. The Original post is here. […]
[…] This design is for these searching for a fast, no-sew challenge. The result’s an cute, eye-catching accent in your canine’s collar. You possibly can simply full this challenge in about 5 to 10 minutes with out spending a lot cash. Odds are, you have already got what you want. […]
[…] This design is for these on the lookout for a fast, no-sew challenge. The result’s an lovable, eye-catching accent to your canine’s collar. You possibly can simply full this challenge in about 5 to 10 minutes with out spending a lot cash. Odds are, you have already got what you want. […]