

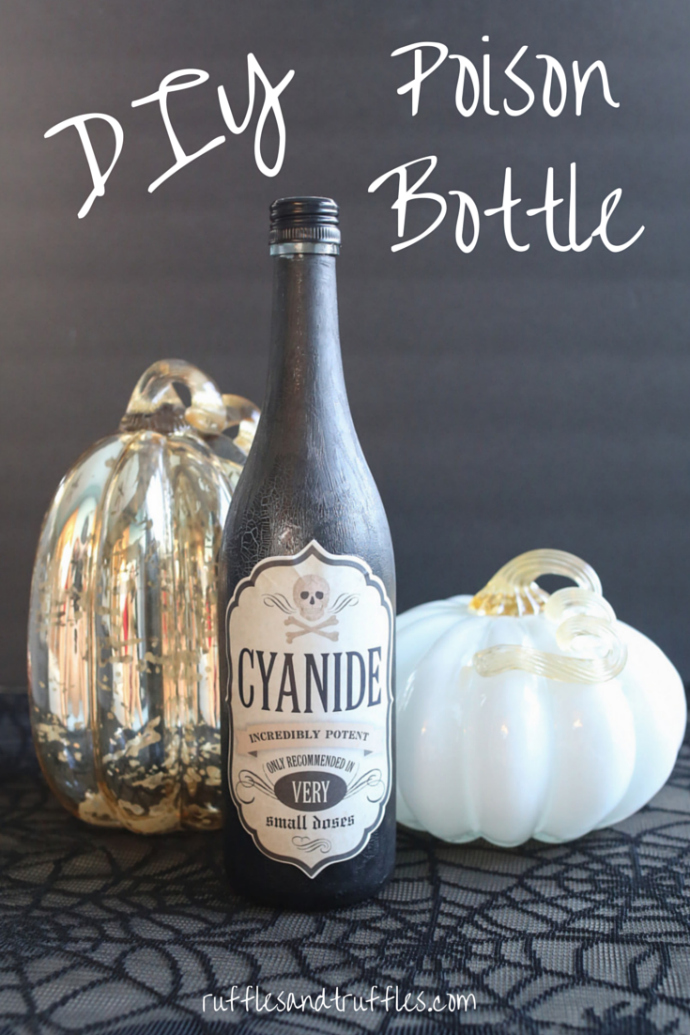
I’m nowhere near done with my Halloween decor this year, and that’s the truth. It’s funny: for as much as I love Halloween, you’d think I would have so many more decorations than I currently do. Honestly, in previous years I really had to keep things at a minimum. Apartment living really doesn’t allow for much in the way of storage, and so I’d find myself only picking out a few small items to display. However, last year when we moved into our house I started to pick up some more odds and ends, and even make some myself! Including this DIY Halloween Poison Bottle I have today!
First, I have to make a confession. I planned on making poison/potion bottles like these….last year. I knew I would require empty wine bottles for the project, so I began saving a few outside in our garage to have on hand. A couple of bottles turned into a group of bottles…which then grew to an entire shelf of empty wine bottles. Somehow I just kept collecting the bottles and never made any projects with them. Until now. I have promised myself I’m going to create a bunch of different holiday decorations using wine bottles. That, or I need to fill our recycling bin. Haha!
The process for creating this bottle was pretty simple and only required a few materials.
What you’ll need:
Empty wine bottle (clear)
Mod Podge
Sponge brush
Crackle paint
Spooky bottle label
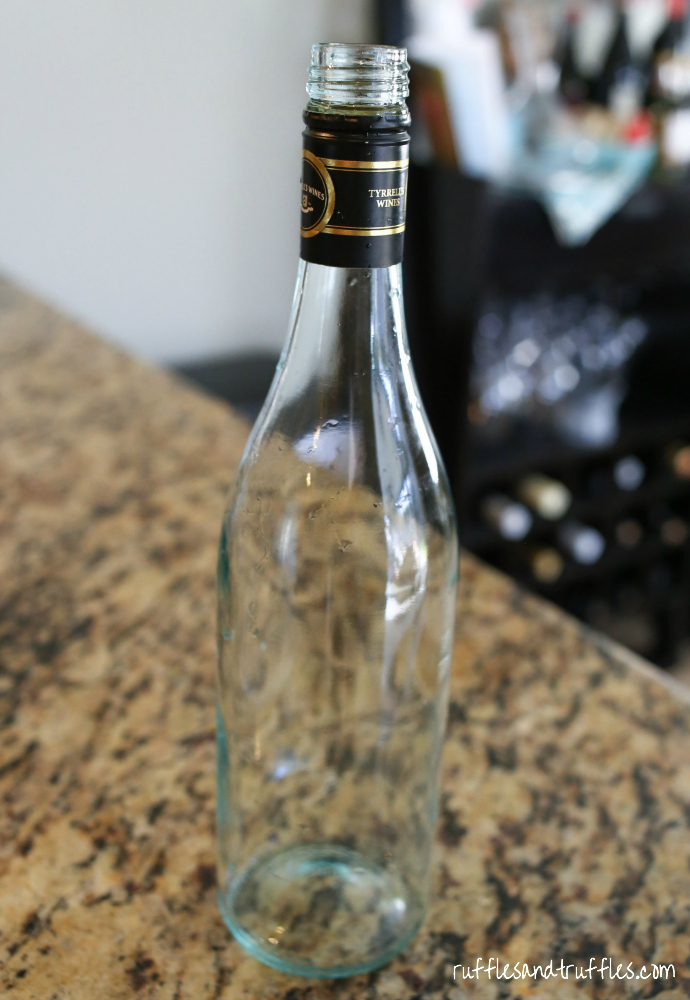
To start: a wine bottle! I selected a clear wine bottle for this project because I wanted to be able to see through when the crackle paint was applied. I removed the label from the bottle by soaking it in a dish of hot water for about 15 minutes. It peeled right off and didn’t leave any sticky residue – score!
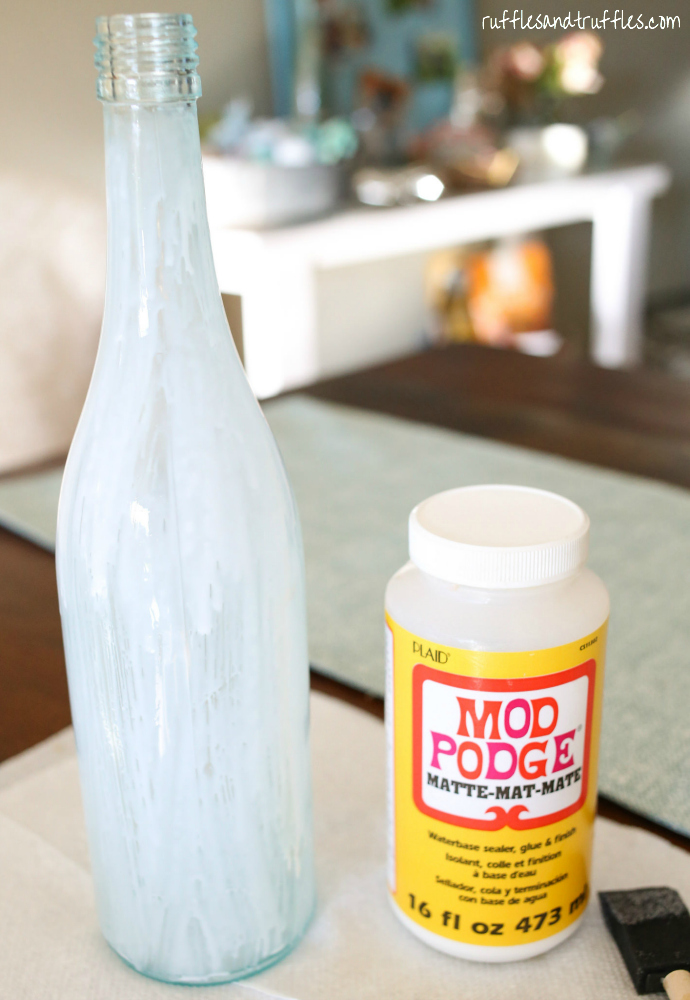
After drying the bottle, I mixed a small amount of Mod Podge with roughly an equal amount of water. I used a sponge brush to paint the entire bottle with the mixture. I allowed it to dry before moving on to the next step.
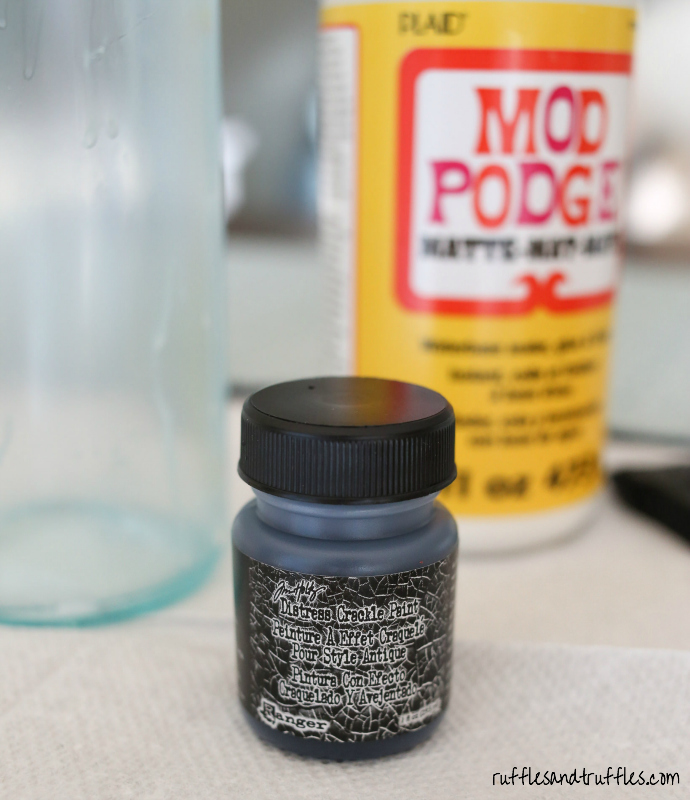
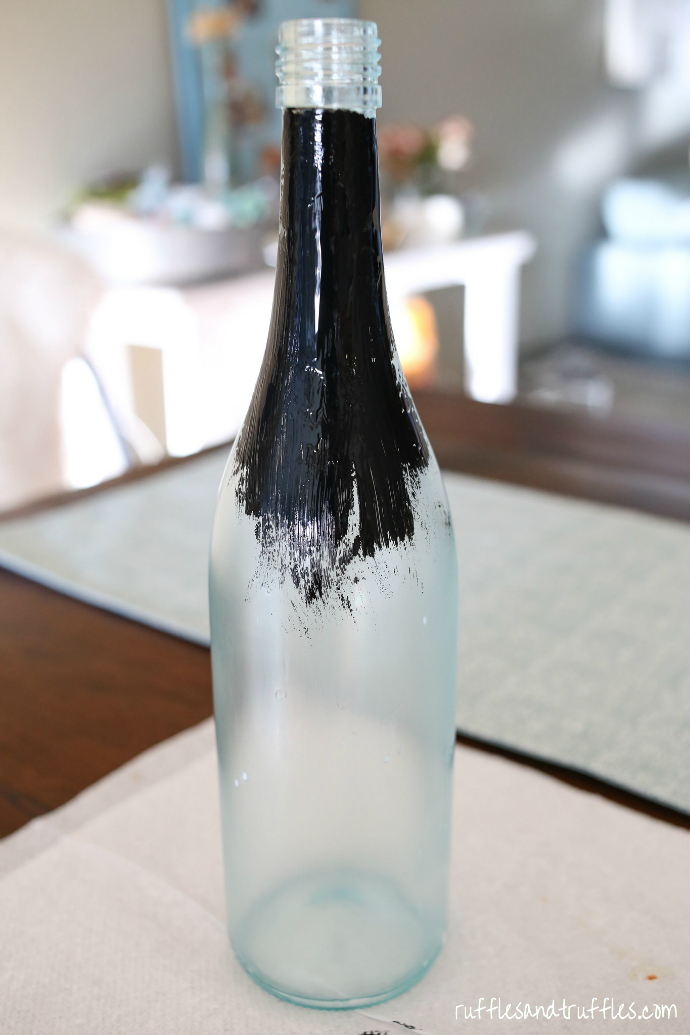
I got my hands on this particular type of black crackle paint from the craft store. It came with an applicator brush attached to the lid, so I used that to paint a thick layer over the top of the Mod Podge layer.
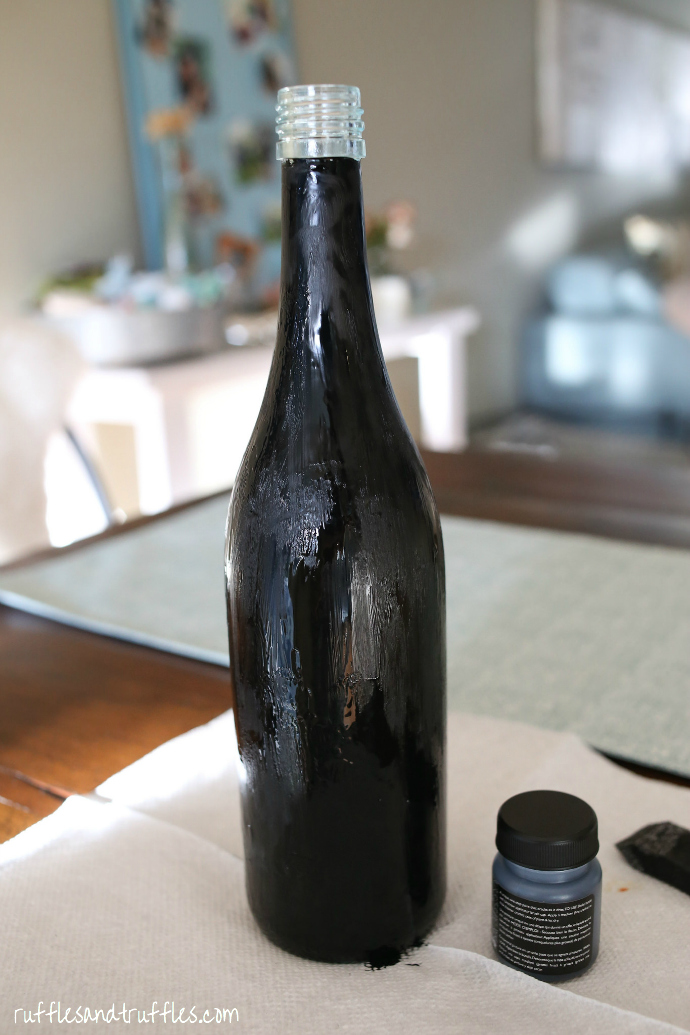
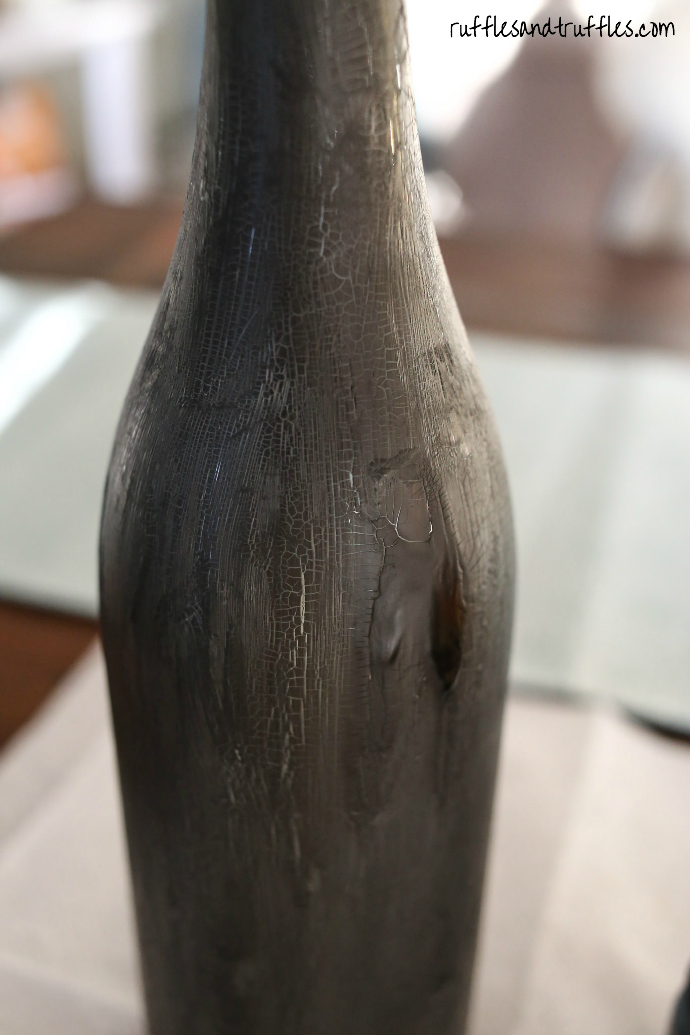
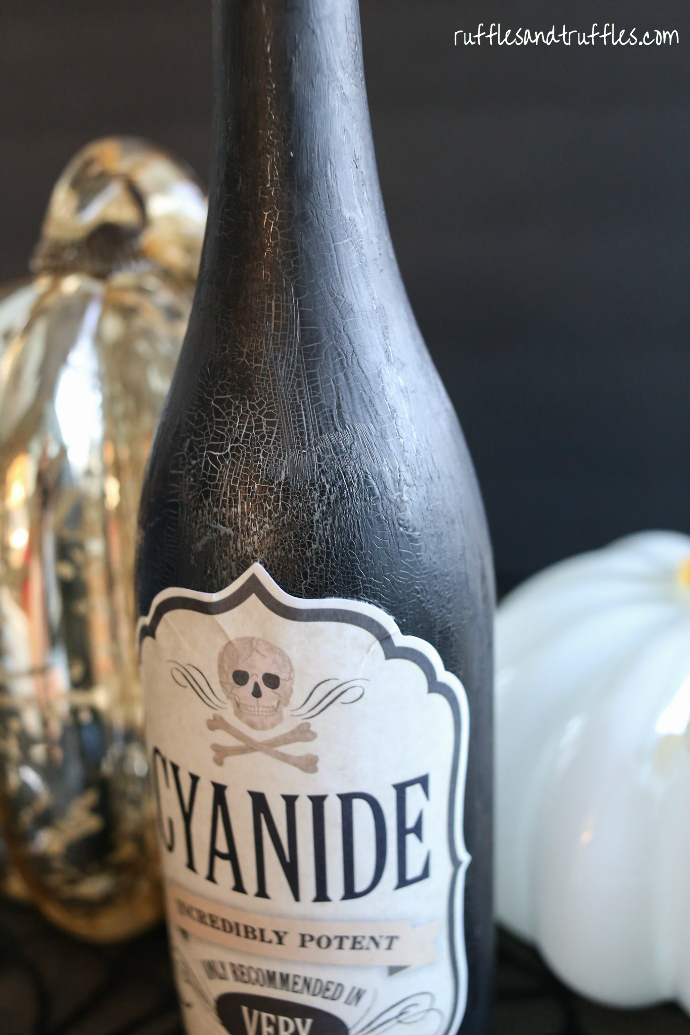
It didn’t look like much at first, but as it dried, the cracks began to form! I let the bottle sit overnight to allow the paint to fully dry.
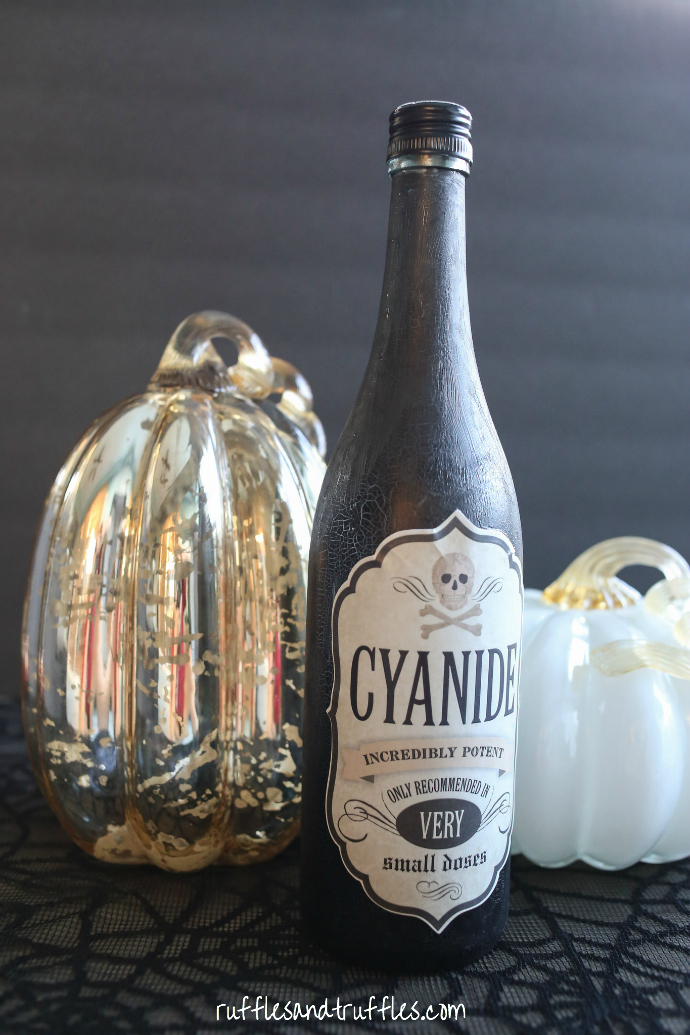
To finish my creation, I had to adhere a label. I actually picked up a pack of Halloween bottle labels when I spotted them at T.J. Maxx last year. They are backed with adhesive, so I was able to stick the label to my bottle. However, the label was on the thick side and it wasn’t staying stuck down around the edges. No problem – I painted around and underneath the edges with Mod Podge and smoothed those edges down. Perfecto! If you don’t happen to have a pack of these labels hanging around, don’t fret. You could very simply find or make a printable on regular printer paper, cut it to the desired label shape, and use Mod Podge to adhere it to your bottle.
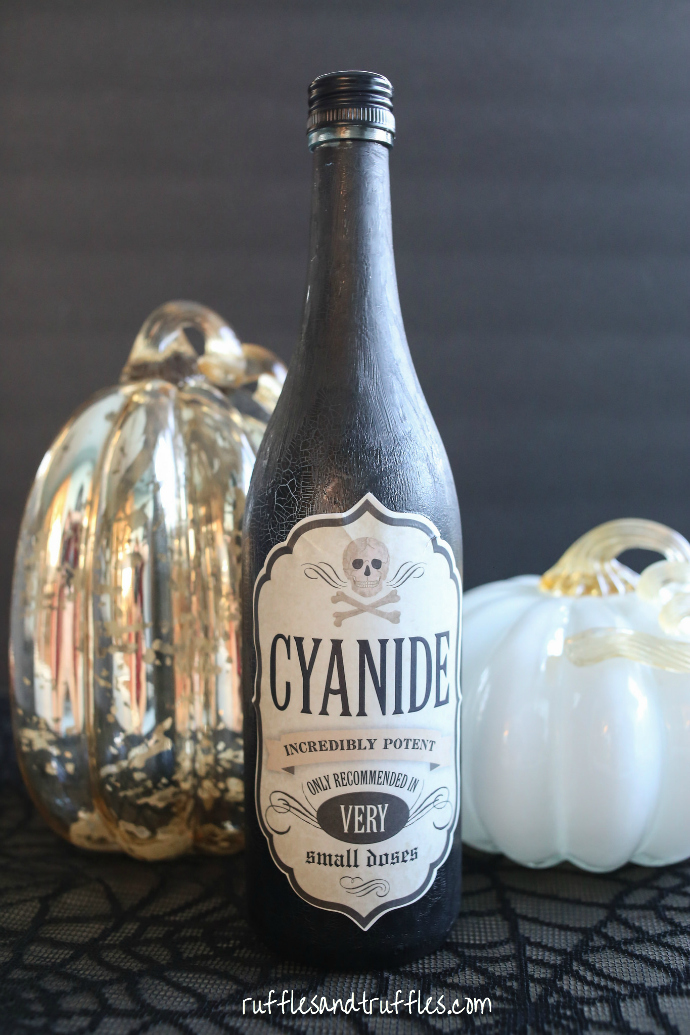
Once the bottle has dried completely, it’s time to place it on display! I couldn’t resist propping mine up next to one of my newest fall decor finds. I found these beautiful glass pumpkins at Home Goods for $12 a piece. I picked up two white ones and one gold. They are currently serving as a pretty centerpiece on my dining room table, and I love that they will make the transition from Halloween decor to Thanksgiving due to their neutral coloring.
Of course, now that one bottle is complete, I am having visions of filling my side board with a few more. Perhaps I will break out the paint again over the weekend!
Are you creating DIY decor for Halloween?


How clever of you!
I have tried to make it and beyond my expectation. Thank you for your sharing!
[…] DIY Potion Bottles– Re-purpose your used wine bottles into Halloween Potion Bottle decor in no time. […]