This shop has been compensated by Collective Bias, Inc. and its advertiser. All opinions are mine alone. #VinoBlockParty #CollectiveBias. The following content is intended for readers who are 21 or older.
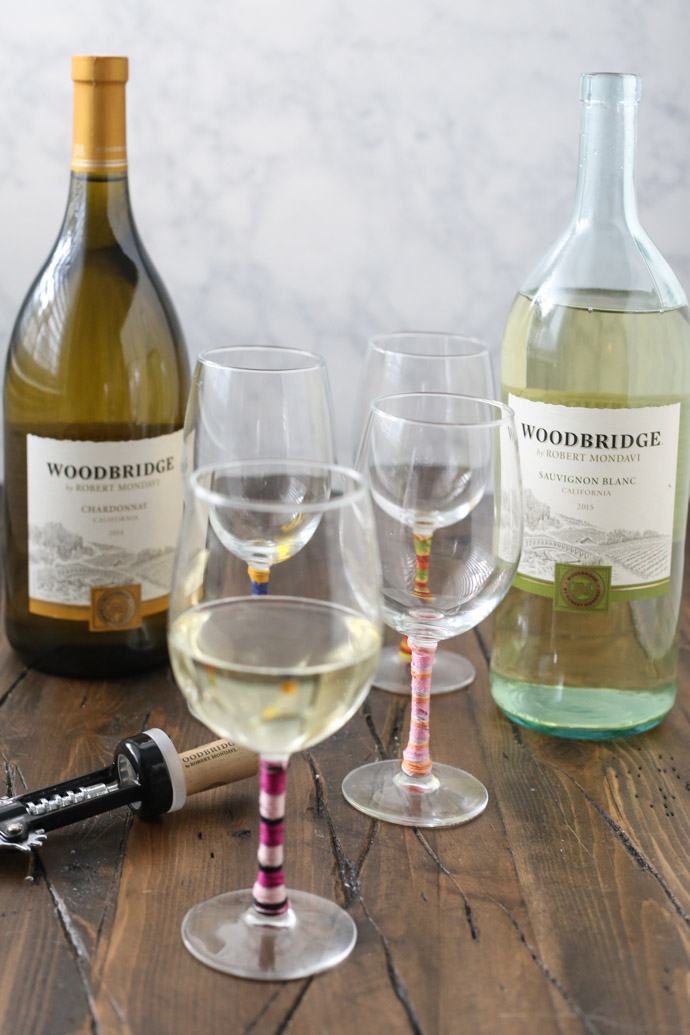
So…how’s your summer going? As July comes to a close, it’s time to start thinking about wrapping up the summer festivities – and that means block parties and get-togethers to soak up the summer to the fullest!
I remember when we lived in Wisconsin and Michigan, it was so common during the summer to have the entire neighborhood get together for a block party. Everyone would bring potluck dishes, drinks, and games. The weather was gorgeous, and a lot of times the block party would last from early evening until well after the sun went down.
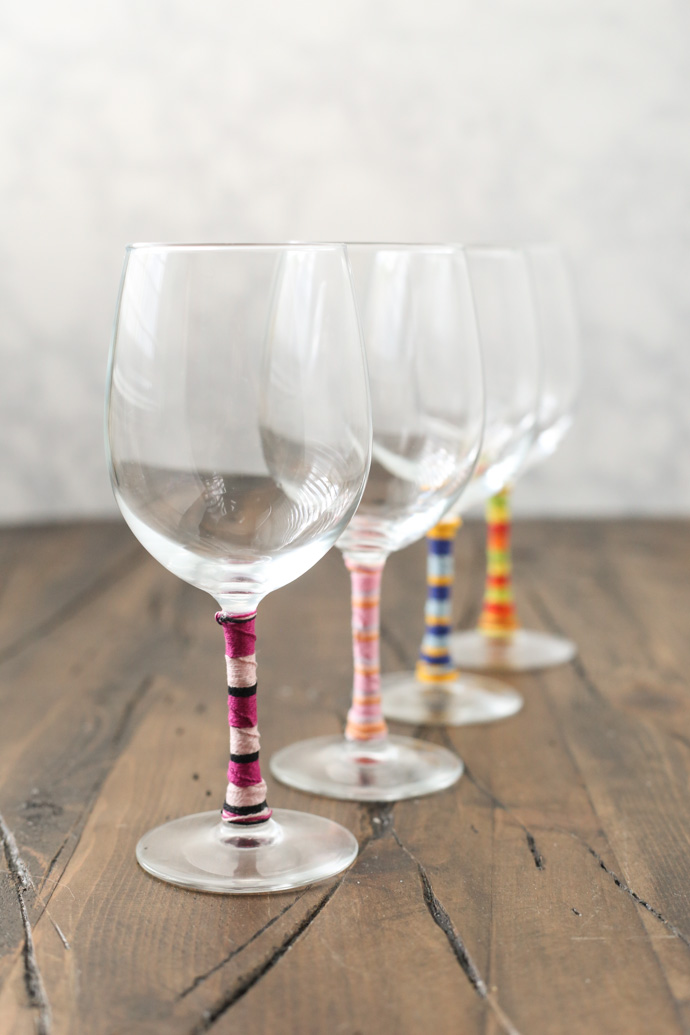
Now, if you’re planning on a summertime block party of your own in the next few weeks, it’s time to start planning a few things! Of course, if you are going to be drinking wine, there has to be a picture perfect glass to pour it into! I’m combining some childhood nostalgia into a wine-related project to bring you some easy to make friendship bracelet wine glasses!
Oh yes…you know you were a fan of making friendship bracelets back in the day. I recall having multiple varieties working at once – I’d pin one to my jeans to work on it…or have one clipped to the top of my clipboard. I had a big plastic organizer in my room filled with friendship bracelet thread, safety pins, beads, and more. There was never a shortage of patterns to create and colors to mix. Passing them back and forth between friends was always a fun thing to do, and filling our arms and ankles with the various bracelets was oh so cool.
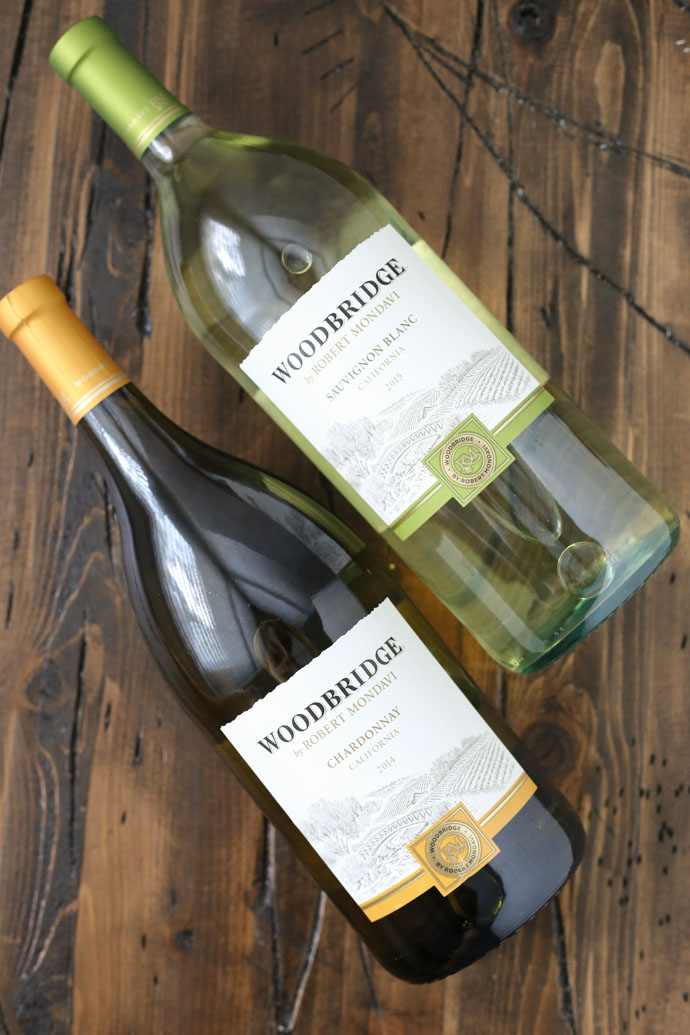
Well, how about turning the stem of a wine glass into a friendship bracelet? In addition to the summertime nostalgia, you also get a personalized glass so you can keep track of which stem is yours at the block party! They’re the perfect complement to the bottles of Woodbridge by Robert Mondavi wines that you can bring along to share with friends and family. Wine like this is certain to make the occasion even more fun!!!
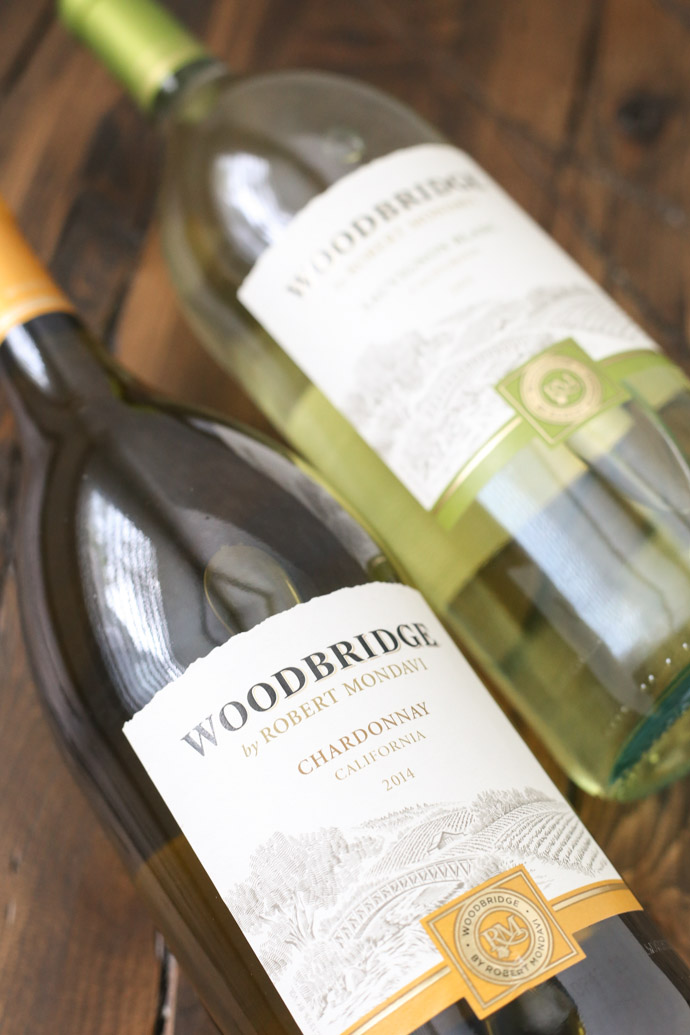
Normally I would love selecting a white and a red to bring to a party, but because it is summer and the temperatures are ridiculously hot, I thought the Chardonnay and the Sauvignon Blanc would be refreshing, cool, and crisp options for my friends to enjoy!
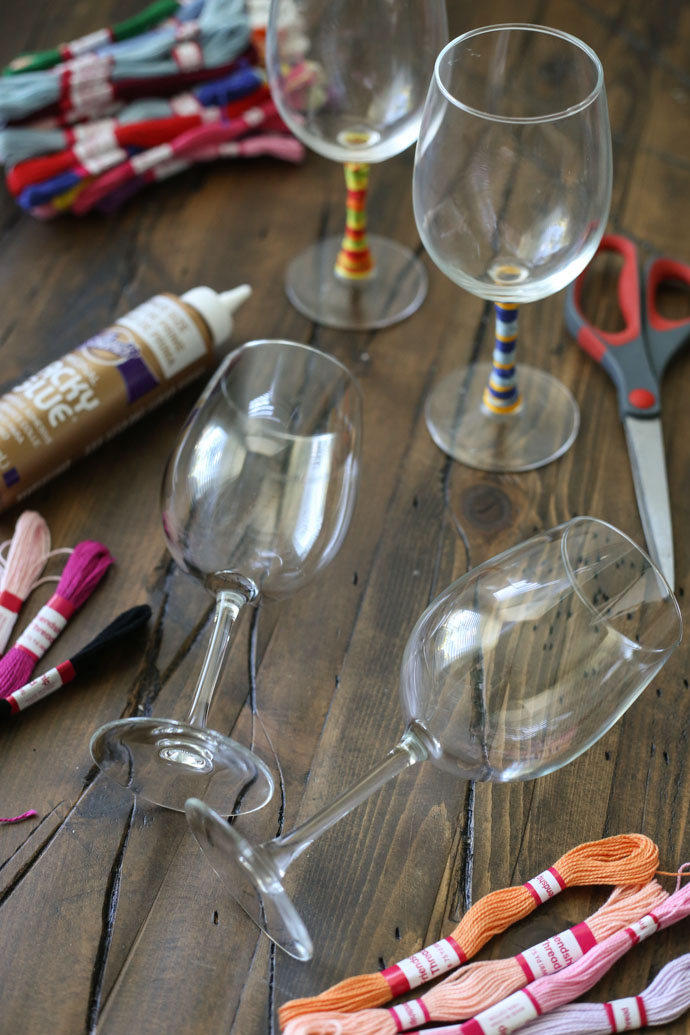
Ok, so let’s get down to business: how do you create one of these pretty stems, you ask? It’s really simple!
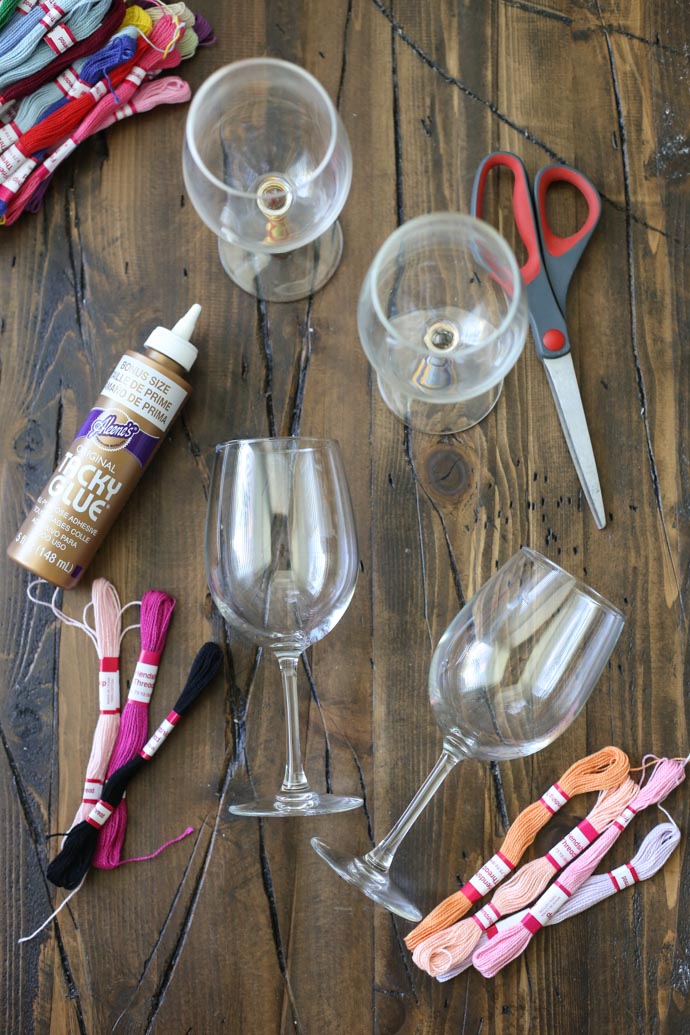
Materials needed:
- Friendship bracelet thread (embroidery thread in various colors)
- Wine glass
- Scissors
- Tacky glue
First, select the colors of thread you would like to use for the stem of your glass. I would recommend 3-4 colors! Cut each thread to about 3.5 – 4 feet long.
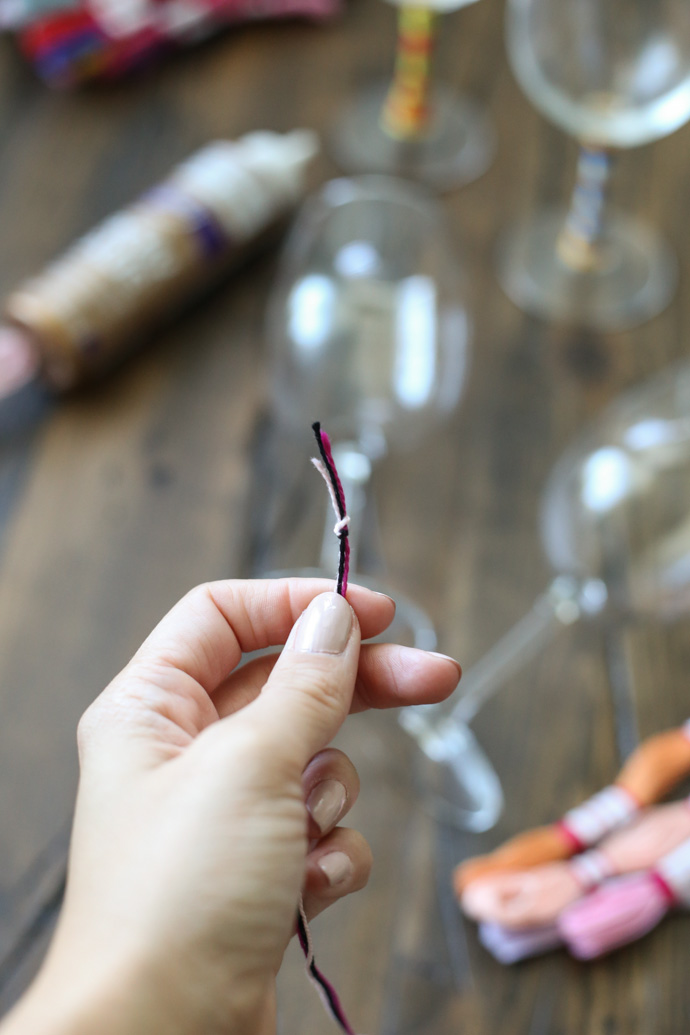
Tie the ends of the thread together to make a knot near the top.
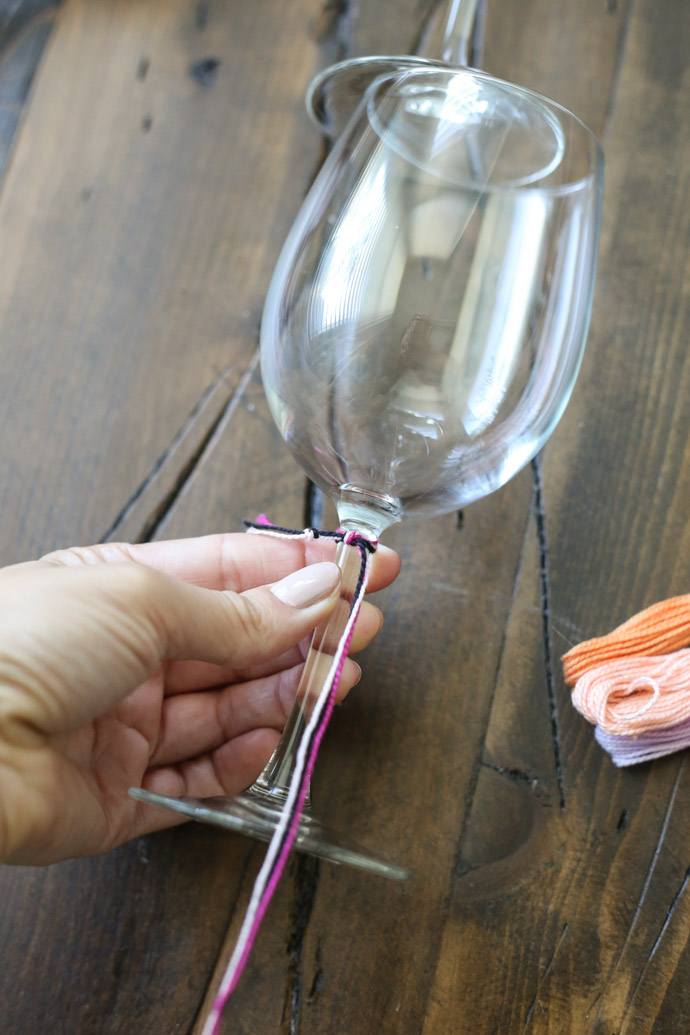
Next, double knot the top end of the threads to the stem of the wine glass (near the bottom of the vessel – top of the stem). On the glasses I used the stem grew slightly wider at the top and bottom, so make sure you can slide the thread all the way to where you want it to begin.
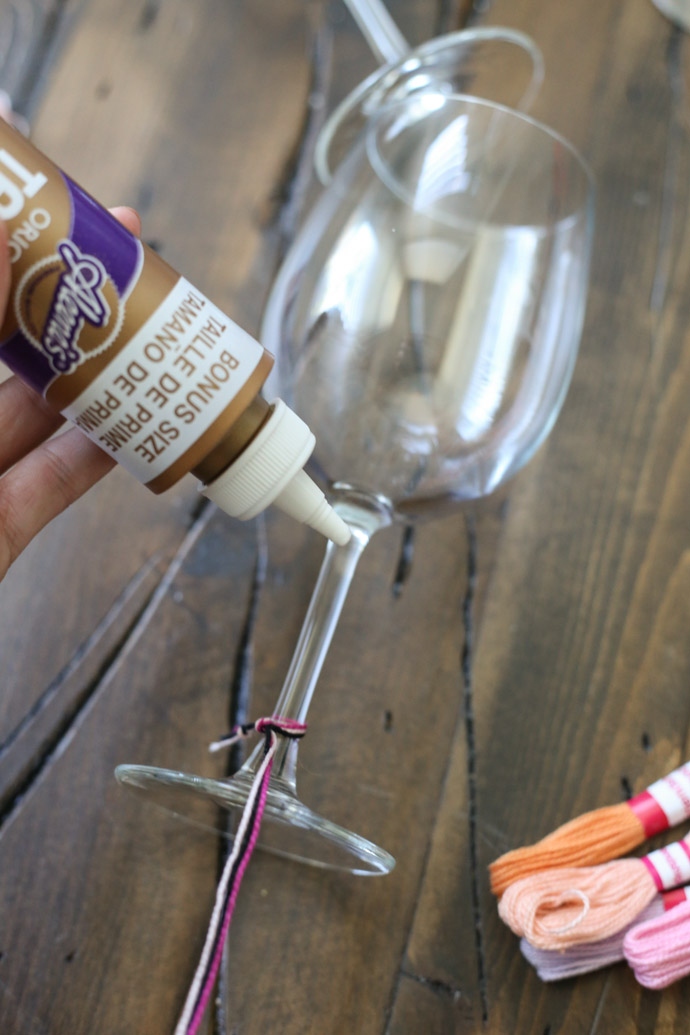
After you tie the thread to the stem, slide it down a few inches and apply a thin, even layer of tacky glue around the base of the stem where it meets the glass.
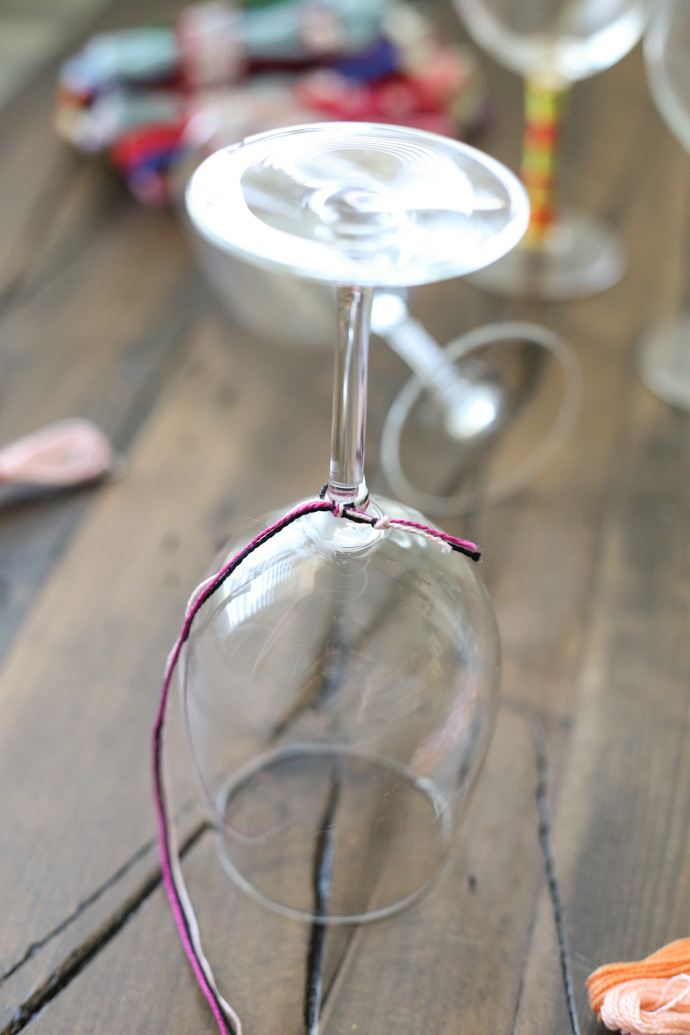
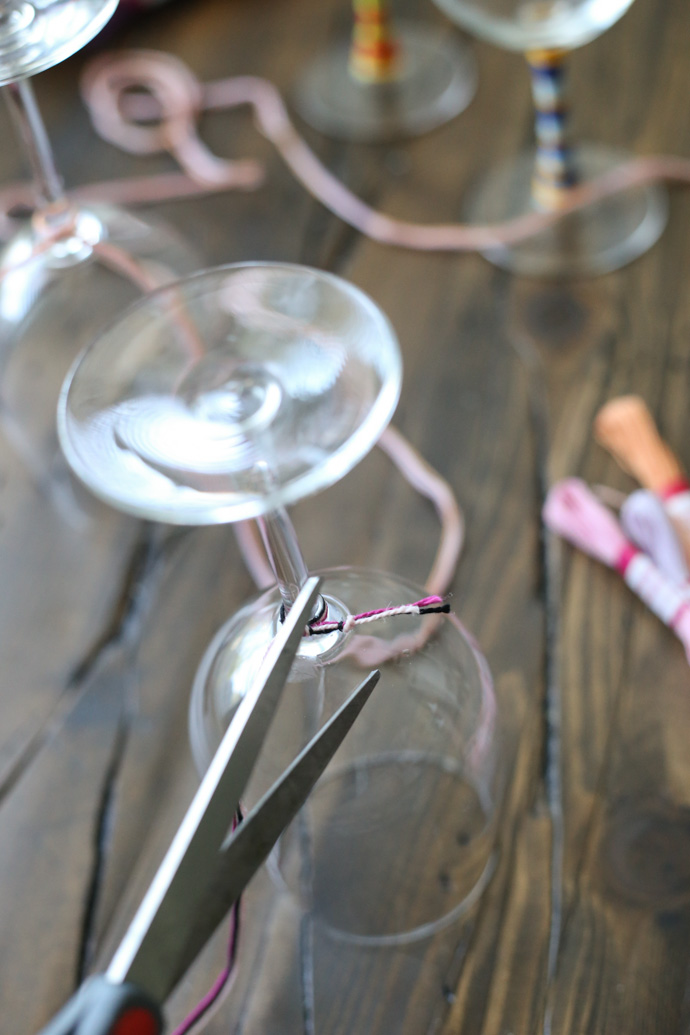
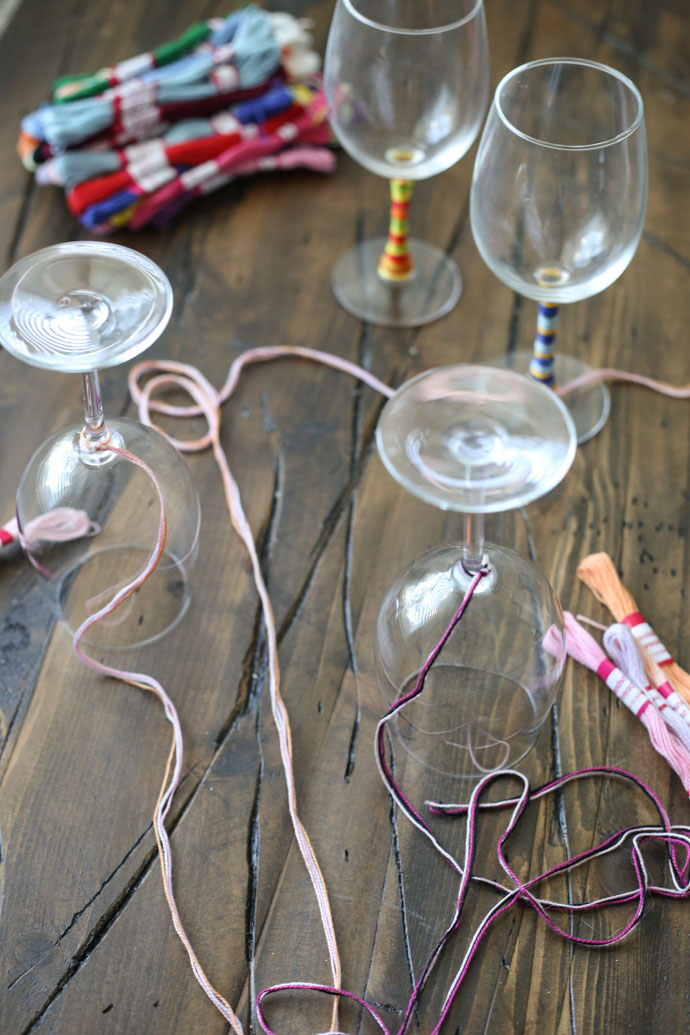
Flip the glass over and pull the thread down on top of the tacky glue. Snip the excess “tail” of thread off with scissors, smooth all of the thread into place, and then allow it to dry for at least 15-20 minutes.
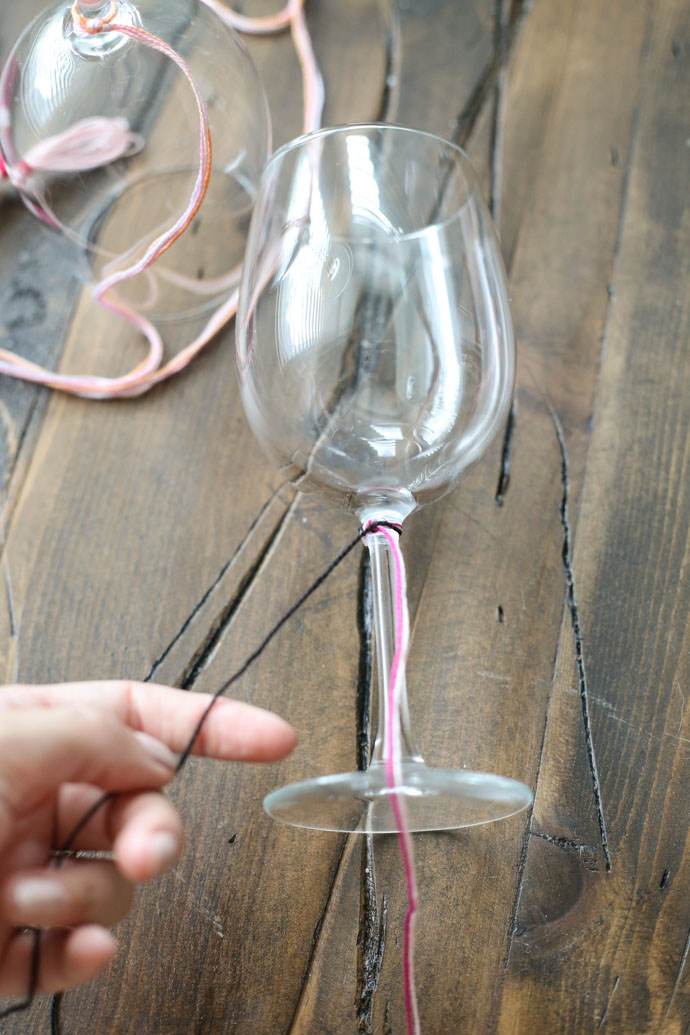
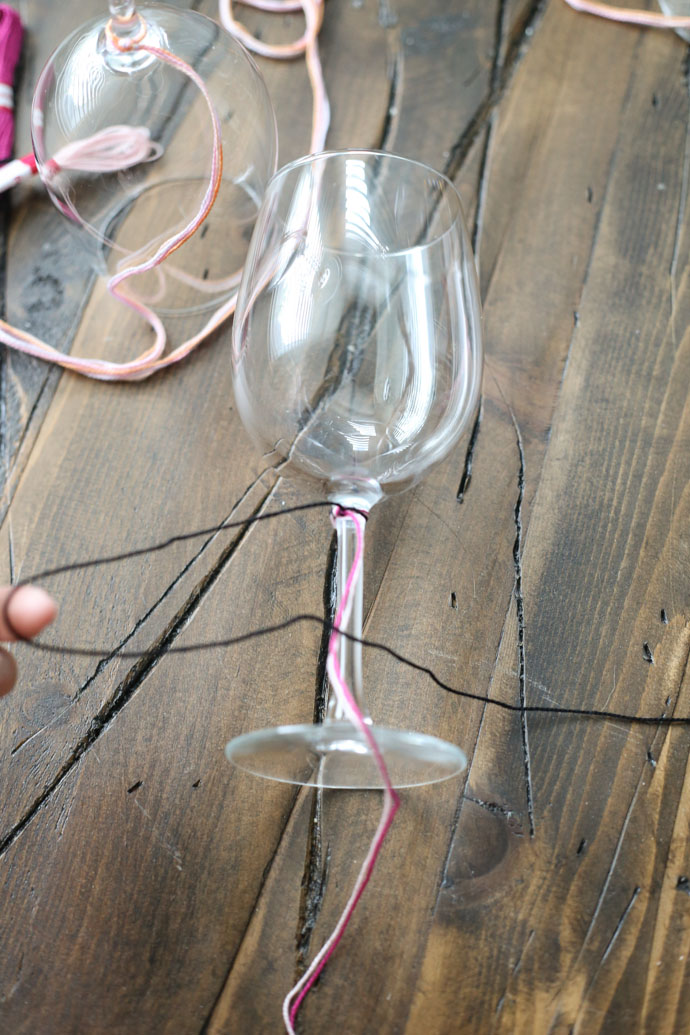
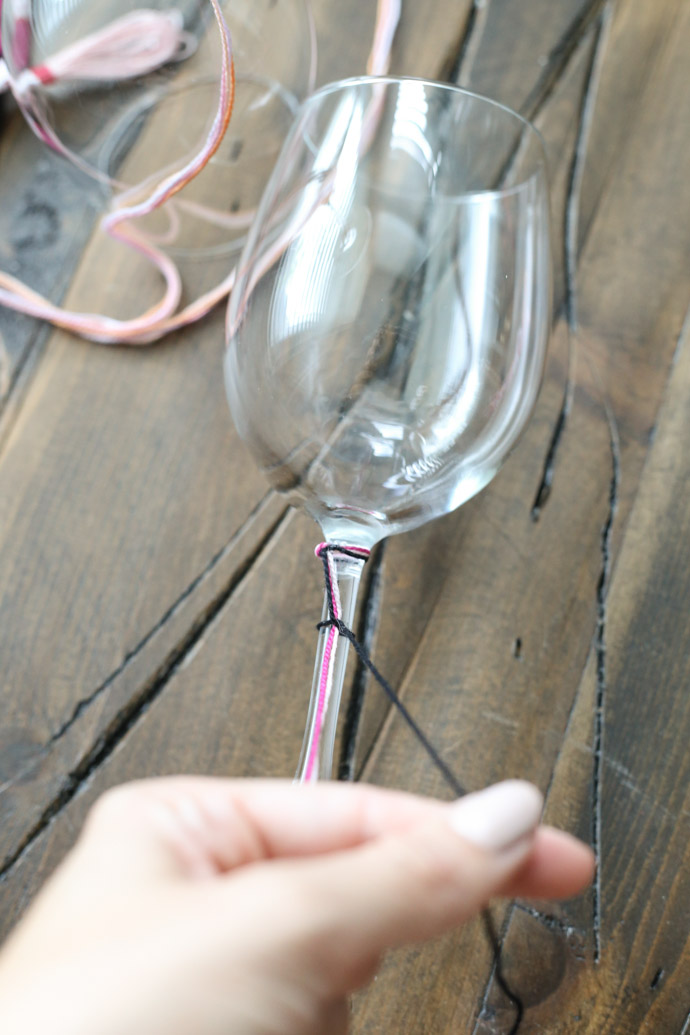
When the tacky glue has dried, you can start creating your friendship bracelet stem! Start by selecting whichever color of thread you would like to start with – pull it out to the left side of the stem. Then, create a 4 shape by crossing the thread back over the stem/other threads. Next, pull the tail of the 4 around and through the opening to create a knot. Slide the knot up to the top of the wine glass stem.
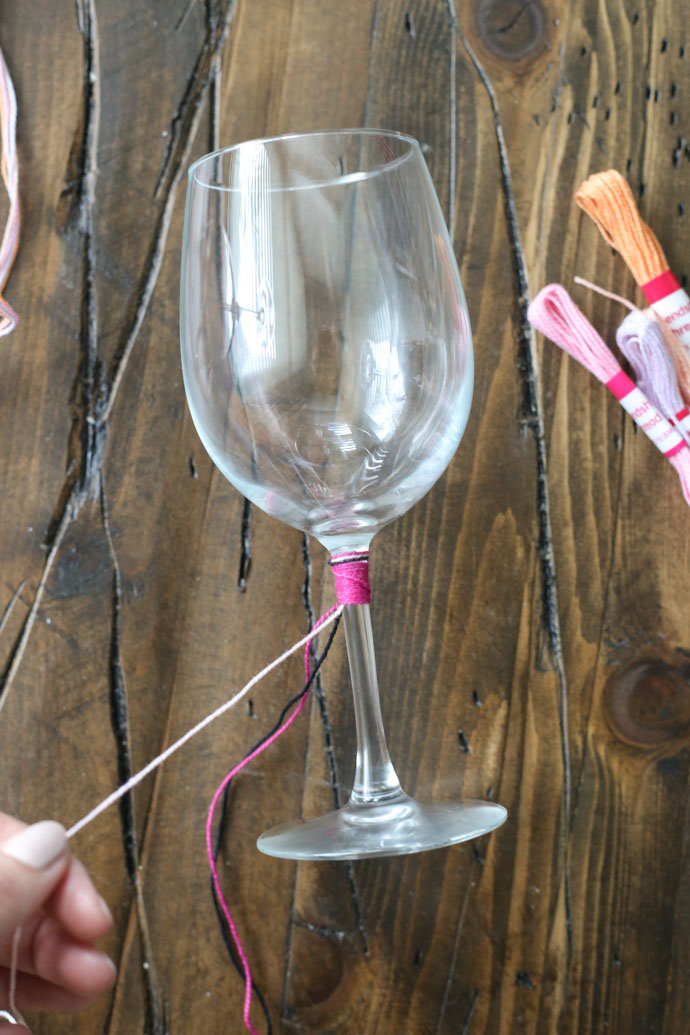
Repeat this process until you have created a stripe of color to the width you desire. When you are ready to move to another color, simply pull it out from the bunch and repeat the same process.
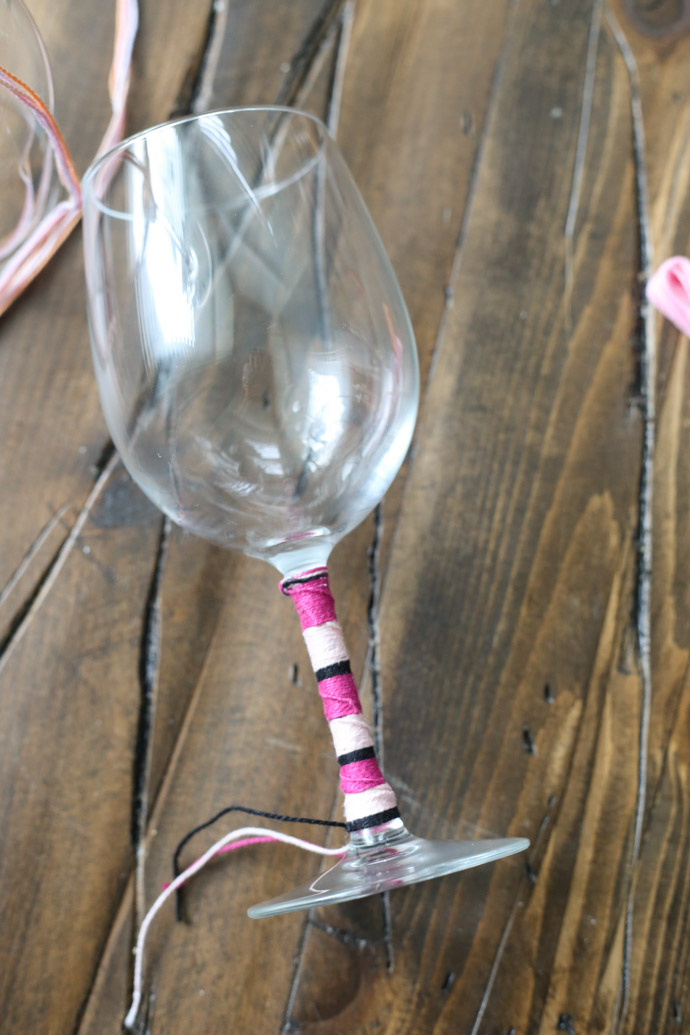
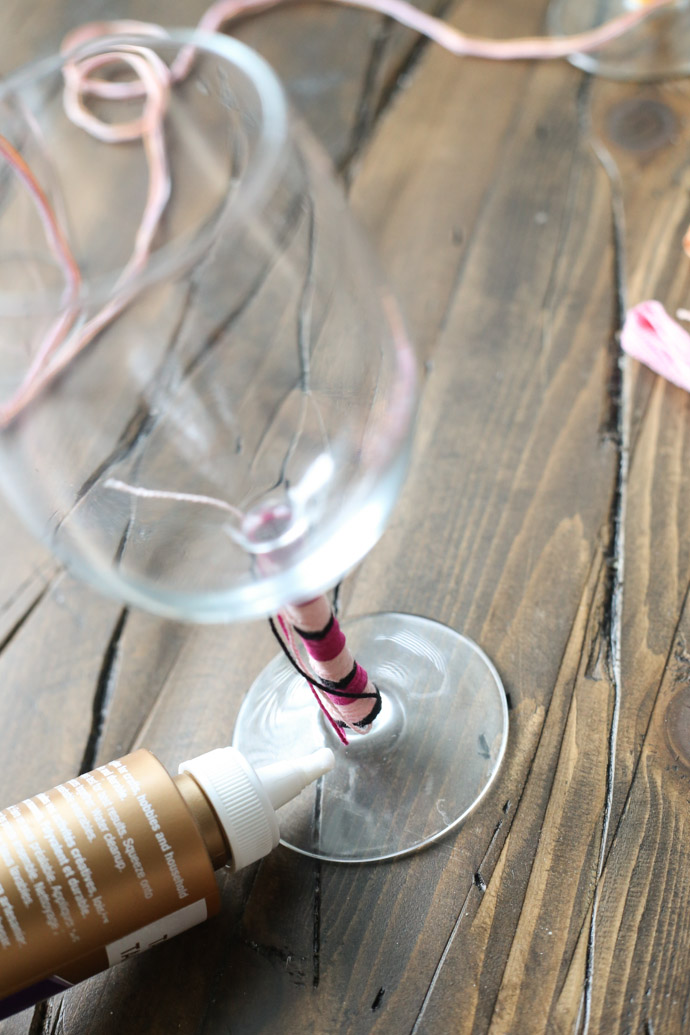
Work your way down the stem of the wine glass with the various colors of threads until you reach the base of the stem. Definitely experiment with different stripe widths and color orders to create unique stems! To finish, add another small and even circle of tacky glue to the area right below where the threads end, then wrap the leftover threads around the stem. Smooth the tacky glue over them to secure into place. You can trim the leftover threads shorter if there is still a long tail of thread left. Finally, allow the glue to dry for another 15-20 minutes.
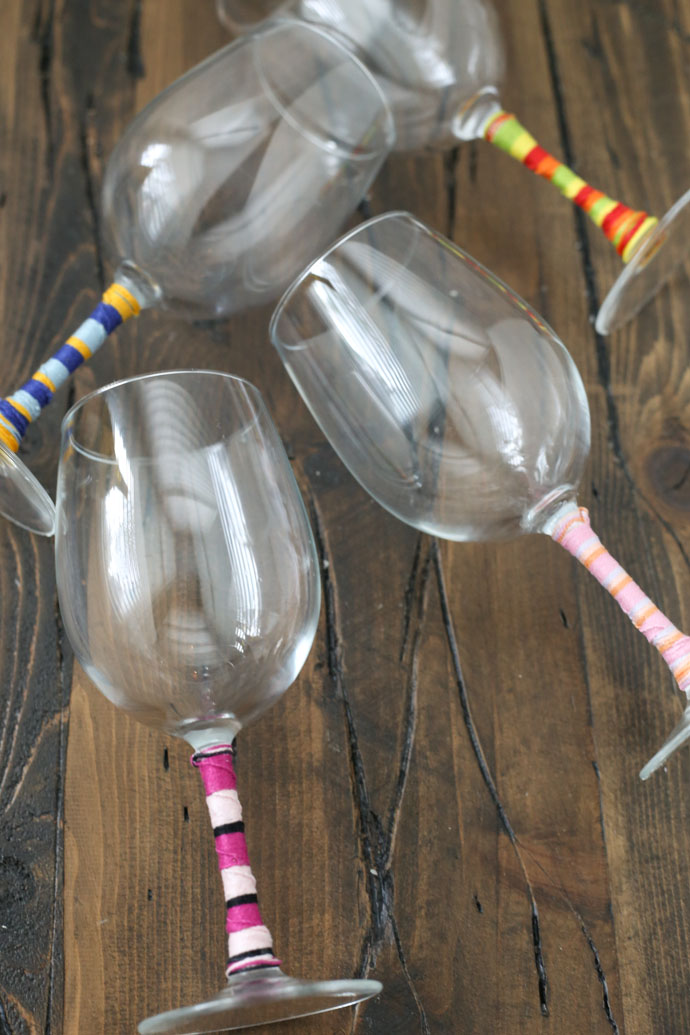
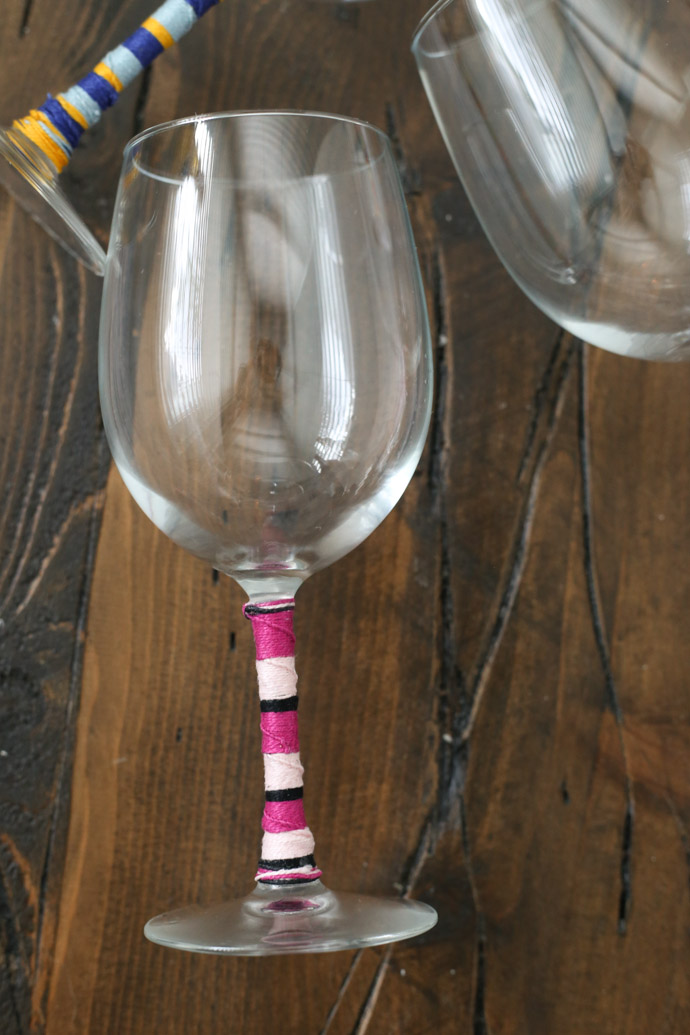
After the glue is dried, it is time to crack open the Woodbridge by Robert Mondavi wines and get to that block party to socialize!!!
What I really love about these glasses is that they have a fun pop of color, they let me keep track of my drink, and they only cost a little over a dollar to make! I snagged these wine glasses for about $1 a piece (96 cents, to be exact!), and bought a huge variety pack of embroidery thread for $5. Consequently, I could make hundreds of wine glass stems with the amount I have (whoops), so pretty much the main cost of this DIY friendship bracelet wine glass is the cost of the glass itself. I would recommend hand washing the glasses and trying to avoid getting the stems extremely wet because of the thread. But if you’re like me you already are used to washing your stemware by hand – easy peasy!
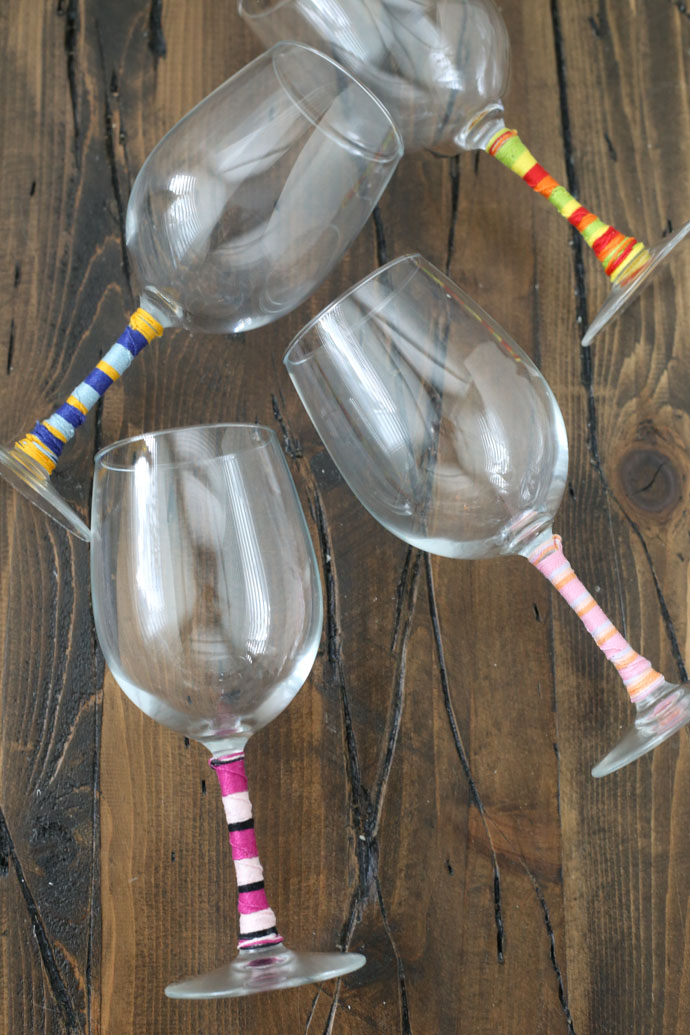
So….do you think you’ll try your hand and whip up a batch of these bad boys for your next celebration???? If you’re looking for even more fun ideas for your upcoming block parties or get-togethers, make sure you check out the Simple Entertaining Social Hub!







What a fun idea to bring a little nostalgia to your neighborhood block party! #client
[…] 1. Friendship Bracelet Wine Glass […]