

There are times when you need to take things up a notch. Today I want to share a bit of a project I worked on recently to take my photos up to the next level. My DIY photo board has very quickly become my favorite photography prop in my collection. And it was easy to create too!
Sometimes I find it humorous to track my photo progression over time. Back when I first started photographing food, I didn’t know much of anything technique-wise. I was taking photos of food when it was still in the pan…steam rising from the food and blurring the image. I didn’t know to use small plates and bowls for photos. I didn’t know how to set up a shot. Then things began to click, I got more serious, and my photos began looking much prettier. I’m not ashamed of the past photos; it is fun to look back and see how far I’ve come.
Anyway, I’d been a bit frustrated with my photo setup for a while. I had a few cloths and boards I rotated, but they just weren’t perfect. I wasn’t getting the texture of a wood table that I wanted. Of course, I have an awesome dining room table that would make the most beautiful photos, but the lighting situation in that room isn’t ideal. So…off to create a DIY photo board to mimic a table instead!
There are a ton of different DIY photo board tutorials out there, and I drew inspiration from a few of them (Love & Olive Oil’s was definitely the most helpful). First – it was off to collect my materials!
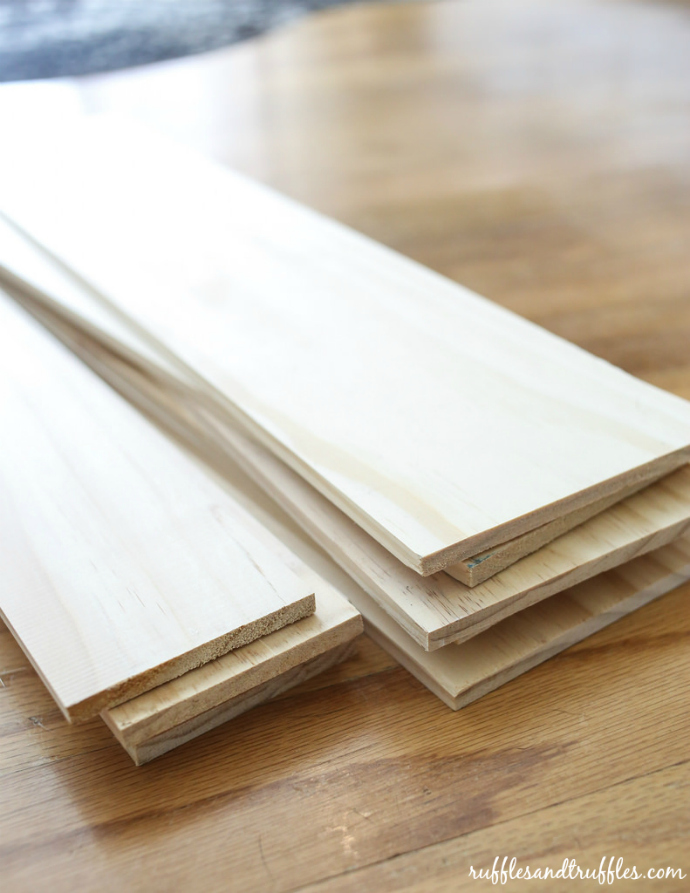
I picked up 1/4″ thick wood craft boards as my main photo board material. I used 6: 5.5″ x 2ft boards and 4: 3.5″ x 2ft boards in order to create a two sided square board. I’ve seen a lot of tutorials with boards not as wide, but I was drawn to the 5.5″ boards for myself since I thought they looked like the slats of a picnic table.
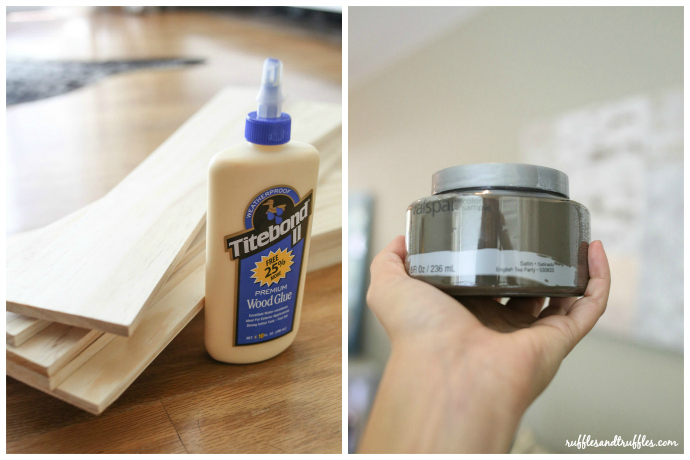
I also purchased wood glue and paint to complete the project. For my base color, I selected Valspar’s English Tea Party. It happened to be out on the shelf with the pre-made paint samples, so it worked perfectly. I thought the smoky brown color would look great…and I was lucky enough to be right. Whew!
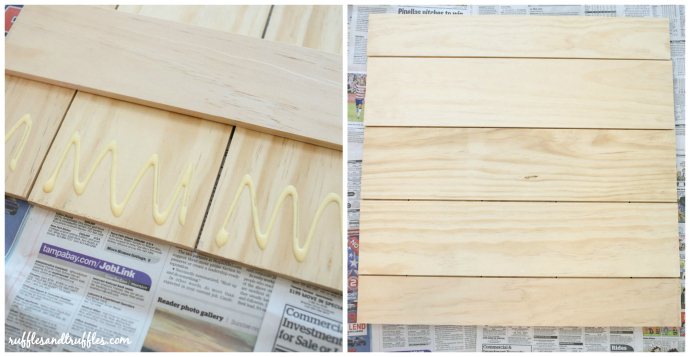
Once the materials were purchased, it was time to lay the boards out! I set them on a few layers of newspaper to work. I laid three of the 5.5″ boards in the center, with a 3.5″ board on each side.
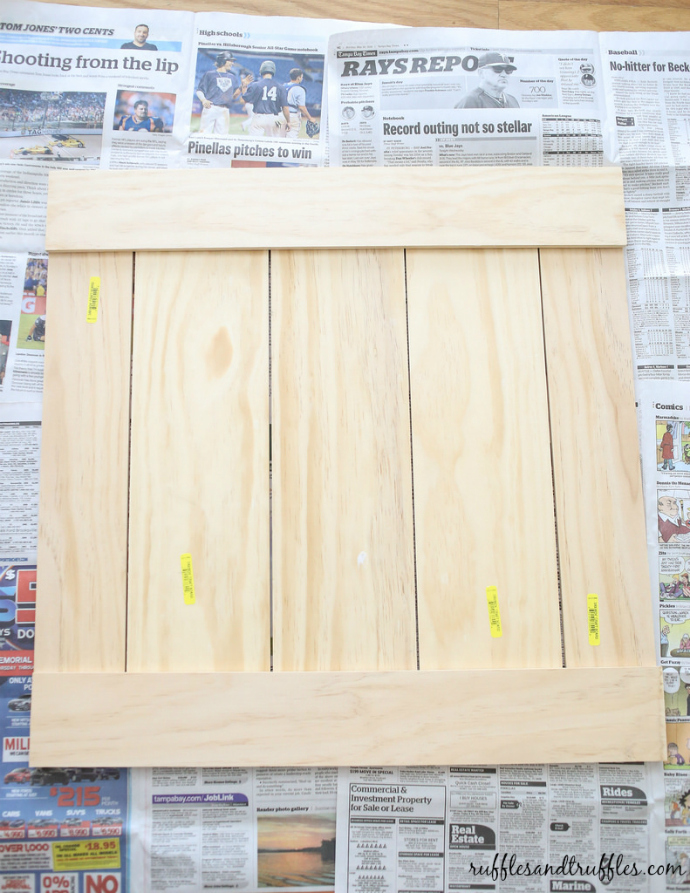
The other set of boards was set in the same configuration, but perpendicular to the bottom layer. To glue, I started with the outer two slats to make sure the edges and corners lined up properly. I squiggled a generous amount of wood glue to the edge area, then placed the perpendicular board on top.
I weighed it down with a few heavy books and let it sit for about 30 minutes (I wanted to make sure the ends were secure first). Then, I moved on to glue the center three boards, placing more books on top and allowing them to dry for a few hours.
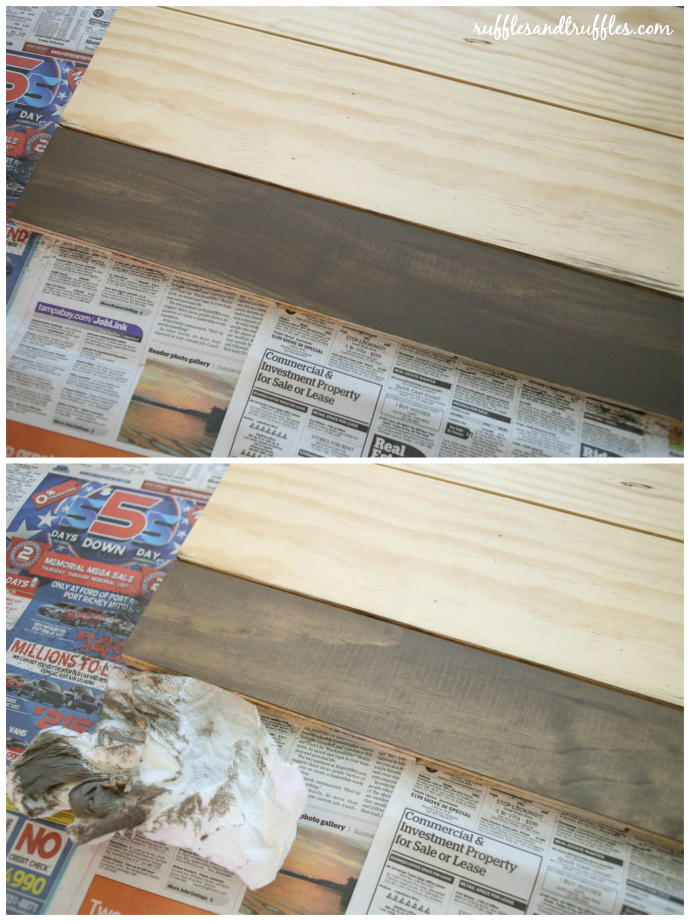
Once the boards were dry, it was time to paint! I diluted the English Tea Party paint in half with water (50% water, 50% paint….roughly), then used a brush to paint it across the slats. Then, I used a damp paper towel to wipe down the boards. This process created more of a “stained” look than painted. I allowed the first side to dry, then repeated on the back. I have some colored paint for the next version of the board (two sides, two different treatments/looks), but to be honest, I haven’t had a spare moment to finish it yet! As soon as the “stained” look was complete, I started using the board straight away…I need to take it out of commission for a day so I can finish painting the other side!
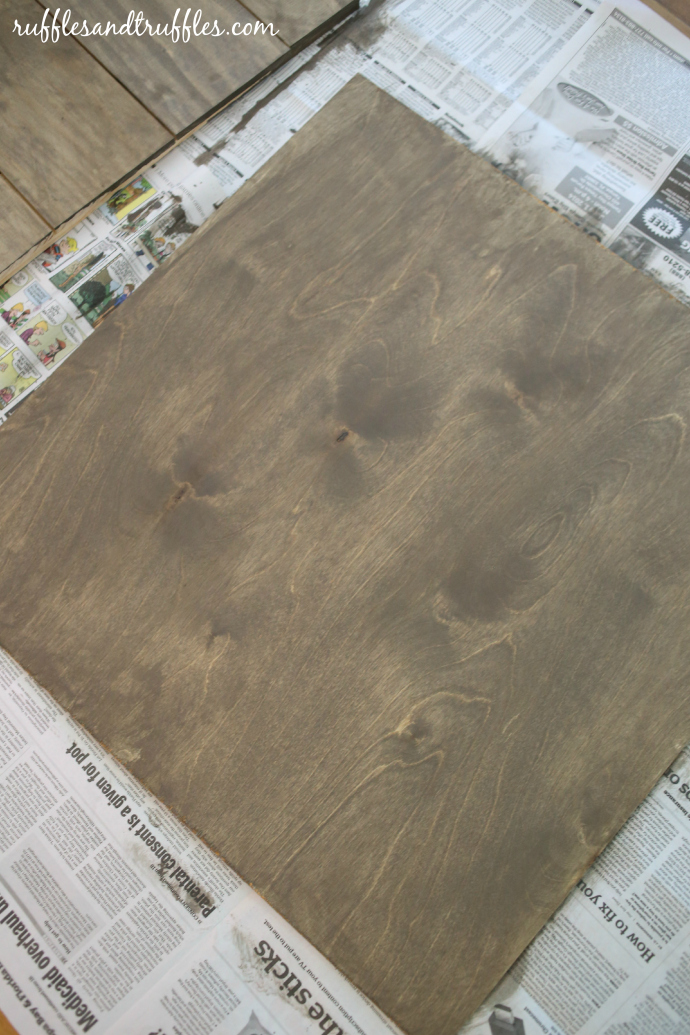
I actually repeated the same process with a 2′ x 2′ flat board I’d purchased – it is only about 1/8″ thick, and only a few dollars. I also like how it turned out on that board! It’s a more affordable option if you don’t want to spend the money on the wood slats (which were a couple dollars a piece: the entire photo board cost a little under $40 to create). You lose some of the texture, but you still achieve a similar look! Plus, it’s a lot lighter. Options.
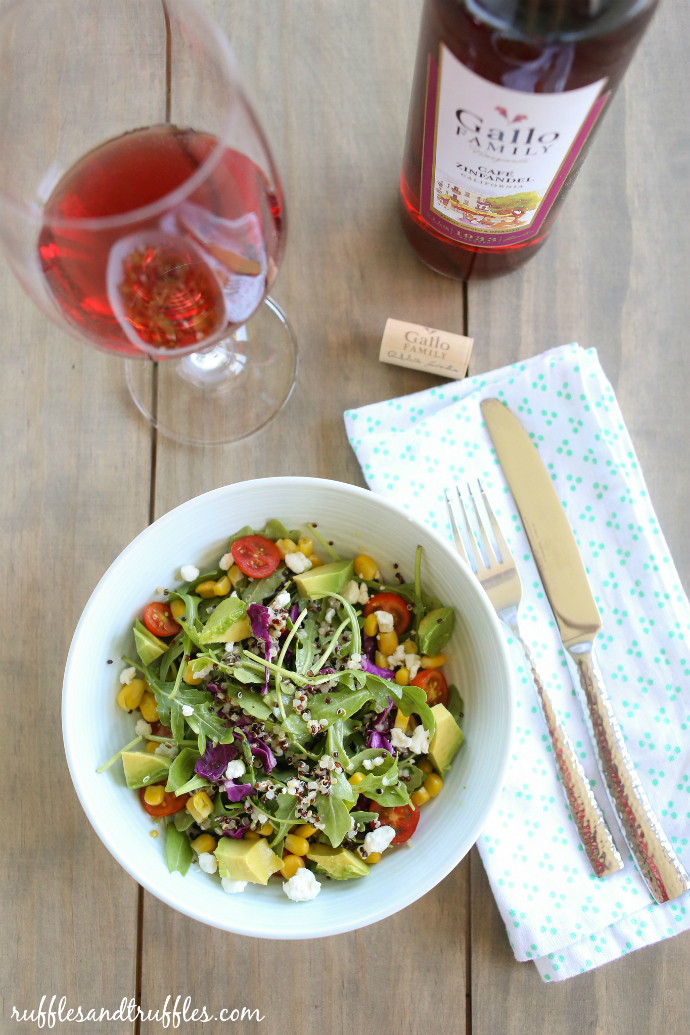
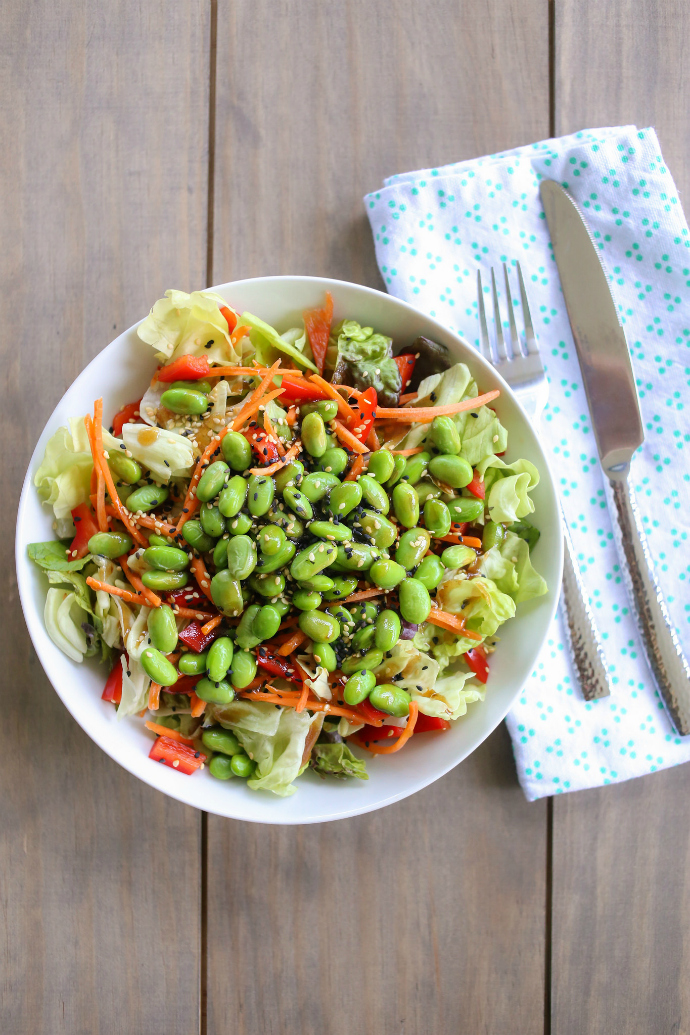
As for my photos? I don’t know about you, but I think they look so much better with this new backdrop! As soon as I finish painting the back side, I will definitely have to show it off!


Add Comment