

This shop has been compensated by Collective Bias, Inc. and its advertiser. All opinions are mine alone. #ScrubDishCloth #CollectiveBias
Here’s an important question for you today: who out there doesn’t love a meal that only requires two dishes to create? I think that in the past year I’ve become more and more accustomed to creating one pot style dishes in my kitchen: with life being so busy, I just don’t have the time or effort to clean an entire kitchen full of pots and pans! If I can put together ingredients in a baking dish, pop it in the oven, and be done, that is absolutely wonderful!
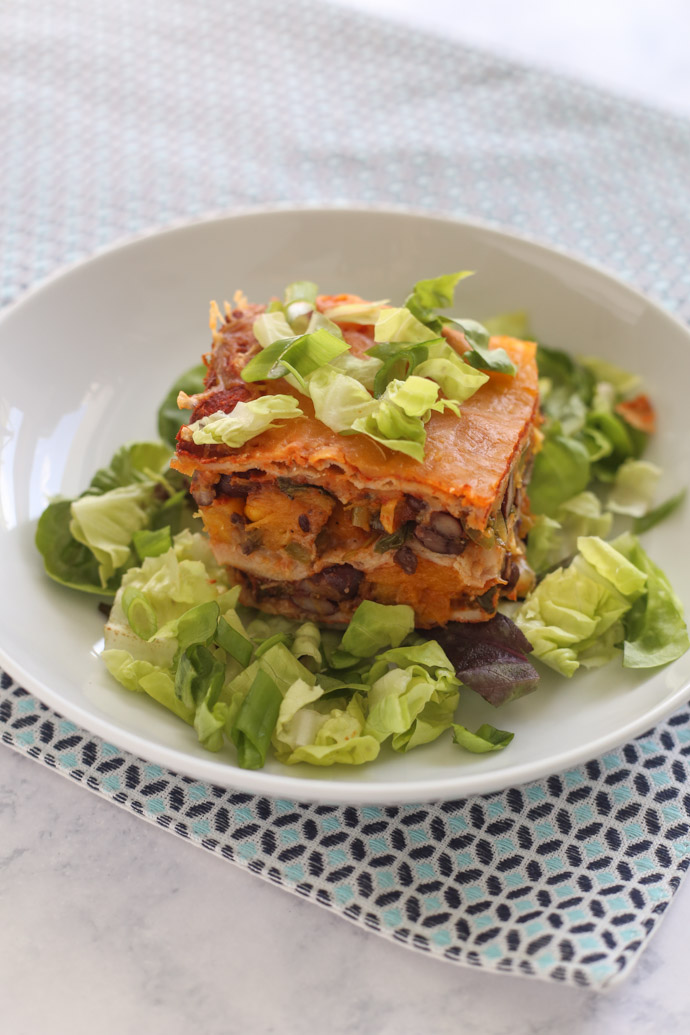
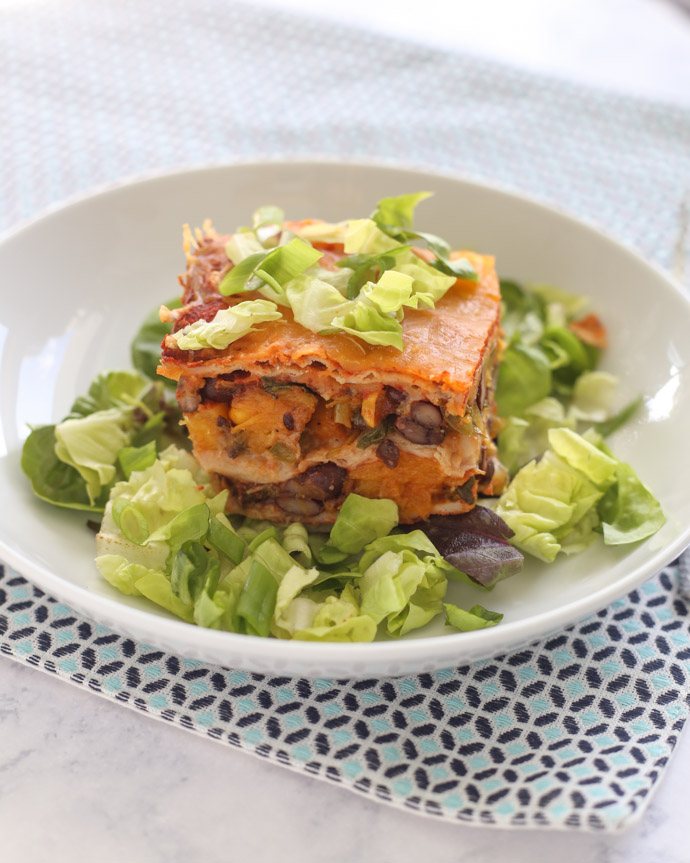
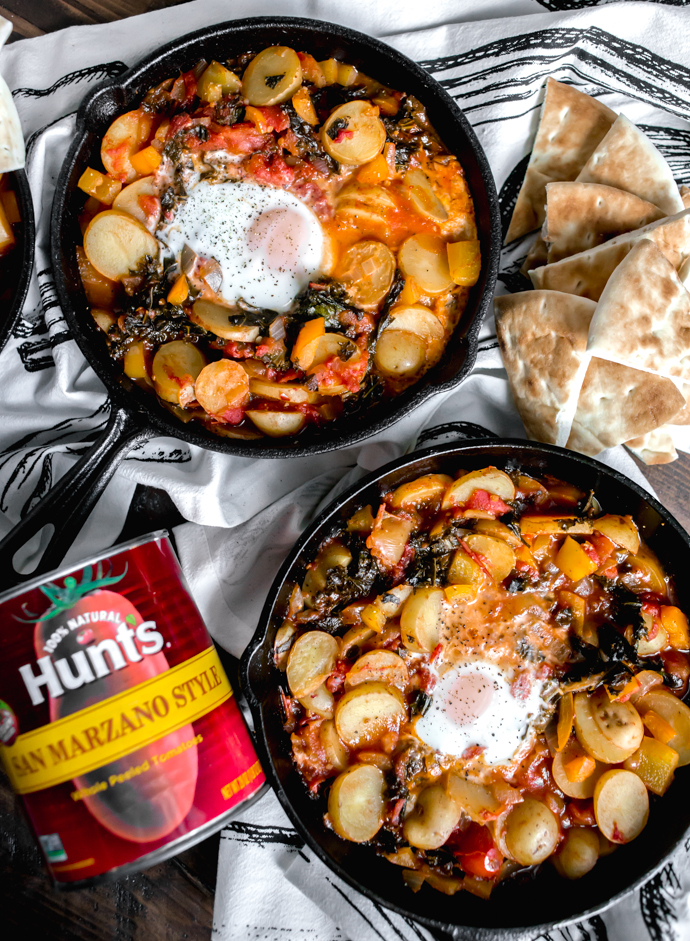
I’ve become a big fan of making layered enchilada casseroles lately. As much as I love an enchilada, the process of individually rolling each tortilla up, getting them to lay perfectly in the pan, and then attempting to serve them without splitting one open on accident is just a bit too time consuming for me! Taking those same ingredients and layering them in a baking dish gives you basically the same result, but with much less stress! I recently made a vegetarian version – perfect for your next Meatless Monday!

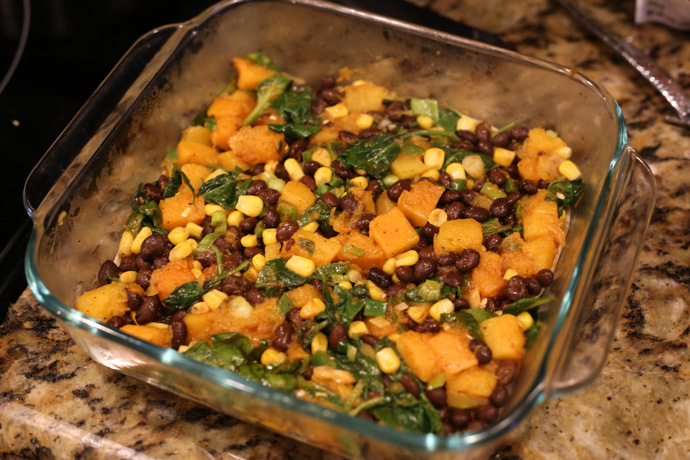
You can truly get creative with your dish, but I filled mine with a combination of black beans, butternut squash, spinach, and corn. The process of putting them together is a cinch: start with a thin layer of enchilada sauce on the bottom of your pan, then add a layer of corn tortillas. Top with a layer of filling, a sprinkle of cheese, and a drizzle of enchilada sauce. Repeat the process until the dish is full (I have three layers of tortillas), top with more enchilada sauce, and get baking! It comes together so easily, and you’re sure to have leftovers afterward!
- 15 ounces butternut squash, cubed (I used frozen)
- 15 ounces black beans, rinsed and drained
- 3 green onions, diced
- 5 ounces fresh spinach leaves
- 9 small corn tortillas
- 4-6 ounces shredded cheddar cheese
- 10 ounces enchilada sauce
- 1 jalapeno, diced small
- 1 cup corn (I used frozen)
- Olive oil
- Salt and pepper, to taste
- Preheat the oven to 475 degrees F.
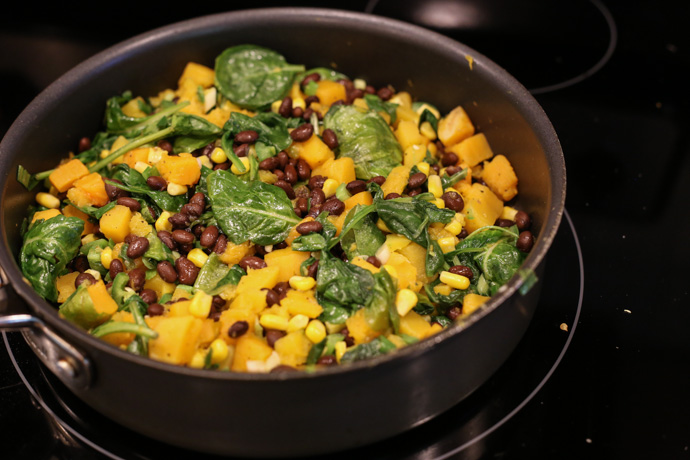
- Heat a large, deep skillet over medium high heat. Add a drizzle of olive oil to the pan, then add the butternut squash. Season with salt and pepper. Saute for about 4-5 minutes, until tender.
- Add the fresh spinach leaves, jalapeno, corn, and green onions to the pan, and then cook until the spinach is wilted, about 2-3 minutes.
- Turn off the heat, and then stir in the black beans.
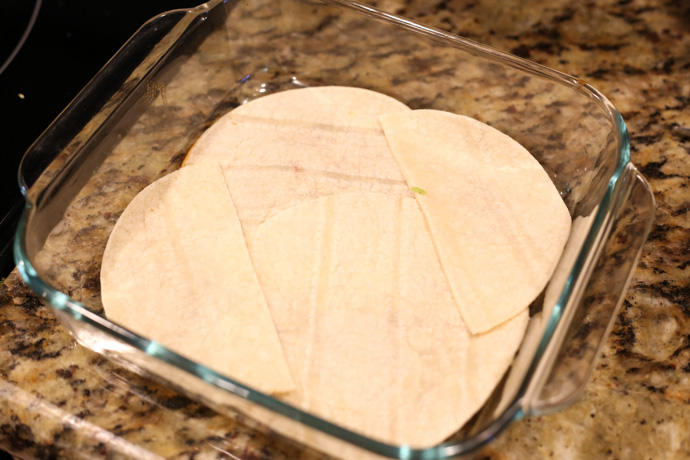
- Next, create the casserole. Add a thin layer of enchilada sauce to the bottom of a 9"x9" pan. Add a layer of tortillas, then a layer of the butternut squash filling. Sprinkle with a thin layer of cheese, and another thin layer of enchilada sauce. Repeat the process, until there are three layers. Add the remaining enchilada sauce on top, then cover with foil and place in the oven.
- Bake for 15 minutes covered, then remove the foil, sprinkle with an additional layer of cheese, and bake for an additional 5 minutes, until the cheese is bubbly.
- Remove from the oven and let rest for at least 5 minutes before slicing and serving. Enjoy!
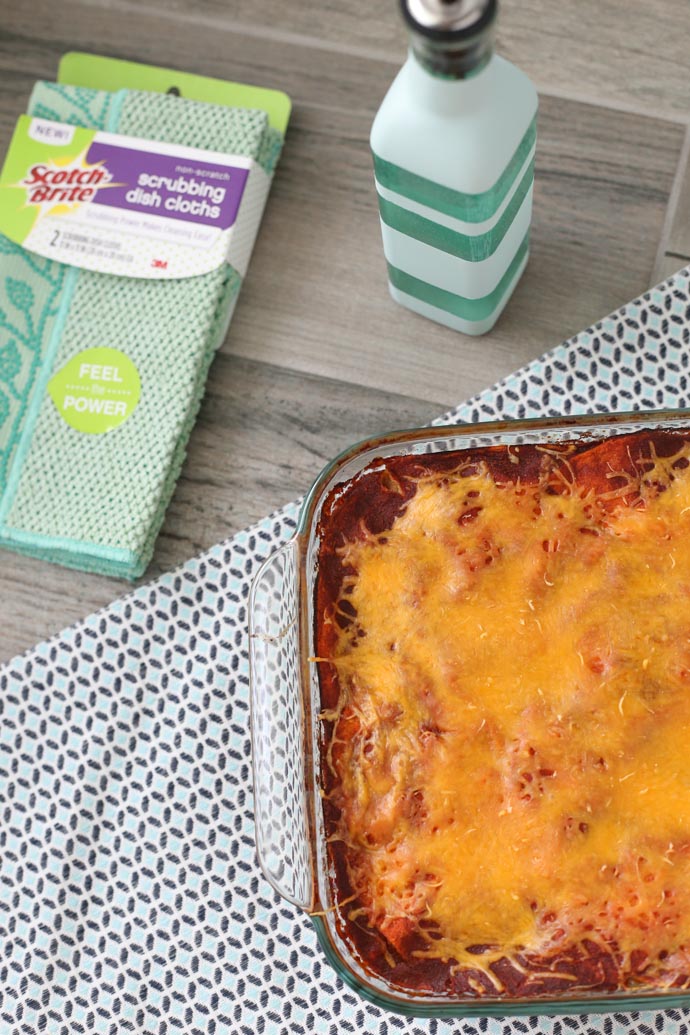
Ah, but what to do after the meal is over and the pan is left to clean? Dishes like this layered enchilada casserole inevitably leave behind a bit of a mess to clean. There are usually baked on bits of cheese, tortilla, and sauce, which are never a fun thing to deal with. I usually have to get out a knife or pry off the dried bits with my fingers: yuck! Enter: the new Scotch-Brite® Scrubbing Dish Cloth.
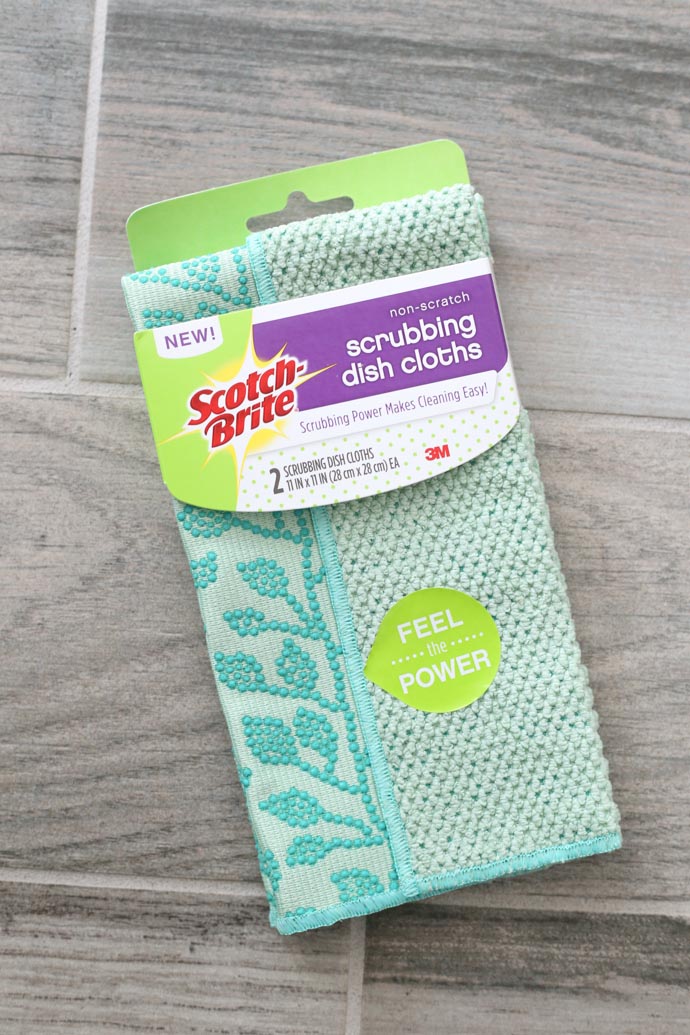
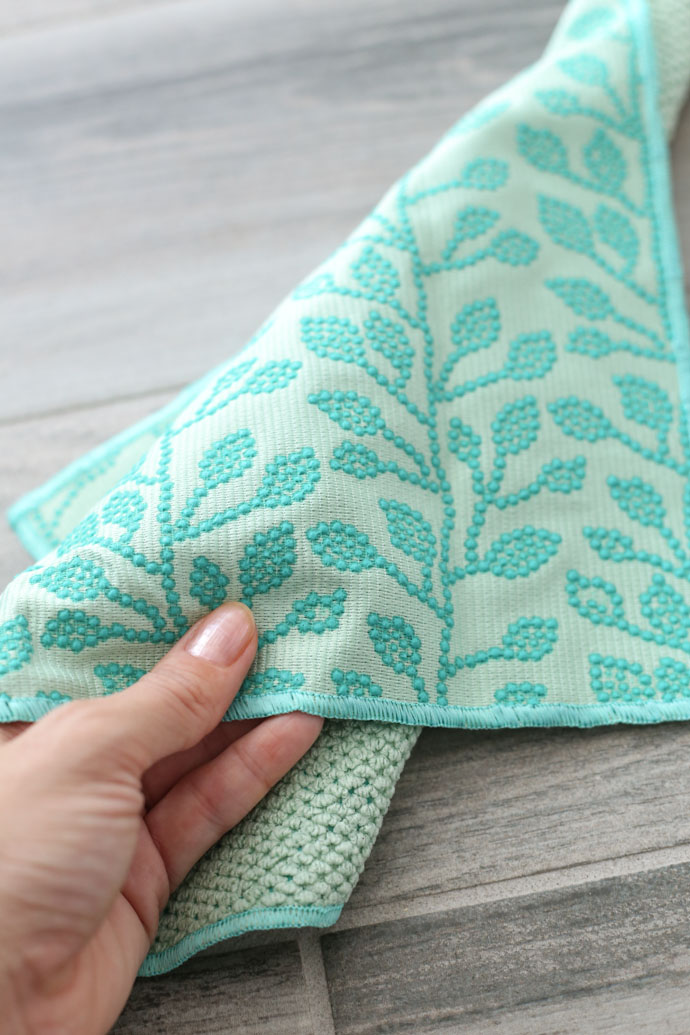
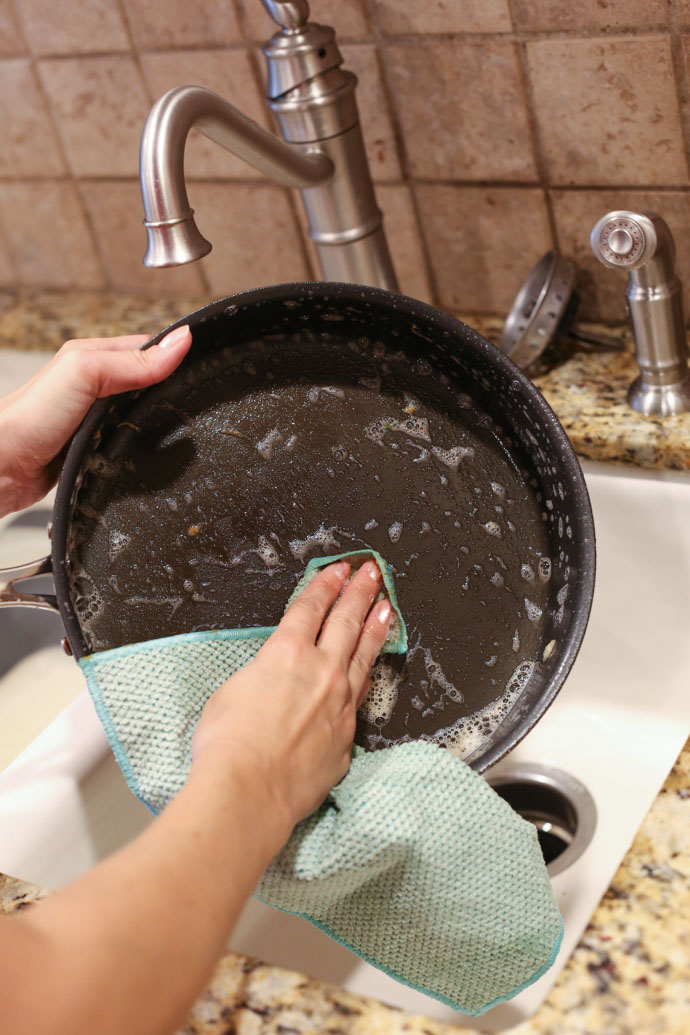
These bad boys can be found at Target, and they are definitely a game changer when it comes to cleaning my dishes. They come in 2 packs in gray, mint, coral, and navy for only $4.99. They have two different sides with scrubbing dots technology on one side. So, you get non-scratch scrubbing ability for those stuck on messes, with the wiping and drying function of a dish cloth. Two for one – you can’t beat that! And to make things even better, the dish cloths are fully washable and reusable. I’m all about finding products I can use for a long time – reducing the amount of disposable items in my house is definitely important!
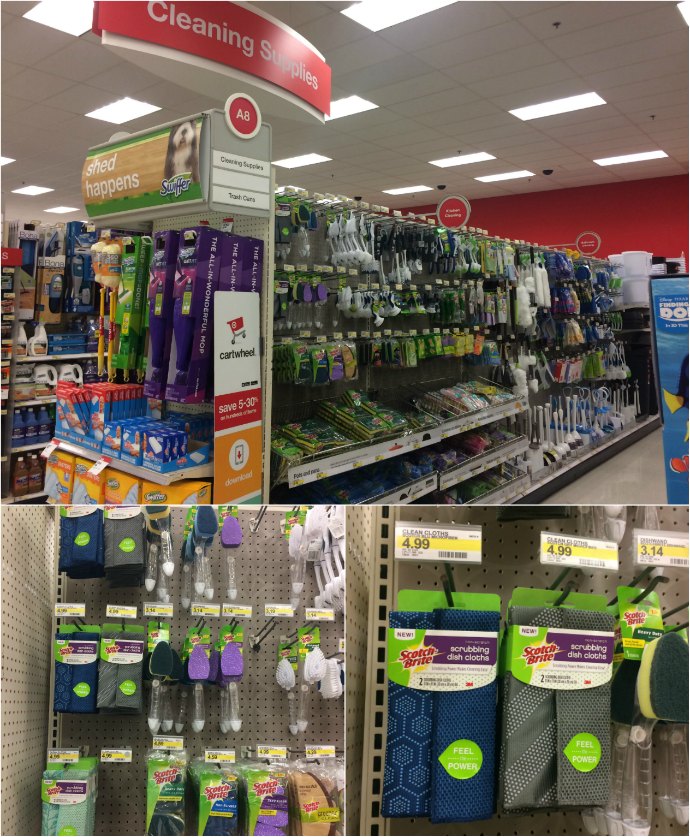
If you’re going to be on the hunt for some of the Scotch-Brite® Scrubbing Dish Cloths, look for them in the kitchen tool area, rather than the textile section. I was lucky enough to spot mine easily and add them to my cart! And you KNOW I had my Cartwheel app out when I was shopping. It just so happens that you can save now on Scotch-Brite® Scrubbing Dish Cloths at Target with this Cartwheel offer (which runs from 6/19-6/25). Score! Also, if you’re looking for some more inspiration for these dish cloths (recipes, DIY projects, etc.) you should definitely hop over to this site and check out what others are sharing!
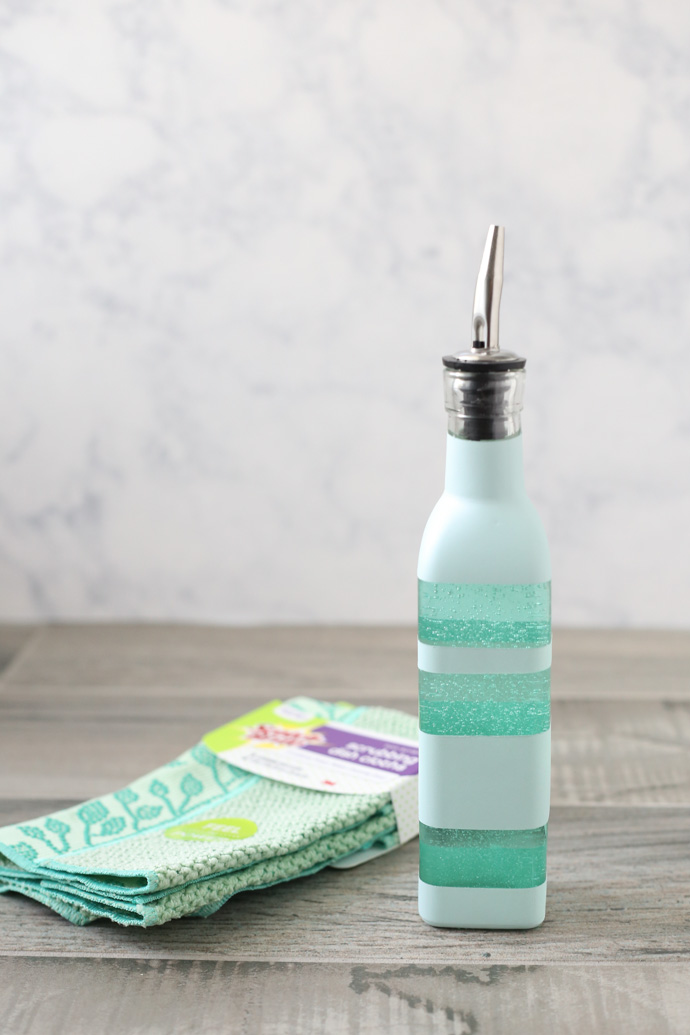
Well, now that I had my scrubbing dish cloths, I needed an accessory for my kitchen sink! I decided to create a DIY dish soap dispenser to pair with my pretty new cloths! The materials are simple, and you can have this project complete in less than an hour!

The materials you need are simple:
- glass bottle
- pour spout that fits in the glass bottle (you can usually find the bottle and spout as a pair)
- painter’s tape
- spray paint
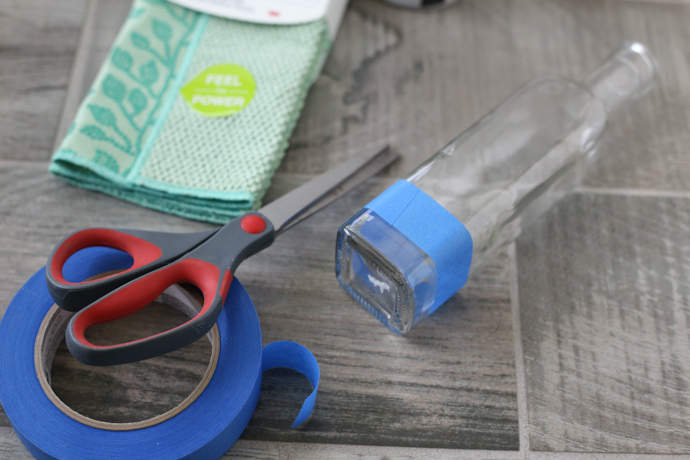
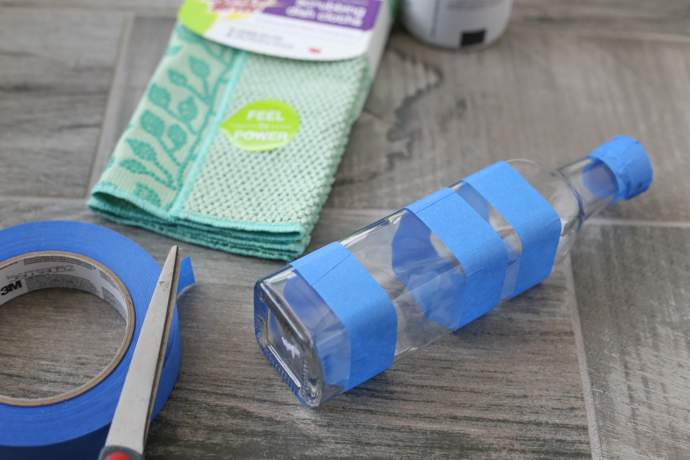
Not only are the materials simple, but so is the process. Simply cut strips of painter’s tape and wrap them around the bottle in a pattern you enjoy. Keep in mind that the area covered with the tape will be clear glass when complete! I opted for a striped pattern of varying thickness, and I loved the way it turned out! Also make sure to cover the top of your bottle with painter’s tape to avoid getting paint on the interior of the bottle.
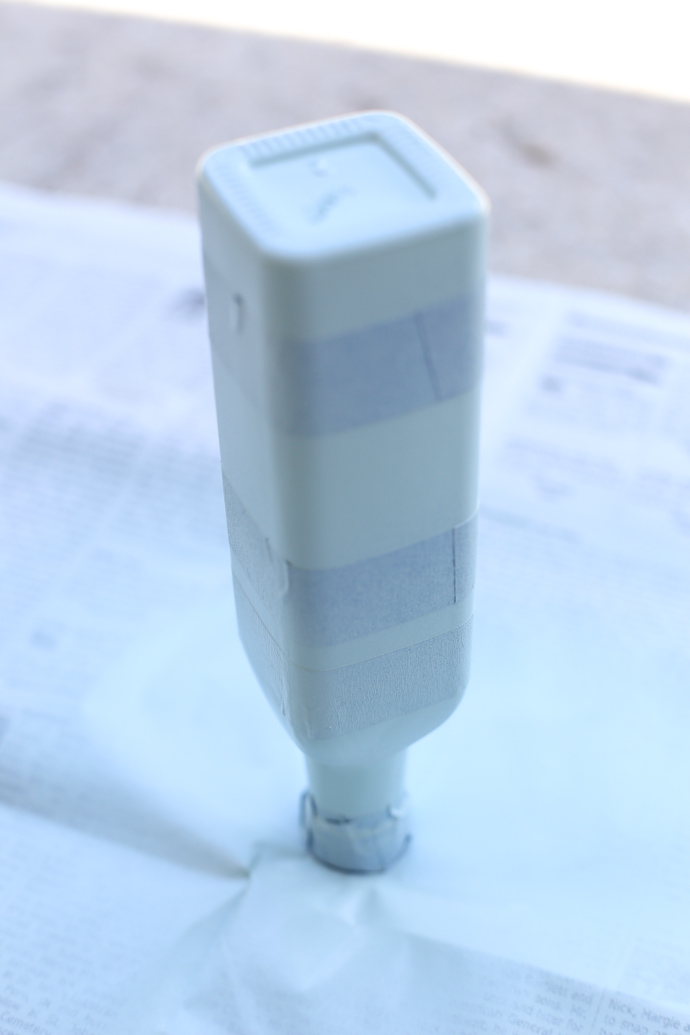
When the tape is applied, take the bottle outside to a well ventilated area and place it on a painting surface (old newspaper, cardboard box, etc.). Thoroughly shake the spray paint and apply evenly over the bottle in a light coat. Allow it to dry at least 5 minutes, then repeat with a second thin layer to fully coat the bottle. Allow it to fully dry (20 minutes).
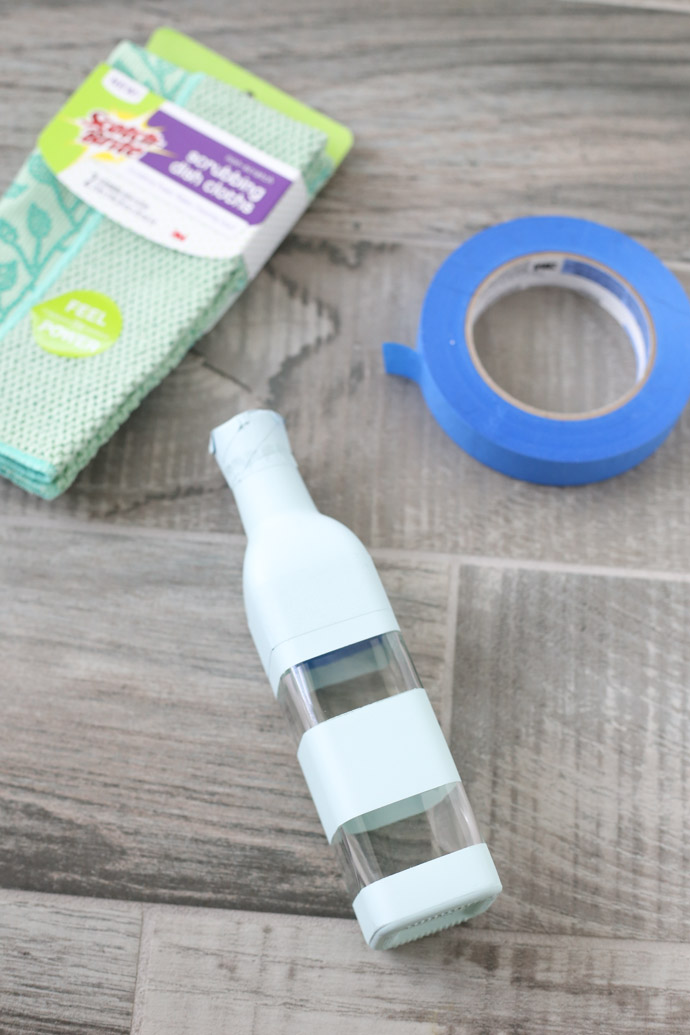
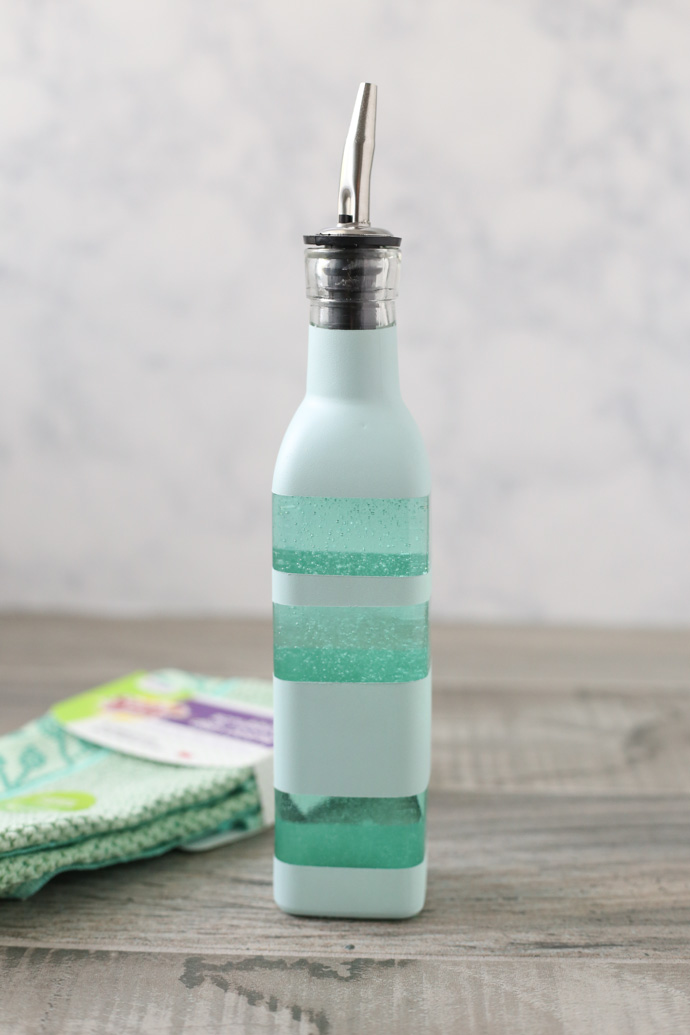
After the paint has dried, carefully peel away the painter’s tape to expose the pattern you created. Fill the dispenser with dish soap, add the pour spout, and enjoy your new creation! I am seriously loving how mine looks on my counter – it is so much more attractive than having the “regular” bottle sitting on top of my sink all the time.
Ok…so who’s ready to head to the store to get some dish cloths and make an enchilada casserole? Annnnnd maybe create a DIY dish soap dispenser while your dish is cooking???


That looks great. I make a similar version with chicken and salsa, but this would be great with all the veggies! Such a cute dispenser for your dish liquid, too! #client