

This shop has been compensated by Collective Bias, Inc. and Mazola® Corn Oil. All opinions are mine alone. #MakeItMazola #simpleswap #CollectiveBias
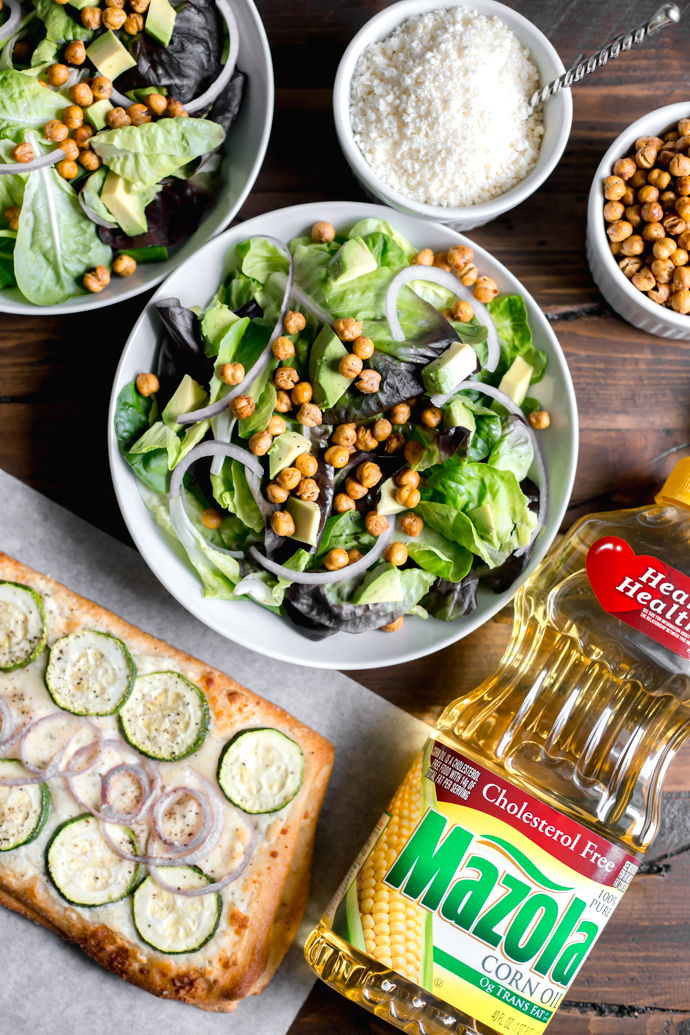
I’m just going to say it. Although some of you out there might be starting to think about fall, I’m still fully invested in my “summery” fresh cuisine. Let’s be honest – I live in Florida, and it is still 90 degrees outside even though it’s October. My desire for salads and lighter fare have not dissipated at this point, which is why I’m chowing down on today’s recipe. You probably already know this, but I’m always game for recreating recipes with better-for-you swaps involved. Today is no different. I’m bringing a yummy twist on a Caesar Salad to the table, featuring a vegetarian dressing that swaps out olive oil for Mazola® Corn Oil. Did you know that a clinical study showed Mazola Corn Oil reduces cholesterol 2x more than extra virgin olive oil? Pretty amazing, right? To learn more about this claim, see MAZOLA.com. But wait, there’s more! Not only do I have a twist on a Caesar Salad, but I also have an herbed cheese flatbread to go along with it. They’re a great pair together, and they’re easy to make!
So – let’s talk about a classic Caesar Salad. I used to LOVE them years ago, but when I became a vegetarian I realized I would have to create my own at home with some swapped ingredients to make it happen. That’s just what I did with this salad dressing – I removed some of the typical creamy elements (like mayonnaise) and used Mazola Corn Oil. I also ditched the anchovy filet in the dressing. The Mazola Corn Oil is a heart-healthy choice for the family. I like that it is all-purpose: you can use it in baking, grilling, sautéing, stir frying, or you can use it to mix up a marinade or dressing. The corn oil can truly be used on a daily basis in your kitchen, and it can help you reduce saturated fats and cholesterol in your meals. All you have to do is make some simple swaps, like substituting butter with Mazola Corn Oil. Easy peasy! It has a neutral taste that lets the natural flavor of your food stand out, which is definitely ideal in these recipes!
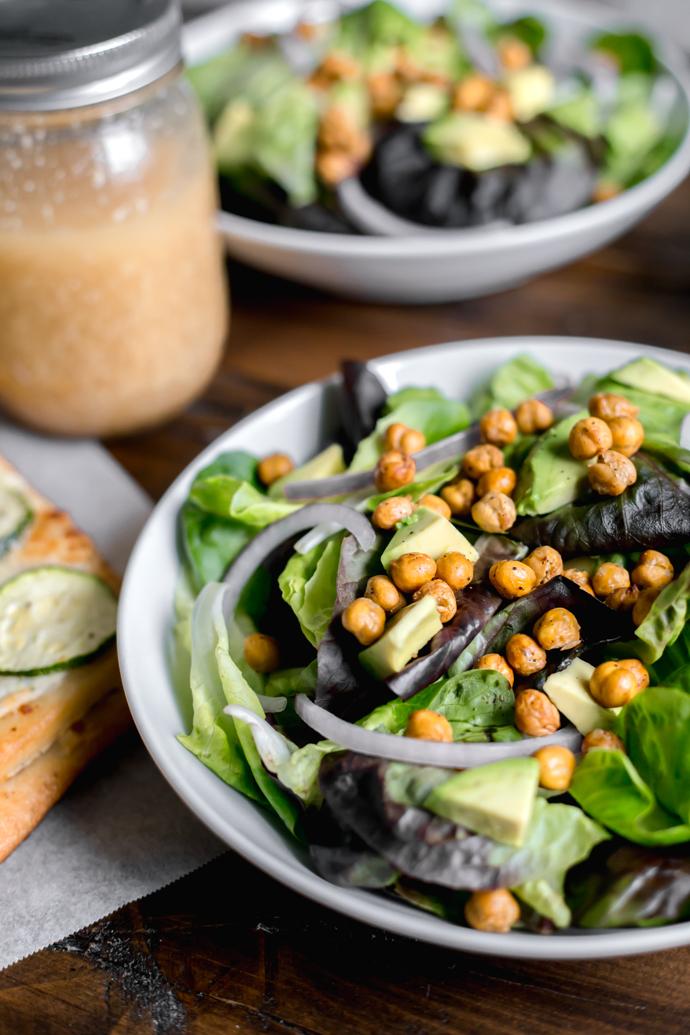
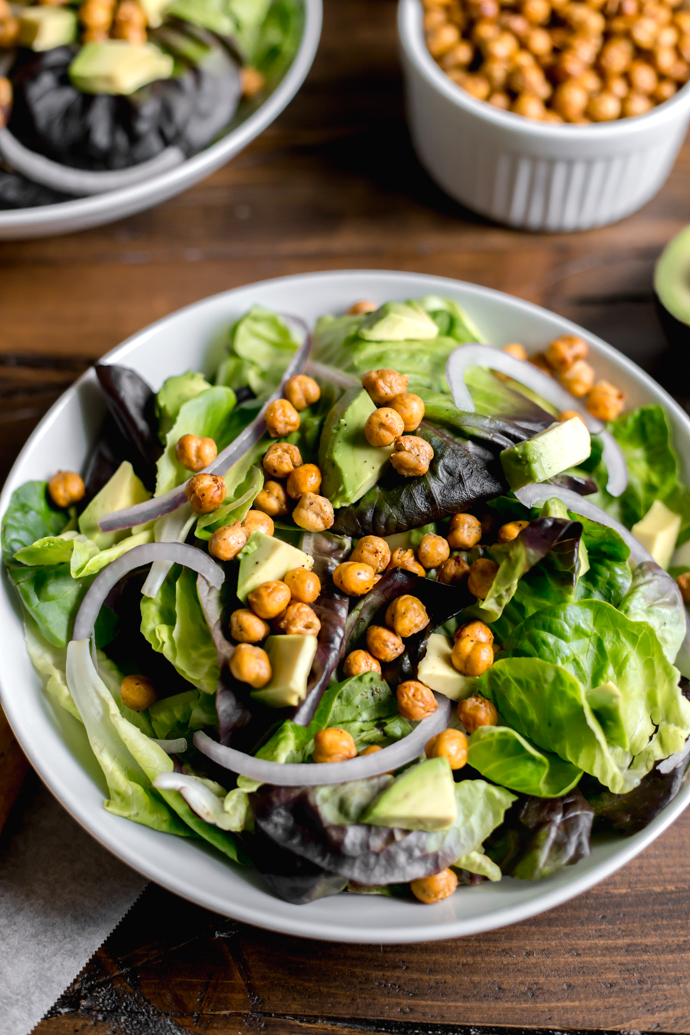
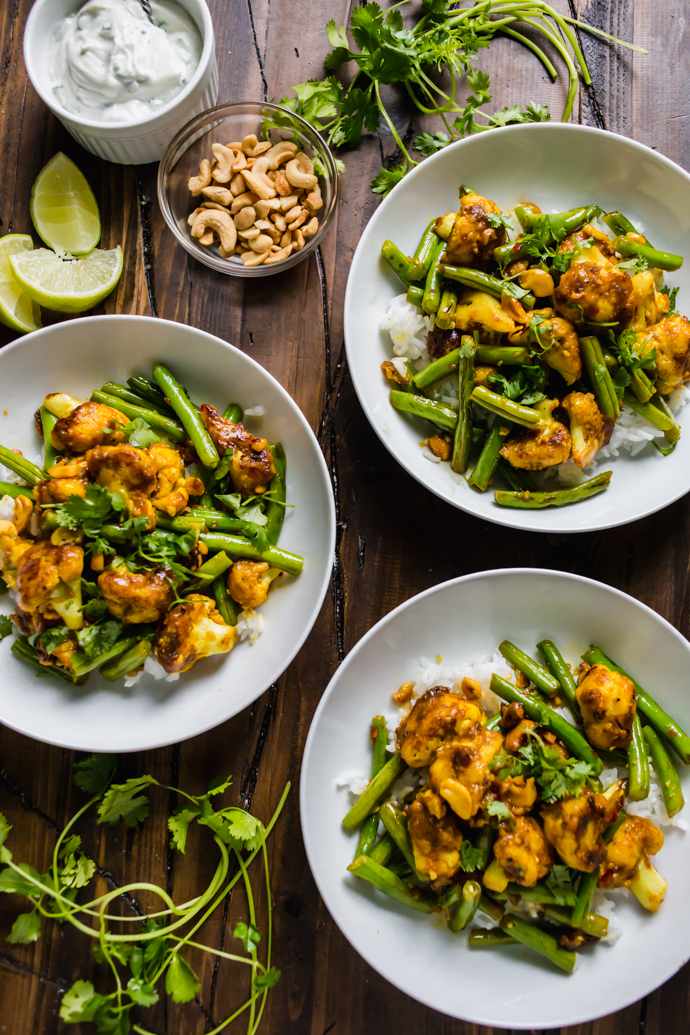
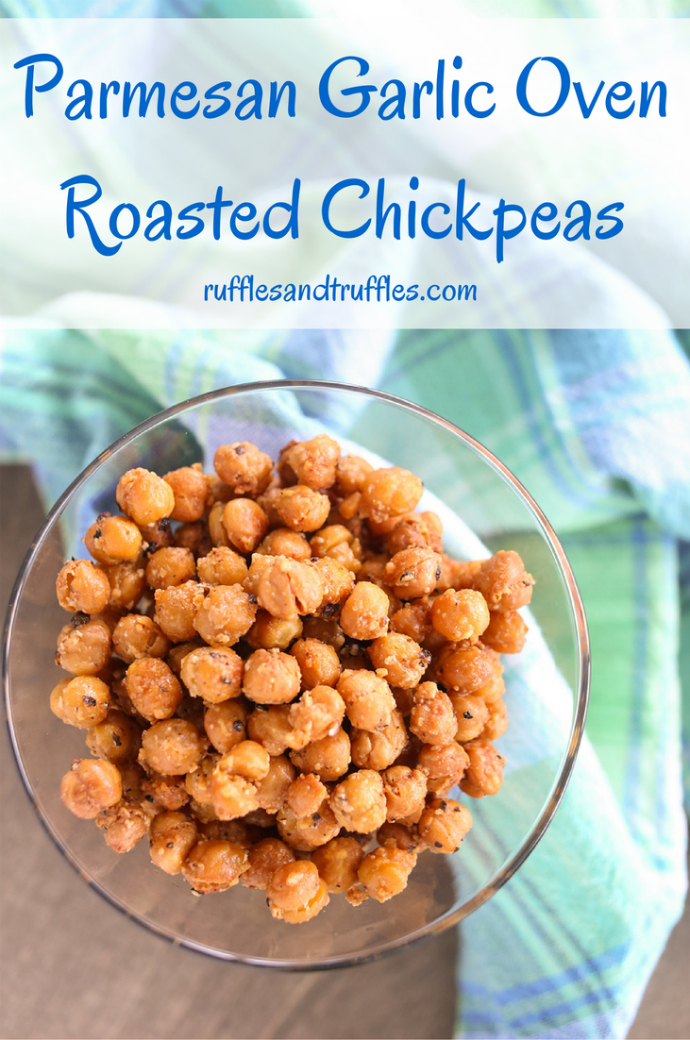
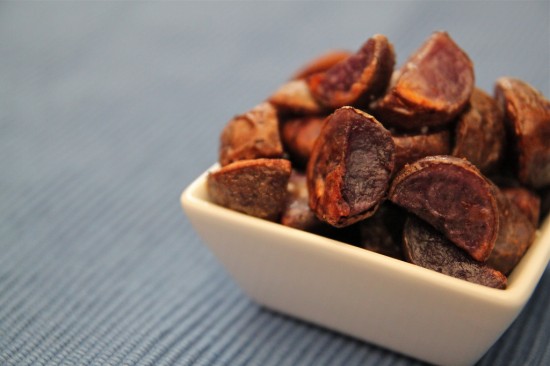
Now, I know what you’re thinking – this doesn’t look like a traditional Caesar Salad. That’s because it isn’t! Not only is the dressing a twist, I opted to swap out the croutons for crispy chickpeas, and instead of shaved Parmesan cheese on top, I’m using sliced avocado for some good fat! If you haven’t tried crispy chickpeas in place of croutons on a salad, I implore you: try it immediately! They provide the same satisfying crunch, but they are a protein filled option in comparison to bread. Plus, if you have extra chickpeas after making your salads, they are a really delicious snack! I have been known to make double batches of the chickpeas just so I have extras on hand! You can also make these in advance and place them in an airtight container to store them.
Here’s another thing I am loving about the Mazola Corn Oil. It’s smoke point is higher than most cooking oils (at 450°F), so it’s ideal to use when baking up my crispy chickpeas. One thing to keep in mind when you’re cooking is that different oils have different smoke points. Once a smoke point is exceeded, it can negatively effect the flavor of your dish (as well as the nutritional value!). My chickpeas and the flatbread both bake at 400°F, so choosing corn oil in both recipes makes a lot of sense because you stay under the oil’s smoke point!
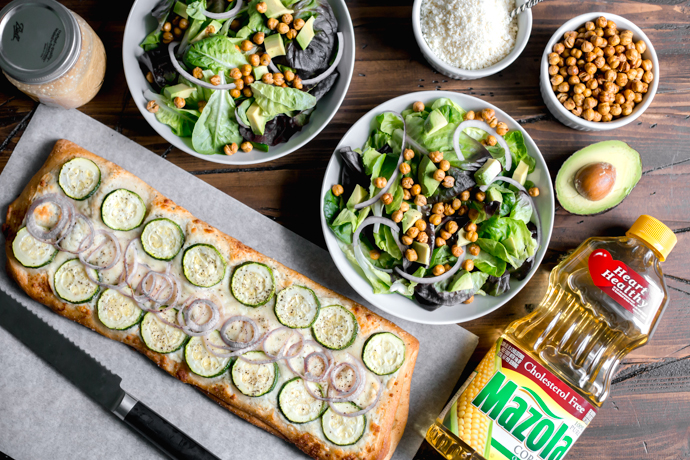
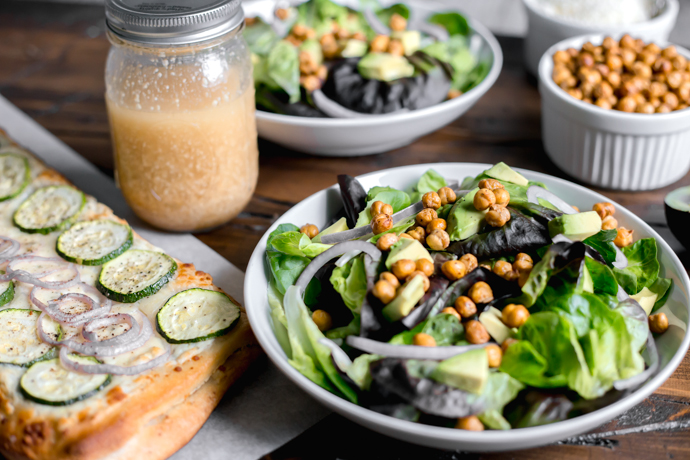
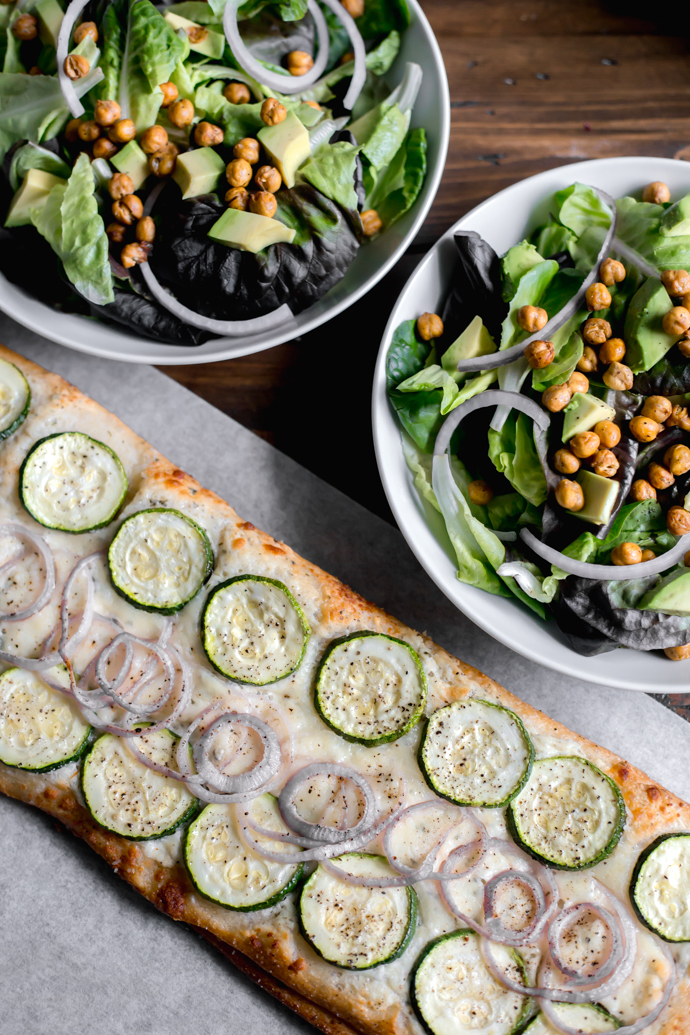
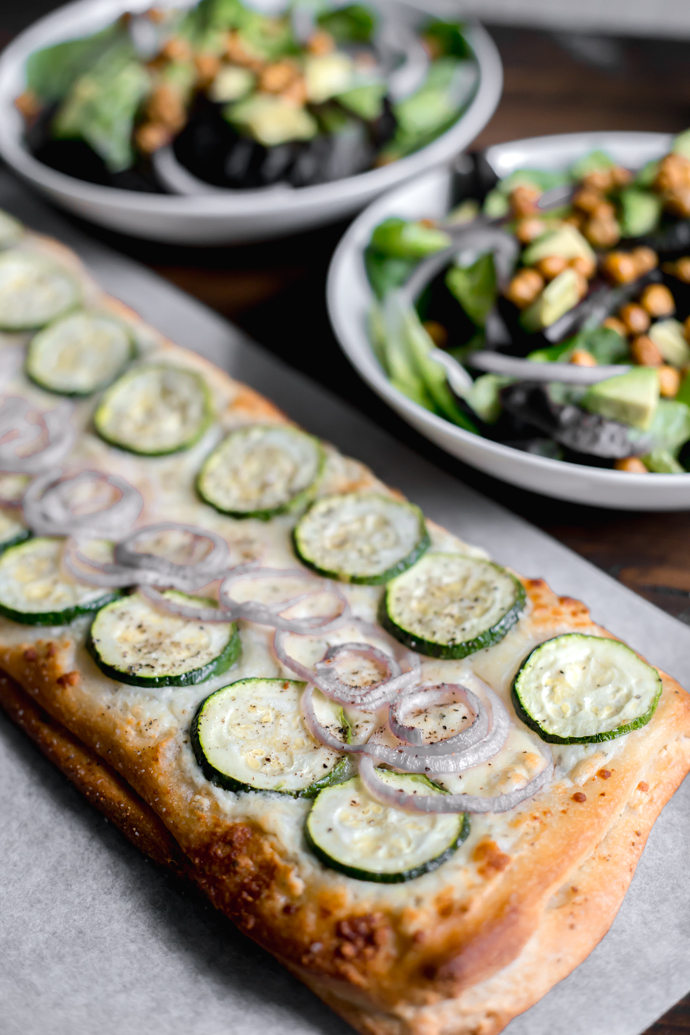
You can enjoy this twist on Caesar Salad alone (which I definitely do for lunch), but it’s a great option to pair with a flatbread! I love a salad and flatbread combination. This herbed cheese flatbread is very easy to make, and complements the salad well. Plus, it’s totally a show stopper! I’ve made this as an appetizer to serve to friends and family as well. I used sliced zucchini and red onions in my flatbread today (along with fresh basil from my garden), but you could swap out different vegetables and herbs of your choosing! The options are endless with it, and you can play around with the arrangement of the vegetables on top to create fun patterns!
To make the most of your prep time, I would suggest making your flatbread first. Once it’s in the oven you can shake up your Vegetarian Caesar Salad Dressing and put together your salads while it’s baking. You can store any unused salad dressing in an airtight container in the refrigerator for a few days! And let me tell you – your house is going to smell pretty darn amazing after your flatbread comes out of the oven. Be prepared for neighbors to knock on your door asking for a slice. So, who’s ready to dig in???
- 1 cup Mazola Corn oil
- 3 cloves garlic, minced
- ¼ teaspoon dry mustard
- ¾ teaspoon salt
- 3 tablespoons white vinegar
- 1 teaspoon vegan Worcestershire sauce
- ½ lemon, juiced
- ¼ cup grated Parmesan cheese
- To create the salad dressing, combine all items in a large jar. Close tightly with a lid and shake vigorously.
- Lettuce/fresh greens of your choice
- 2 cans (16oz each) chickpeas, rinsed and drained
- 4 tablespoons Mazola Corn Oil
- 1 teaspoon garlic salt
- ½ teaspoon black pepper
- 1 avocado, sliced or cubed
- ¼ red onion, thinly sliced (optional)
- Caesar Salad Dressing
- To make the crispy chickpeas, preheat the oven to 400 degrees F.
- Rinse and drain the can of chickpeas, then remove the skins. To remove the skin, pinch a chickpea between your thumb and index finger. The skin should slide off. Discard the chickpea skins, and add the chickpeas into a bowl.
- Toss the chickpeas in corn oil, garlic salt, and pepper until they are fully coated.
- Line a baking sheet/tray with parchment paper and pour the chickpeas in a single layer on top.
- Bake the chickpeas for 35-40 minutes until golden and crispy, shaking the tray halfway through to toss them. Allow the chickpeas to cool before adding to the salad.
- Alternately - if you would like to use a convection oven/air fryer, simply rinse and drain the chickpeas, coat with corn oil, garlic salt, and pepper (you can skip the step of removing the chickpea skins), and place in the air fryer for 15 minutes at 400 degrees F. Shake the pan a few times throughout the cooking process.
- To assemble the salad, add the salad greens, crispy chickpeas, avocado and red onion to a bowl or plate. Toss lightly with Caesar Salad Dressing to taste. Serve, and enjoy!
- 1 13 oz tube refrigerated pizza dough
- ¾ cup garlic and cheese spread, divided
- ½ cup grated Parmesan cheese, divided
- 3 tablespoons chopped fresh basil, divided
- ½ red onion, thinly sliced into rounds (about ⅛ inch thick)
- 1 zucchini (about 7-8 inches long), cut crosswise into ⅛ inch thick rounds
- Mazola Corn Oil (about 2 tablespoons)
- Preheat oven to 400 degrees F. Line a baking sheet with parchment paper. (optional: coat lightly with Mazola Corn Oil to prevent sticking)
- Unroll the pizza dough onto the parchment paper. Spread half of the herbed cheese lengthwise on half of the dough, leaving about ½ inch border on the outside. Sprinkle with half of the Parmesan cheese and the basil. Using the parchment paper as an aid, fold the plain half of the dough over the filled half. Do not seal.
- Spread the remaining herbed cheese over the dough, and sprinkle with the remaining Parmesan.
- Arrange a row of zucchini slices lengthwise down the dough, then arrange a second row of red onion rounds next to it. Add a final layer of zucchini rounds alongside the onion.
- Brush the vegetables lightly with corn oil. Sprinkle with salt and pepper, to taste.
- Bake the flatbread until it is deep brown along the edges, about 25 minutes. Slice, and enjoy!


Add Comment