Well folks, It’s official: I’ve tackled one of my recipe bucket list items. It was a long time coming. Almost a year ago, I spent a Saturday with my mom at a macaron class. We learned the ins and outs of these French fancies, and I left feeling a little less intimidated of them than I was before.
And then…I never sucked up the courage to try them at home in my own kitchen. The fear was pretty much crippling. I’ve heard so many stories from others about batches of macaron shells that didn’t turn out…shells that cracked…shells that didn’t have a foot on them. I was sure I would be doomed from the start.
Well, it turns out that my instructor at the cooking class knew what she was doing. I carefully followed her instructions, along with the notes I took during the class. I whipped my egg whites, added the almond meal and other ingredients, piped the shells, and waited as they went in the oven to bake.
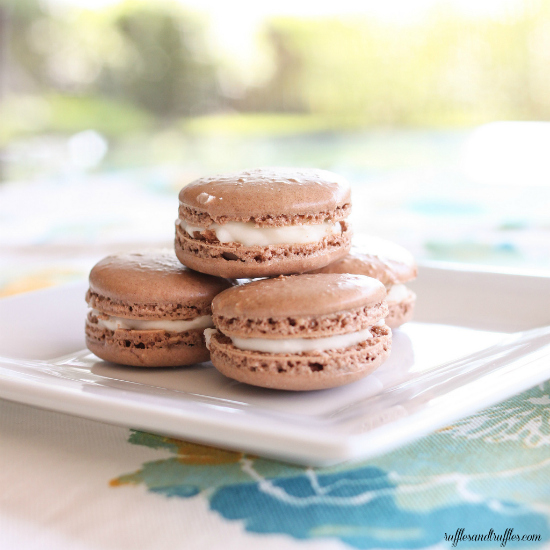
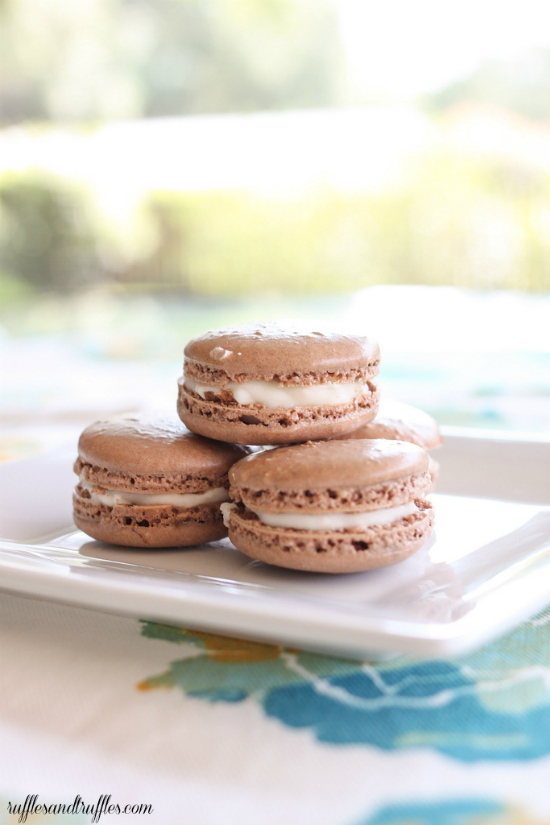
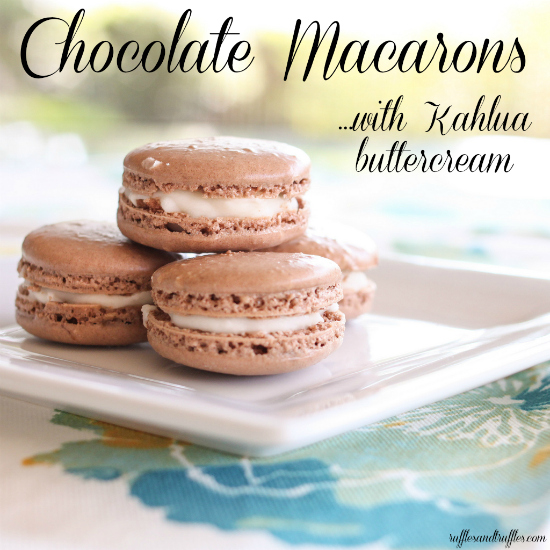
I’m not even kidding when I say that I shed a few tears when I looked in the oven window and saw feet on my shells (if you aren’t familiar with a foot on a macaron, that is the bubbly little ruffled layer on the bottom of the cookie. You want your macarons to have feet), and no cracks on the top. Justin thought something was wrong, but I told him they were happy tears. Sheesh…I cried over cookies. I’m still wondering if this was simply beginner’s luck, and that my next batch is doomed to be a disaster. But in the meantime, I’m going to enjoy these luxurious little bites of goodness, filled with Kahlua buttercream.
Have you made macarons before? Any success or failure stories to share?

- For the macarons:
- ¾ cup almond meal/flour
- 1 cup confectioner's sugar
- 2 tablespoons unsweetened cocoa powder
- 2 extra large egg whites, aged at least 24 hours
- ¼ cup granulated sugar
- For the Kahlua buttercream:
- ½ cup unsalted butter, softened
- 1 teaspoon vanilla extract
- 2 cups sifted confectioner's sugar
- 1 tablespoon milk
- 2 tablespoons Kahlua
- Place the almond flour, confectioner's sugar, and cocoa powder in a bowl and gently mix to combine. Set aside.
- Line 2 baking sheets with silicone mats or macaron mats (I have this set).
- Place the egg whites in a large bowl and whip until they hold a soft shape. Make sure they are frothy in appearance before adding sugar. Then, gradually beat in the sugar in a steady stream and continue to whip the egg whites until they form a firm peak. Do not shut the mixer off during this process - the chance of under-whipping is greater than over-whipping.
- Using a spatula, fold the almond/sugar/cocoa mixture into the egg whites ⅓ at a time. When all the dry ingredients are thoroughly incorporated (about 30 stirs - move the bowl around in a circle as you stir), continue to fold until it forms a shiny batter with a thick, ribbon-like consistency. If you want to know if your batter is the right consistency - perform the river test! Draw your spatula through the center of your batter: it should run together slowly.
- Place half the batter into a pastry bag fitted with a ½ inch opening tip. Pipe small circles (about the size of a quarter) onto the prepared mats, leaving 2 fingers worth of space between each cookie if you are piping freehand. Repeat the process with the second half of the batter. ***Note: you use only half of the batter at a time because the heat of your hands will warm the batter as you pipe. Small batches will reduce the chance of this happening***
- When the batter is piped, it is time to SLAM! Firmly tap the baking sheets onto your work surface 2-3 times to remove air bubbles. When I say tap, I don't mean a gentle tap - slam your sheet down with PURPOSE! Don't be afraid.
- Preheat your oven to 325 degrees F and set your racks in the center slots - my oven has 6 shelf levels: I place my racks on the 3rd and 4th. Meanwhile, allow the macarons to stand at room temperature for about 30 minutes until a skin forms on top of the shells. When you gently touch the top of the macarons, the batter should not stick to your finger
- Place your macaron shells on the top rack, and an additional EMPTY baking sheet on the rack below it - it will help to absorb the heat and allow the cookies to bake evenly. Bake the shells for 15 minutes, rotating the pan at the halfway mark. The macarons are ready with they have a crisp shell and the frilly foot at the bottom does not wobble when the shells are gently lifted from the mat. If they still wobble and stick - they are undercooked! Place the tray back in the oven for another 1-2 minutes and continue checking!
- Cool the shells for 10 minutes and then carefully peel the macarons off of the mat and set aside to cool completely. Using an offset spatula is an easy way to remove them from the mat - I'd recommend using one!
- Next, create the Kahlua buttercream! Cream the soft butter with an electric mixer. Add the vanilla extract, then gradually add the sugar, ½ cup at a time. Scrape the sides of your bowl as you go. When the sugar is completely mixed in, add the milk and then the Kahlua until incorporated. If you'd like a stronger/weaker Kahlua flavor, you can adjust the amount to taste.
- Finally, it is time to complete the macarons. Gently spread about a teaspoon of buttercream on the bottom of a macaron shell, then sandwich it together with another cookie. Allow the macarons to set for at least an hour for the cookies to set. Once assembled, they can be stored (covered) at room temperature for 24-48 hours. If you are waiting 2 days to eat them, I would suggest refrigerating them and removing from the fridge about an hour before serving so they can come to room temperature before serving. You can also keep the cookies (without filling) in airtight containers for up to a week. Enjoy!!!







Gorgeous. I’m a macaron addict.
Thanks Carrie! 🙂
They look GREAT! ::steals one from the plate::
I hope you saved some for me!!!! Yours turned out perfect. Move over Le Macaron!
I’ll definitely have to try making another batch soon!
Truly amazing…I’m drooling!
SO cool. I don’t know that I’d have the courage or the patience. Love those things though. These are beautifully done!!!