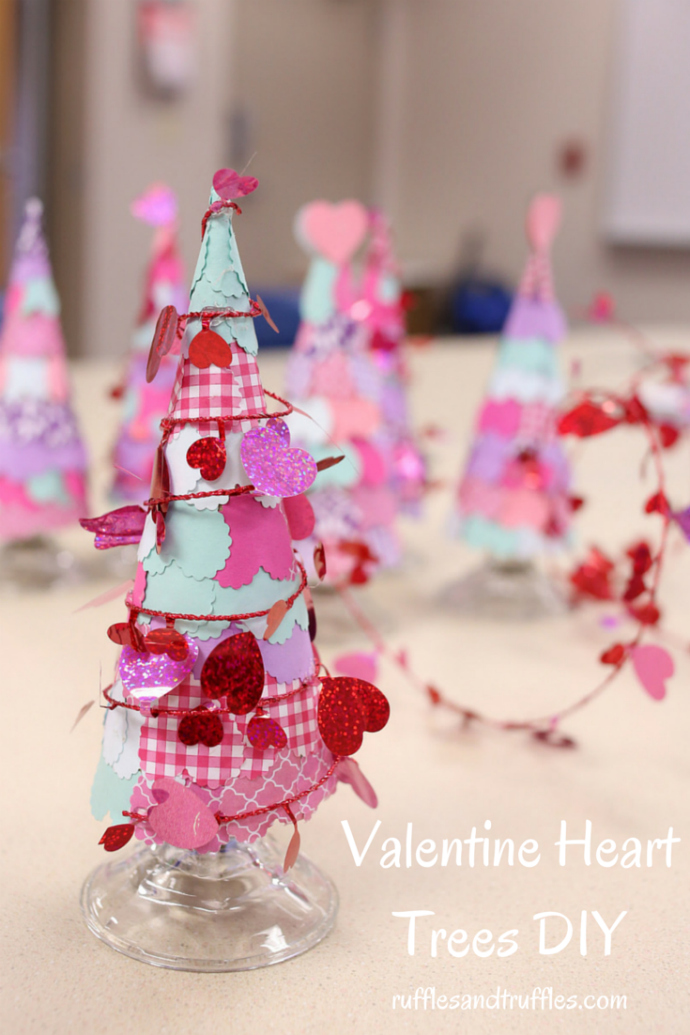
Valentine Heart Trees DIY
Author: Katie Compton
Ingredients
- Glass candlestick holder
- Cardboard cone (mine were purchased at JoAnns for 99 cents each)
- A few pieces of patterned or colored scrapbook or card stock paper
- Tacky glue
- Heart shaped paper punch
- Hot glue gun
- Glue sticks
- Tinsel wire garland (optional)
Instructions
- First, prepare the "leaves" for your tree! Use the heart shaped paper punch to cut heart shapes out of the colored scrapbook paper/card stock. Alternately, you can hand cut heart shapes with scissors.
- To create the tree, place a dot of tacky glue on the back side (near the "tail"/tapered end) of a heart. Firmly press the paper onto the cone, starting with the bottom of the cone (the wide end). Allow about ¼ of the paper to stick out from the bottom of the cone to create a scalloped edge. Continue gluing the heart shapes down, letting the hearts overlap slightly so no cardboard will show through. When you finish the ring around the bottom of the cone, begin a new row of hearts above, repeating the process until you have worked your way up the entire body of the cone.
- Allow the tree to dry completely (about an hour). If desired, use a glue gun to wrap and attach a heart tinsel garland around the outside of the cone.
- Finally, add a generous ring of hot glue to the top edge of a glass candlestick. Carefully lower the finished "tree" cone on top to attach the two pieces together. Allow to dry before displaying - enjoy!
Recipe by Helpful Homemade at https://helpfulhomemade.com/valentine-heart-trees-diy/