

As you might recall, we recently did a renovation of our master bathroom and bedroom. It’s been a few weeks, and I’m still absolutely in love with the changes! Not that that surprises me, by any means…but still! There is one piece of the final reveal that I did promise to give some more information on, and that happens to be my revamped bathroom vanity DIY project!
When we were pondering the options for the bathroom vanity, I fell into a bit of despair pretty quickly. I knew I wanted a vanity that looked more like a furniture piece than a traditional cabinet that goes all the way down to the floor. However, those pieces can run you quite a bit of money pretty quickly…and finding one in the right size for our space was also a complication. There were pre-made ones that came with a top…but one thing or another wouldn’t be to our liking. Either the material on the top wouldn’t be the right color, or the vanity was too wide…so on and so forth. THEN we went through the process of getting quotes for a custom cabinet. I’m just going to go ahead and say: hooooooly mackeral that can be expensive. Even with purchasing a remnant piece of granite for the top would cost a small fortune when all was said and done. Nope. Can’t do it.
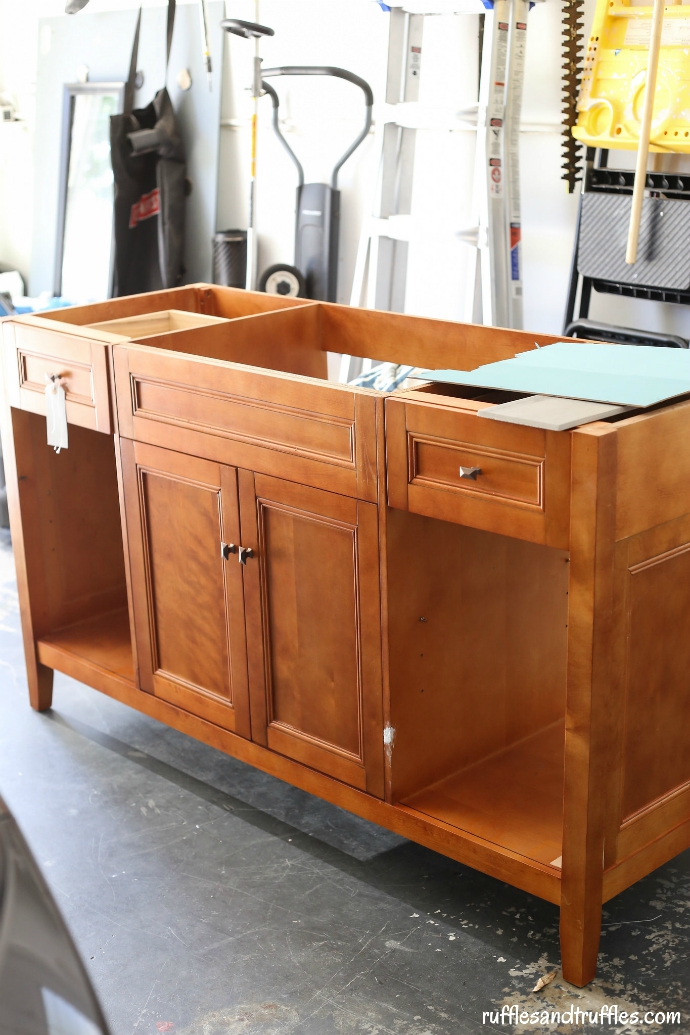
Sooo, what to do? I wanted the look of a custom cabinet, but I couldn’t really afford it. Thankfully, one day inspiration struck! My mom and I had been visiting a warehouse style store in the area off and on for a few months, but hadn’t found anything we really enjoyed. Their stock changes daily/weekly, so we were just hoping to stumble upon something eventually. On our last trip, I was about ready to throw in the towel. We were finding vanities we liked the style of, but the colors were wrong. Or the top was the wrong color. The same darn story from before. Well – the wheels started spinning. There in the store was a vanity with a quartz top…which is so in right now! The top is white with gray and blue specks…right up my alley. However, the base of the vanity was a boring brown wood, and there was a dent/chip in the front and a bit of damage in the back wall on one side. It was a bit worse for wear, but my mom and I decided it was perfect. After a bit of haggling, we took the vanity home for a great price (for less than the cost of the quartz top alone).
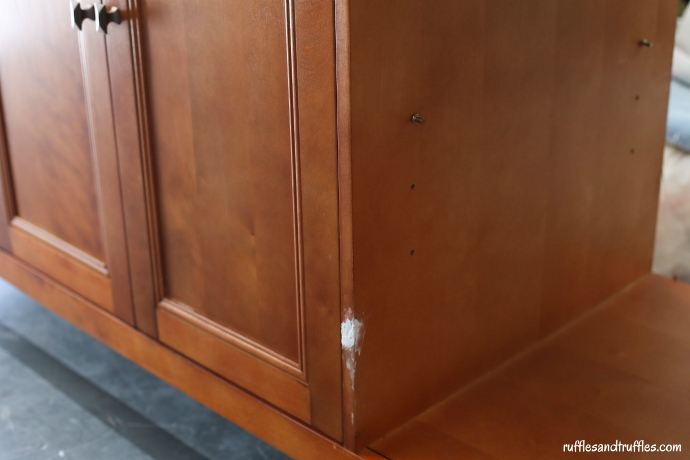
Now: how to bring it to life for our bathroom? First things first: we had to patch up the broken pieces. All it took was a bit of wood filler in the front, and replacing the back panel with a fresh piece of wood that we acquired from the hardware store.
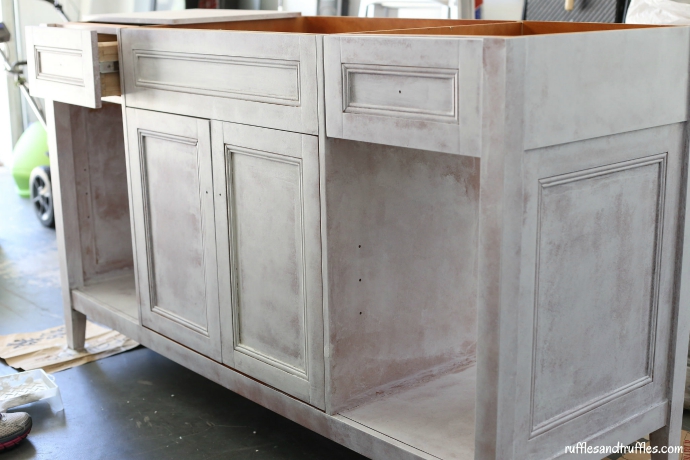
Next up: refinishing the vanity! We needed to sand down the surface a bit before applying any primer or paint. After consulting our local paint store, we decided to use a tool slightly less severe than traditional sandpaper – do you know those sponges that have one side with the more coarse scrubber side? Basically, it was similar material – stiff enough to sand down the surface and make it rough enough to apply paint easily.
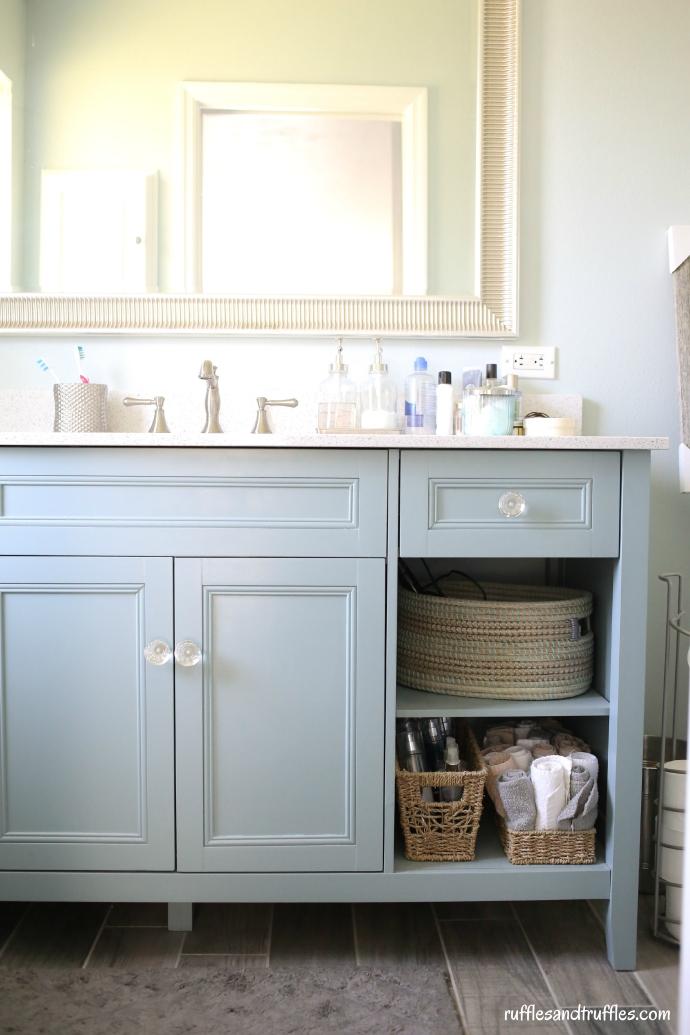
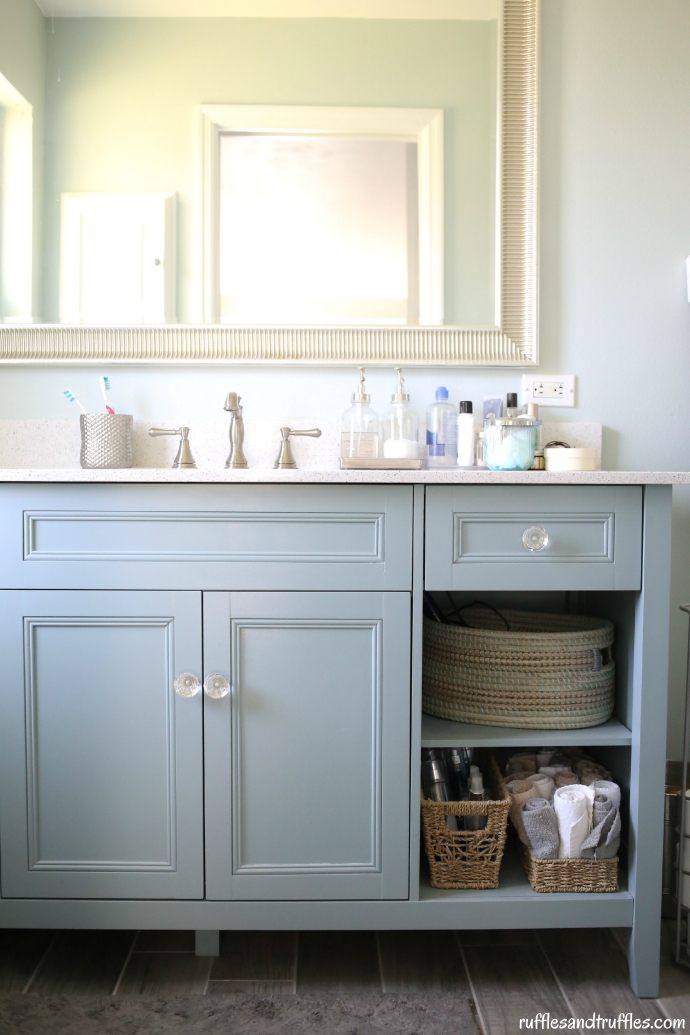
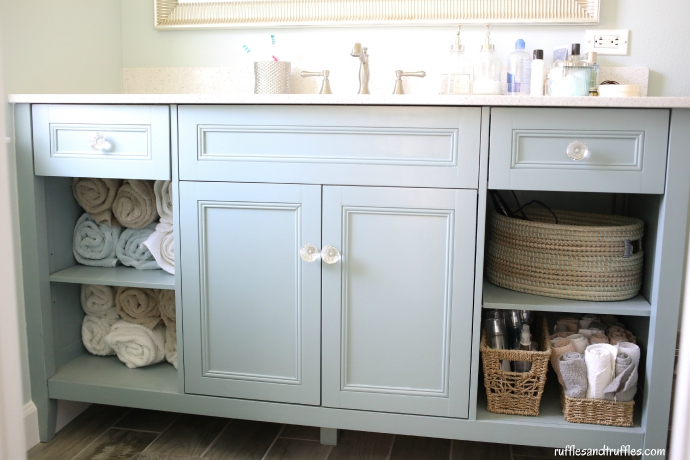
We decided to apply a primer over the entire surface of the vanity. After that, we used a mini roller to apply two coats of color. I couldn’t resist: I had to go with a shade of blue! It’s four shades darker than the wall color (Sherwin Williams’ Rainwashed).
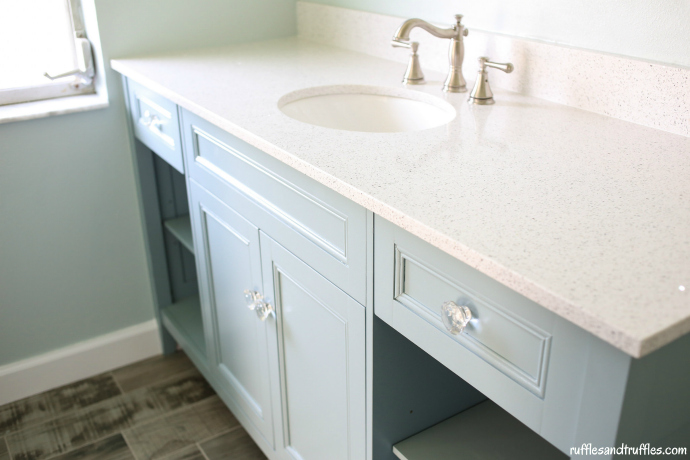
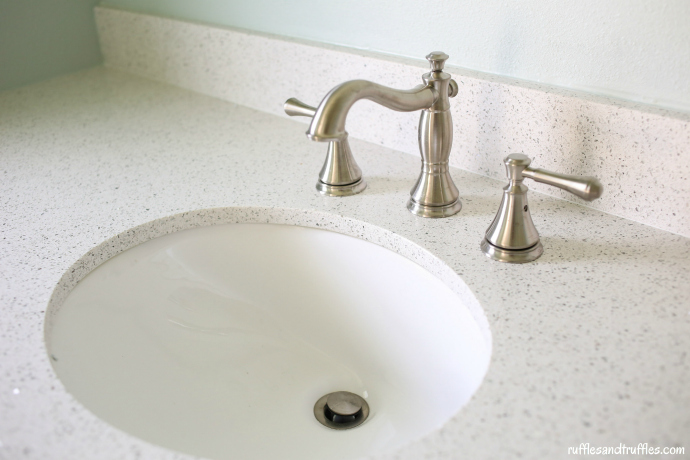
I knew I needed to acquire new drawer and cabinet pulls, and it just so happened that I was INCREDIBLY lucky to find some awesome crystal knobs at…Home Goods! Oh yeah…Home Goods for the win y’all! We picked out a faucet that complements the entire look of the vanity – so many choices are out there, but we ultimately ended up picking a brushed nickel finish for ours so it would match well with the shower head and other bathroom fixtures. Plus, the brushed material is easier to keep looking great in comparison to a shiny polished chrome option.
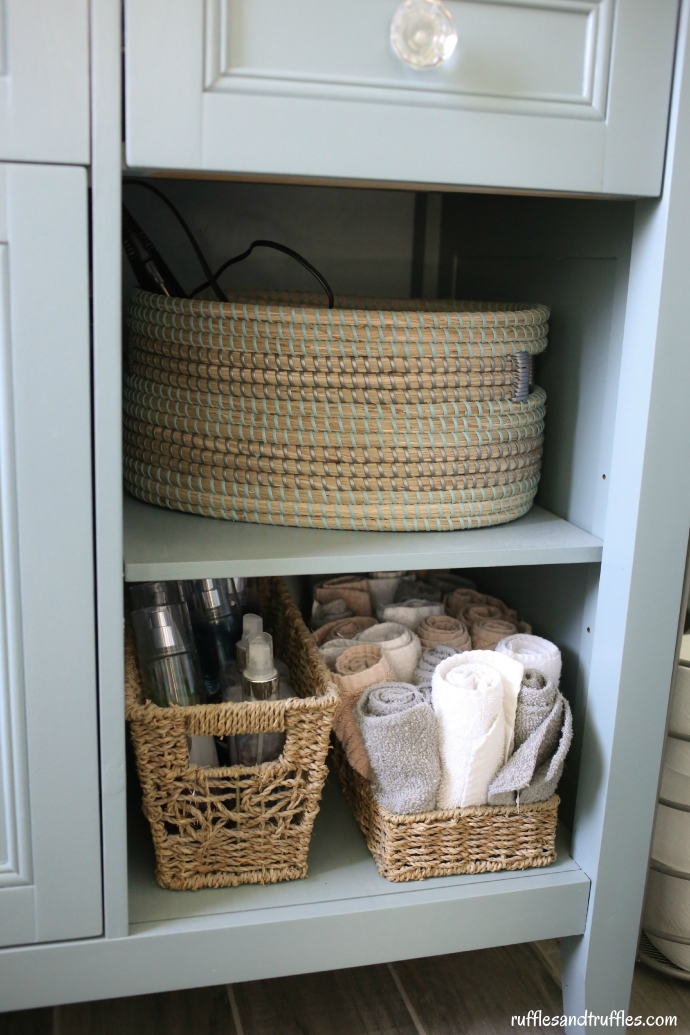
One of the biggest elements I was looking for with my bathroom vanity was open shelving. I love the look of having baskets and rolling towels up to store in some of the shelves. I have an assortment of baskets on the right side – one for my hair dryer and other hair tools, one for some beauty products, and the third one to roll up washcloths for storage. LOVE it – it’s working out really well so far!
So, one room down, one more bathroom to go! We are currently in the process of picking out ANOTHER set of items for our other bathroom, which should probably be under construction in October. Ohhhh boy – I’m excited!
Have you created a DIY piece of furniture for a room in your house? What did you make?


You are so TALENTED! This looks GREAT!
What are your Paint colors for wall and vanity?